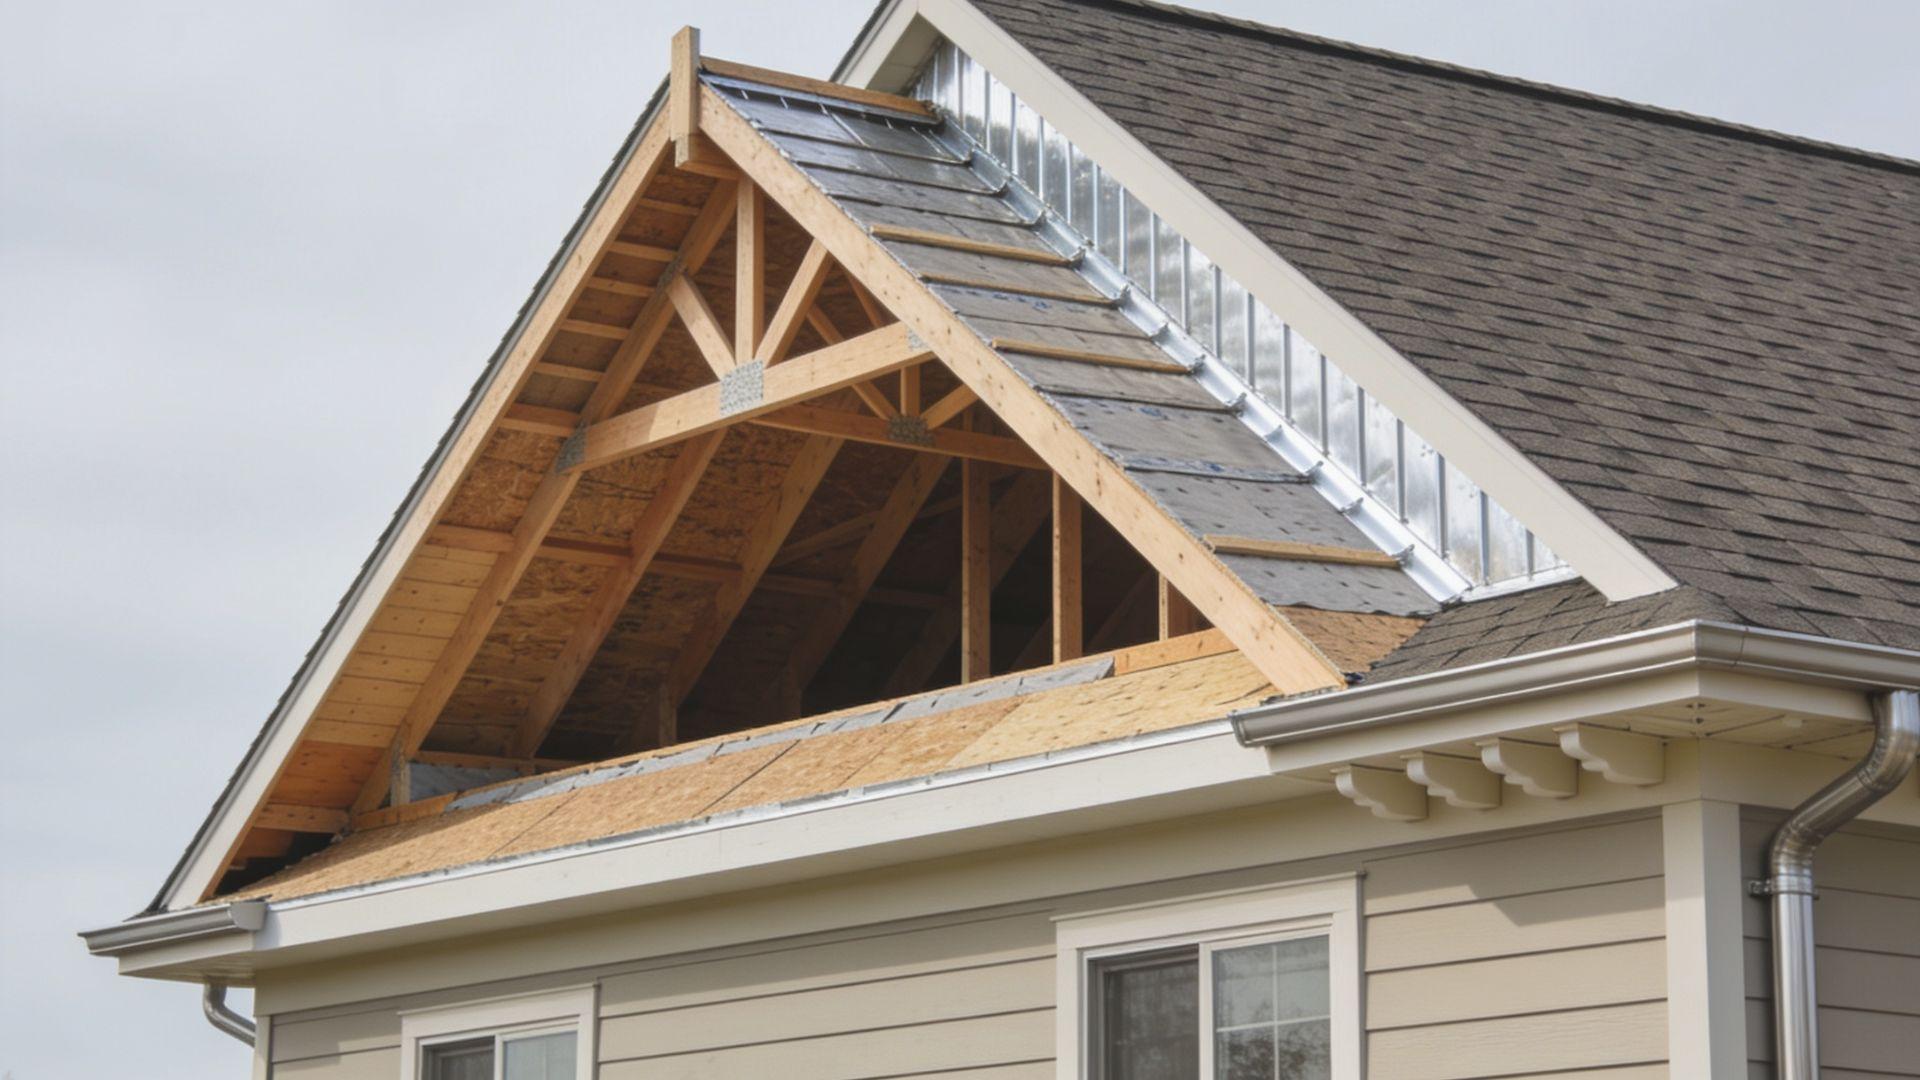
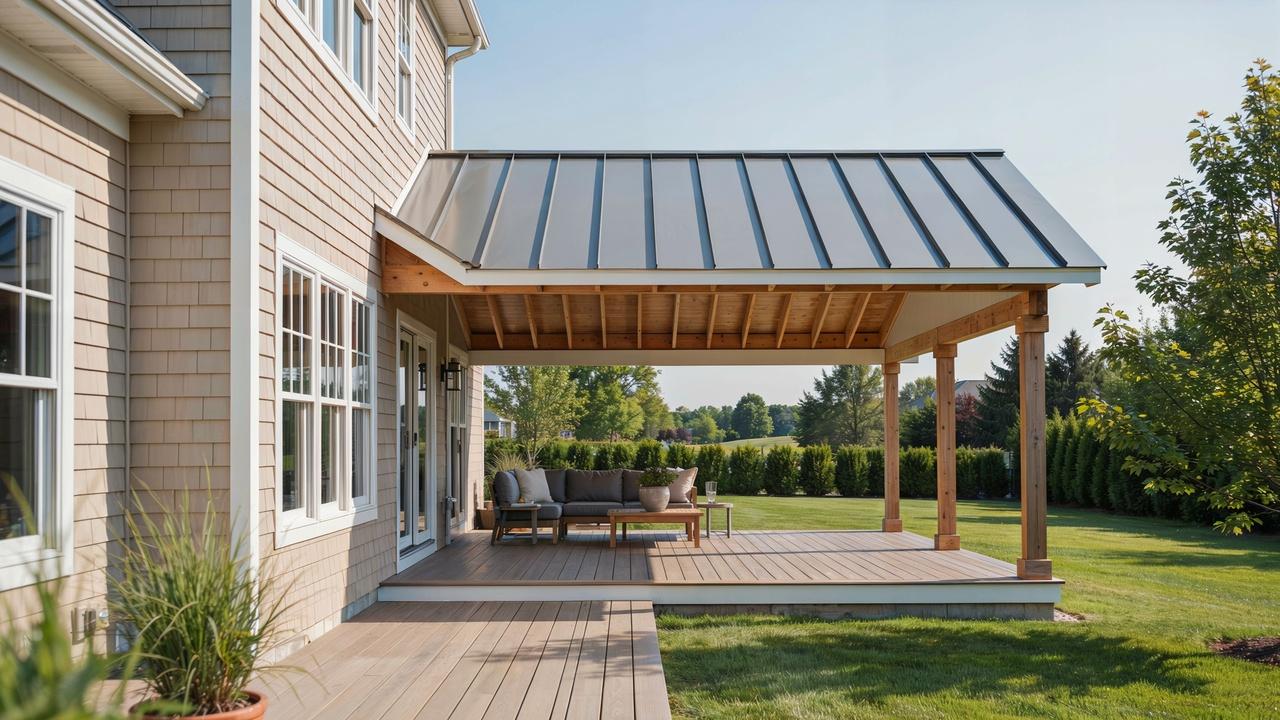
You can build a roof over an existing deck, but the deck framing, footings, posts, and connection to the house must be checked before construction.
A roof adds weight, snow load, and wind forces that the existing structure may not have been designed to support.
The best approach depends on your deck layout and house structure. You can attach the roof to the house wall, connect it to the existing roof, or build a freestanding roof supported by its own posts and footings.
This guide explains how to inspect the deck, choose a roof design, select materials, install the framing and roofing, waterproof the house connection, estimate costs, and know when professional help is needed.
What to Know Before Building a Roof Over Your Deck
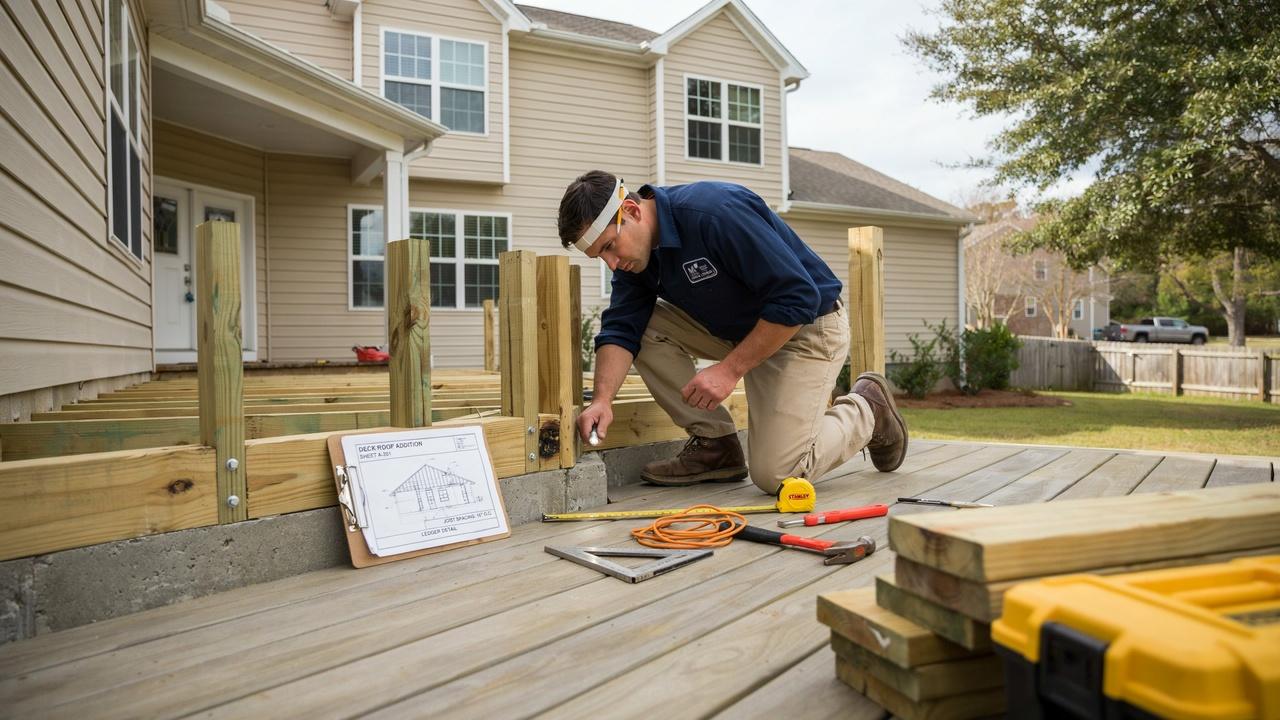
Before you add a roof, your deck needs a full checkup. A roof adds real weight and wind force to a structure that wasn't always built to handle it.
Start by inspecting the existing deck closely. Look at the posts, beams, joists, ledger board, and footings.
Check for rot, rust, loose fasteners, or cracked wood. These parts hold up your current deck, and they'll need to carry more once a roof goes on.
You also need to think about the extra load a roof brings. Dead load, snow load, and wind uplift all work on the structure at the same time. Your local climate matters here. In many cases, the existing framing isn't strong enough on its own.
A contractor or structural engineer can tell you if you need bigger beams, more posts, or reinforced footings before moving forward.
Check Building Codes and Permits
Skipping this step can cost you later, so get familiar with the rules first.
- Local building codes and requirements: Every city and county has its own rules for structural additions like roofs.
- Building permits: Most roof-over-deck projects need one. Building without a permit can create problems when you sell your home.
- Setbacks and height restrictions: Your roof might need to sit a certain distance from property lines or stay under a height limit.
- Required inspections: Inspectors often check footings, framing, and the final structure at different stages.
- HOA requirements, if applicable: Some neighborhoods have strict rules on roof style, color, and size.
Choose How to Attach the Roof to the House
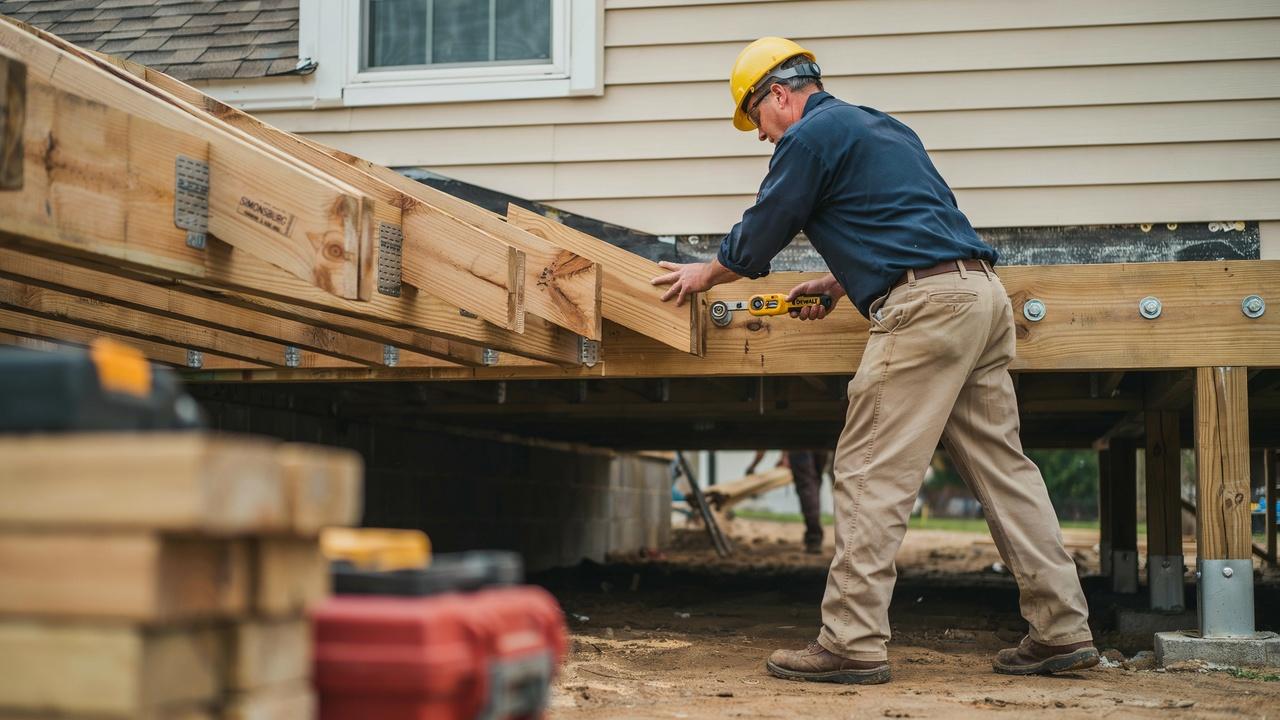
There are three common ways to build a roof over an attached deck. The right option depends on the existing wall, roofline, deck structure, and local building requirements.
Attach the Roof to the House Wall
This approach uses a ledger board or structural wall plate connected to the house's framing. Rafters extend from the house-side connection to a beam supported by the deck posts.
The connection must attach to structural framing rather than siding alone. Use structural fasteners and connectors approved for the application, following local code and the approved structural plan.
Proper flashing above the connection is also necessary to keep water from entering behind the siding.
Tie the New Roof Into the Existing Roof
A roof tie-in connects the new deck roof to the home's existing roof structure. This can create a more integrated appearance when the deck sits directly below or beside the main roofline.
However, this option involves more complicated framing and waterproofing. The new roof must work with the existing roof pitch, drainage, and structural framing.
Because errors at the roof intersection can cause leaks or structural problems, this approach is generally better suited to an experienced builder or roofing professional.
Build a Freestanding Roof
A freestanding roof is supported by its own posts, beams, and footings instead of relying on the house for structural support.
This option can work well when you want to avoid modifying the exterior wall or existing roof. The independent structure still needs adequate posts, beams, bracing, and footings for the expected loads.
Do not assume existing deck footings can support the additional roof without having them evaluated.
Plan the Roof Structure and Materials
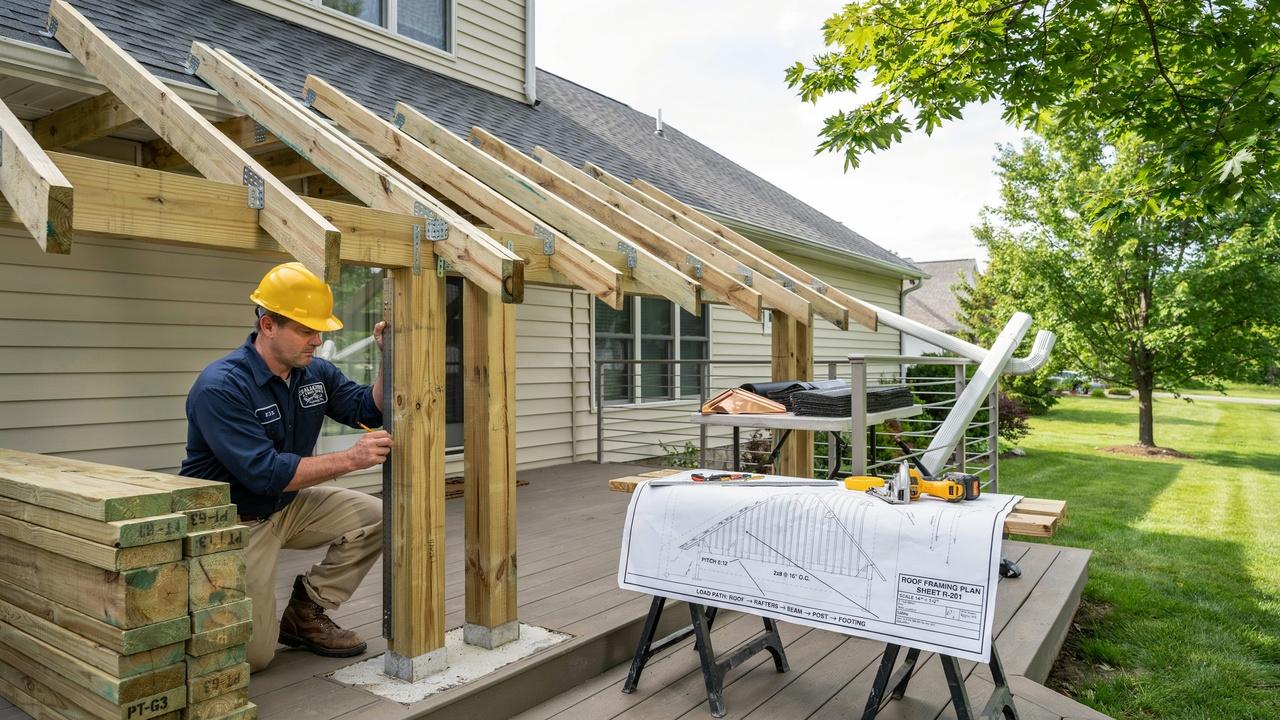
Good planning helps determine whether the roof will be safe, durable, and suitable for the deck. Decide on the roof shape, support locations, drainage, and roofing material before construction begins.
- Choose the roof design: A shed roof is generally the simplest roof shape to frame. Gable and hip roofs can provide different drainage and appearance benefits but require more complex framing.
- Plan the structural layout: Beam, post, rafter, and footing sizes depend on the roof span, loads, spacing, and local requirements.
- Establish a continuous load path: Roof loads should transfer through the rafters, beams, posts, and footings into the supporting ground.
- Select structural materials: Choose lumber and connectors designed for exterior use and compatible with treated wood where applicable.
- Choose the roofing system: Shingles, metal panels, and other roofing materials have different slope, fastening, underlayment, and flashing requirements.
- Plan drainage: Gutters and downspouts should direct water away from the deck, foundation, and house.
Tools and Materials for a Deck Roof
The exact tools and materials depend on the roof design, span, roofing system, and local requirements. Gather the necessary supplies before construction so the project can proceed efficiently.
Common tools:
- Tape measure
- Level
- Framing square
- Circular saw
- Drill and driver
- Hammer
- Chalk line
- Ladder or approved access equipment
- Safety glasses, gloves, and other required protective equipment
Common materials:
- Structural lumber
- Posts and beams
- Rafters
- Structural fasteners
- Approved post bases and framing connectors
- Roof sheathing
- Underlayment
- Roofing material
- Metal flashing
- Drip edge
- Gutters and downspouts
Structural lumber sizes, fastener types, connector requirements, and footing dimensions should be determined from the project's loads, structural plans, manufacturer requirements, and local building code.
How to Build a Roof Over a Deck Attached to a House
Once the existing deck has been inspected and the structural design is established, construction can proceed in stages. Confirm permits, footing requirements, and structural connections before beginning the framing.
1. Inspect and Prepare the Existing Deck

Inspect the posts, beams, joists, ledger, fasteners, and footings for rot, corrosion, cracks, movement, or other damage.
Pay particular attention to the connection between the deck and house. A roof adds loads that the existing deck may not have been designed to carry.
Repair or reinforce damaged or undersized components before installing the roof. If the structural capacity is uncertain, have it evaluated by a qualified professional.
2. Install or Reinforce Posts and Footings
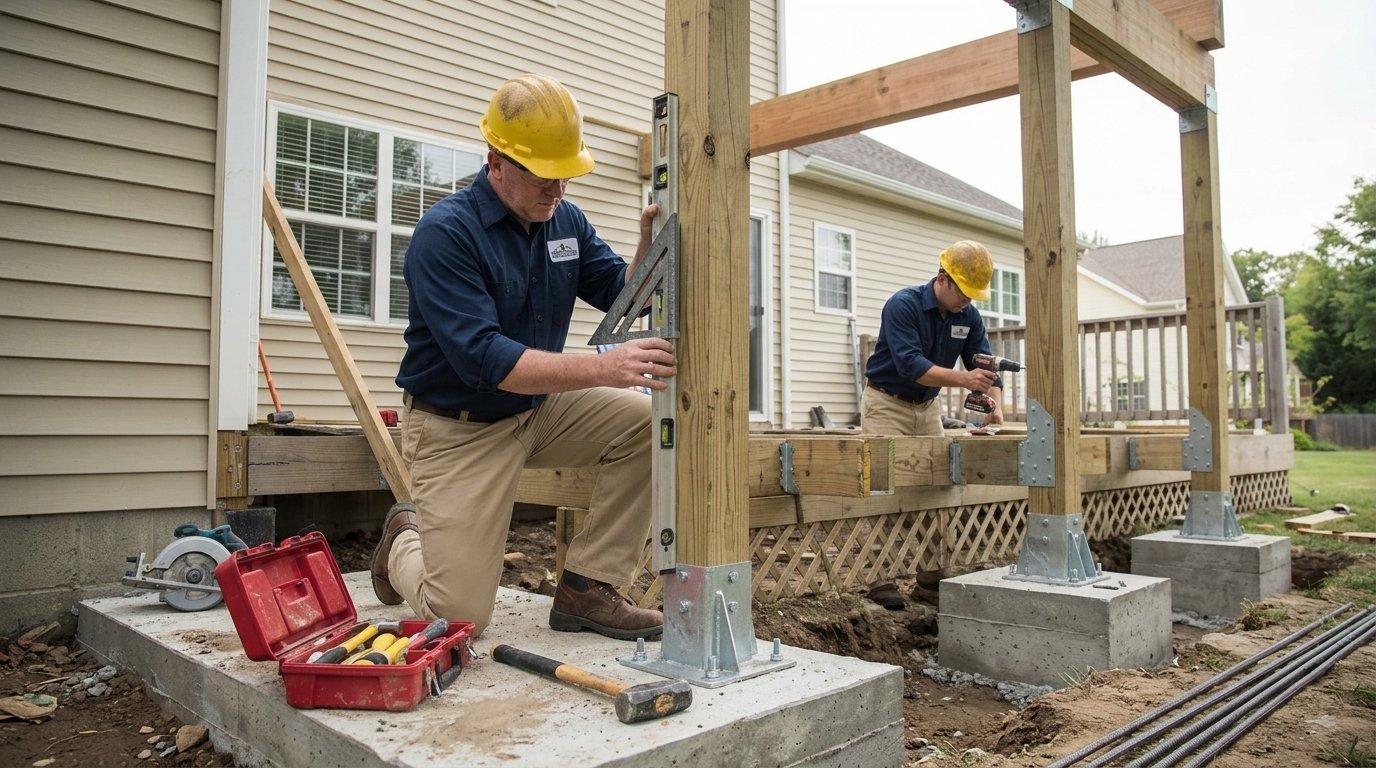
The roof load must transfer safely through the posts and into properly sized footings.
Confirm the required footing size, depth, and placement based on local soil conditions, frost requirements, loads, and building codes.
Install structural post bases and make sure each post is properly aligned and supported. Existing deck footings should not automatically be assumed to support the additional roof load.
3. Install the Beam and House-Side Ledger
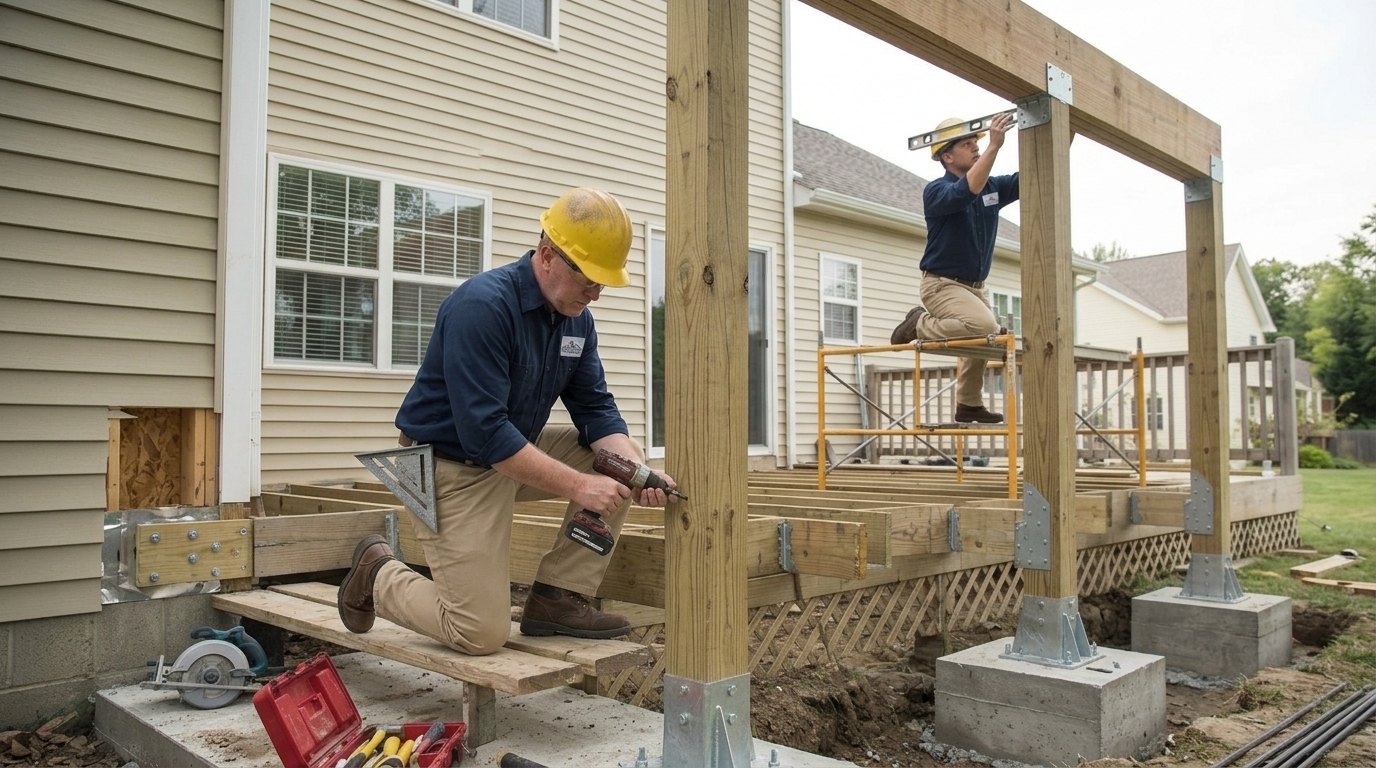
Install the supporting beam according to the structural plan and verify that it is properly aligned and supported by the posts.
For an attached roof, locate the structural framing behind the home's exterior finish. The ledger or wall connection must transfer the roof load into the supporting structure rather than relying on siding alone.
Use structural fasteners and connectors specified for the application. Fastener type, size, spacing, and placement should follow the approved plans, manufacturer requirements, and local building code.
4. Install the Rafters and Roof Framing
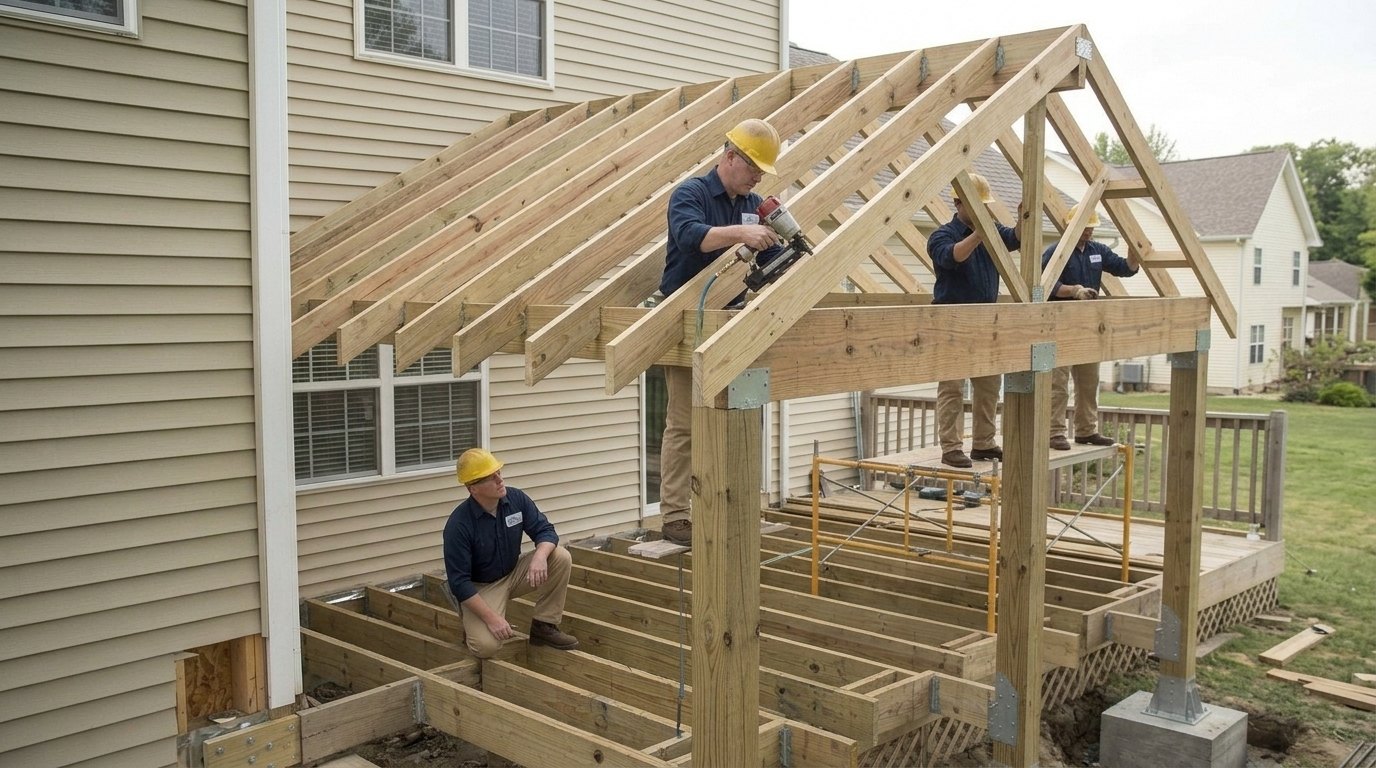
Set the roof slope according to the selected roofing system, drainage requirements, climate, and local code. Install rafters between the house-side support and exterior beam according to the structural layout.
Secure each rafter with the required structural connectors. Add blocking, bracing, hurricane ties, or other connections where required by the design.
Before installing roof sheathing, check the framing for proper alignment, spacing, slope, and structural connections.
5. Install Roof Sheathing and Roofing
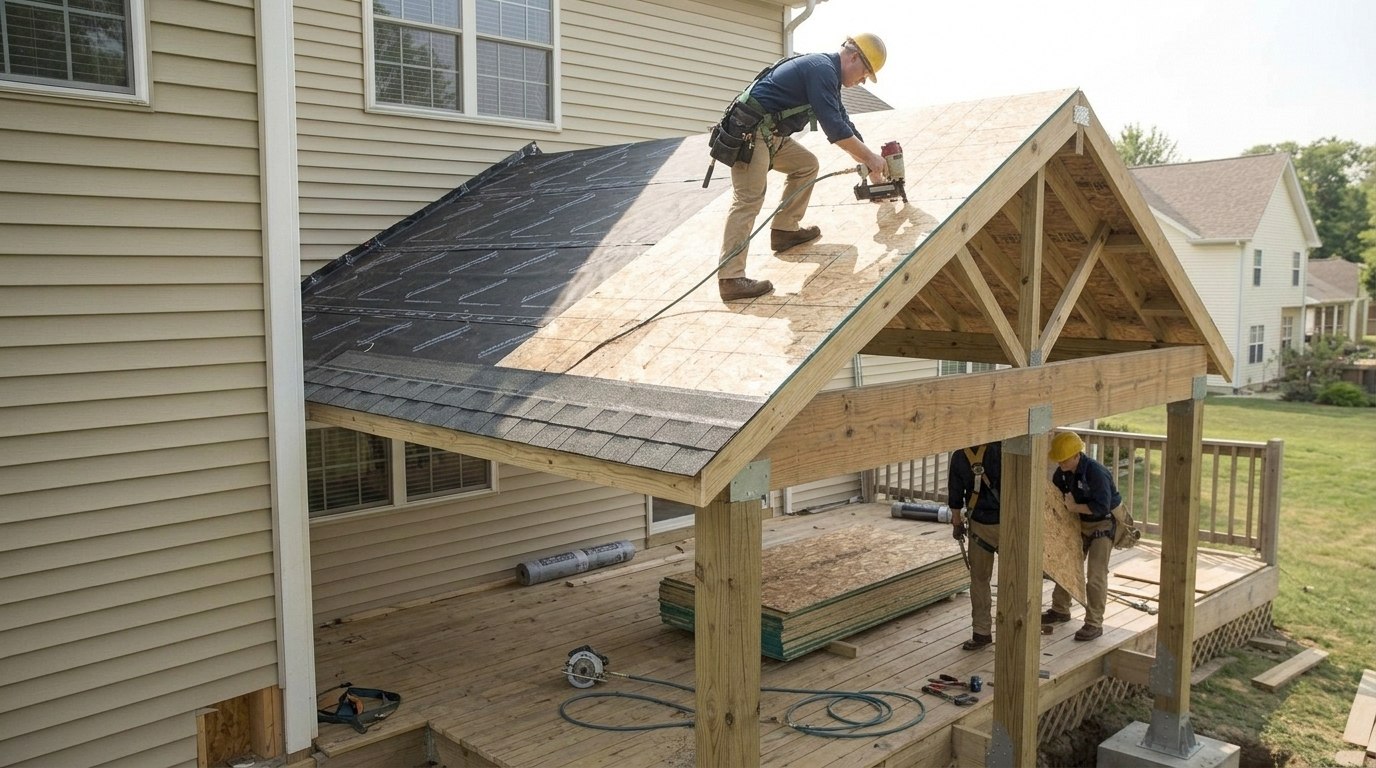
Install roof sheathing across the completed rafter framing according to the structural plan and manufacturer's requirements. The sheathing provides the base for the roofing system.
Install the required underlayment and then the selected roofing material.
Shingles, metal panels, and other systems have different requirements for slope, fastening, overlaps, and ventilation, so follow the manufacturer's installation instructions.
6. Install Flashing, Gutters, and Drainage
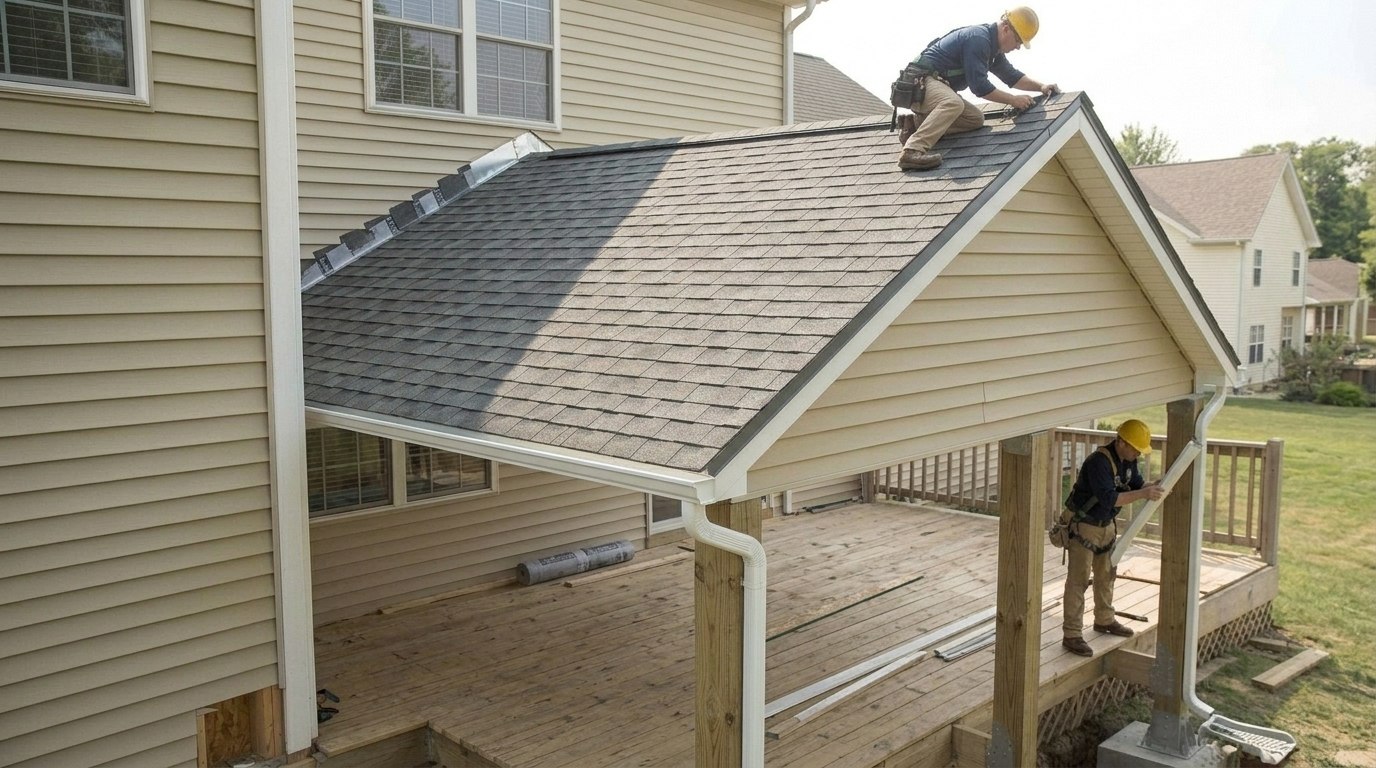
The roof-to-house connection requires careful waterproofing because incorrectly installed flashing can allow water to enter behind the siding.
Install the required wall and roof flashing in the correct sequence so water flows over the exterior surface rather than behind it. Depending on the roof and wall configuration, this may include step flashing, head flashing, or kick-out flashing.
Do not rely on caulk as a substitute for properly installed flashing. Finish the roof edges with the required drip edge, then install gutters and downspouts that direct runoff away from the deck and foundation.
How to Waterproof the Roof-to-House Connection
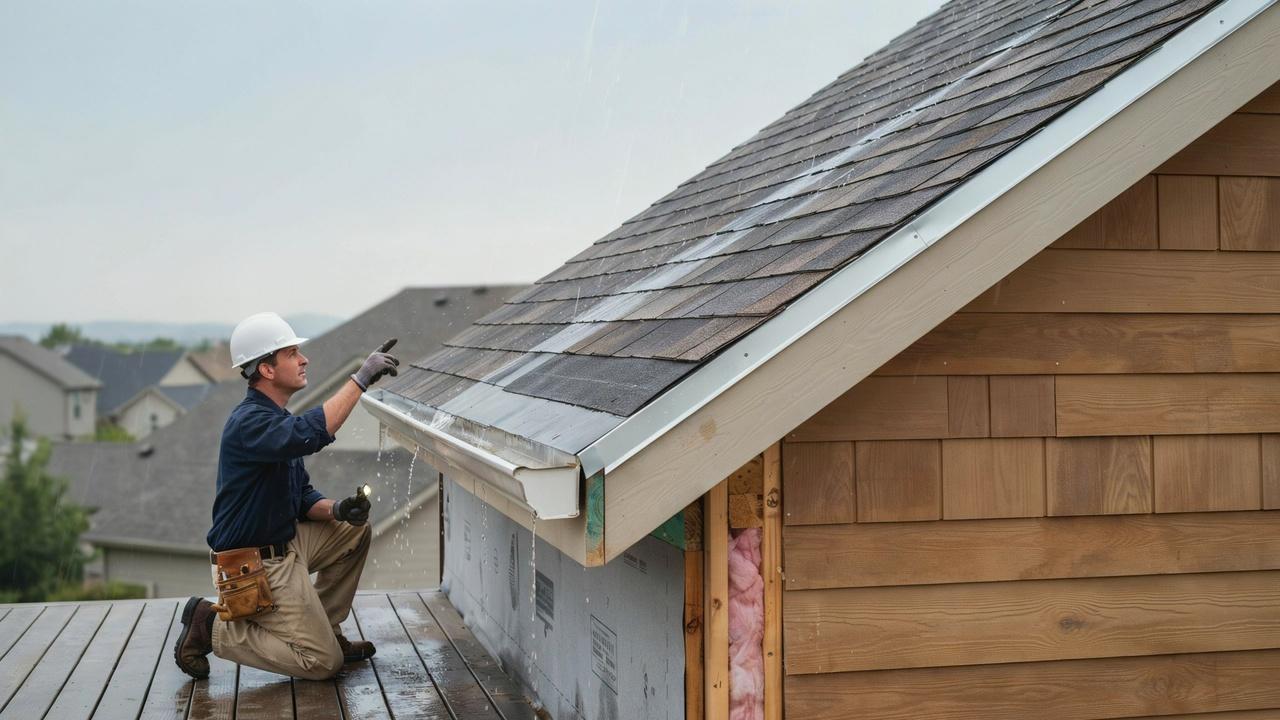
Getting this right means building a layered waterproofing stack. Start with a water-resistive barrier at the wall, properly lapped, before installing the ledger.
Then add your structural ledger or plate, followed by continuous metal flashing or drip cap above it.
Step flashing or head flashing should go in wherever the roof meets a vertical wall surface. At points where the roof intersects a wall, kick-out flashing directs water away from the wall instead of letting it run behind the siding.
Your siding needs to overlap the flashing correctly, not the other way around. Caulk isn't a substitute for proper flashing. It breaks down over time, and once it fails, water finds its way in without warning.
How Much Does It Cost to Add a Roof Over a Deck?
The cost of adding a roof over a deck varies based on the deck size, roof design, materials, location, labor, permits, and structural work required.
A simple roof with suitable existing support can cost much less than a project requiring new footings, posts, beams, or a complicated connection to the home's existing roof.
Consider these factors when creating your budget:
- Deck size: Larger roofs require more framing, roofing, flashing, and labor.
- Roof design: Shed roofs generally require less framing than gable or hip roofs.
- Structural reinforcement: New posts, beams, or footings can substantially increase the project cost.
- Roofing material: Shingles, metal, and other materials have different material and installation costs.
- Permits and inspections: Fees vary by city and county.
- Labor: Professional installation increases the initial cost but can reduce structural and waterproofing risks.
- Electrical or finishing work: Lighting, ceiling finishes, fans, and other additions increase the final price.
Get local contractor estimates before setting a final budget because national cost ranges can vary significantly from actual prices in your area.
Common Mistakes to Avoid
These mistakes show up often, and most of them are easy to prevent with a little planning.
- Skipping permits:This can cause problems during home inspections or when selling your house later.
- Assuming existing footings are strong enough:Always confirm they can carry the added roof load.
- Attaching the roof to siding instead of structural framing: This leads to failure over time and voids most warranties.
- Using incorrect fasteners or connectors:Outdoor structural connections need hardware rated for that exact use. Standard interior fasteners corrode fast when paired with pressure-treated lumber.
- Poor flashing: This is the top cause of leaks around deck roofs.
When Should You Hire a Professional?

Hire a qualified professional when the project involves structural changes, new footings, complicated roof-to-house connections, or integration with the existing roof.
A structural professional can determine whether the existing deck and foundation can support the additional loads and specify the required beams, posts, rafters, and connections.
A roofing professional can help with roof-to-wall flashing and waterproofing where the new roof meets the house.
Professional assistance is especially important when the deck has existing damage, the new roof connects to the home's main roof, or local regulations require engineered plans or inspections.
Avoid guessing at structural dimensions or fastener requirements when the safety of the roof depends on them.
Conclusion
Building a roof over a deck starts with checking the existing framing, footings, permits, and roof design.
When learning how to build a roof over a deck attached to a house, pay close attention to the roof-to-house connection, flashing, and load path. Proper planning helps prevent leaks and structural problems.
If your project requires new footings, structural changes, or complex roof integration, consider hiring a qualified professional.
Ready to plan your deck roof? Start by checking your local building requirements and existing deck structure.
Frequently Asked Questions
Can I build a roof over a deck without attaching it to the house?
Yes, a freestanding or standalone roof supported entirely by its own posts works well when you want to avoid any connection to your home's structure.
What is the best roof pitch for a deck cover in a rainy climate?
A minimum pitch of 3:12 (three inches of rise for every twelve inches of run) drains rain reliably and works with most standard shingles and metal panels.
Does adding a roof over a deck increase home value?
Yes, a properly permitted and built deck roof typically adds usable square footage and curb appeal, which appraisers and buyers treat as a value-adding improvement.
How long does it take to build a roof over a deck?
A straightforward shed-style roof on a mid-sized deck typically takes a professional crew two to five days, while DIYers should plan for one to two weekends depending on complexity.