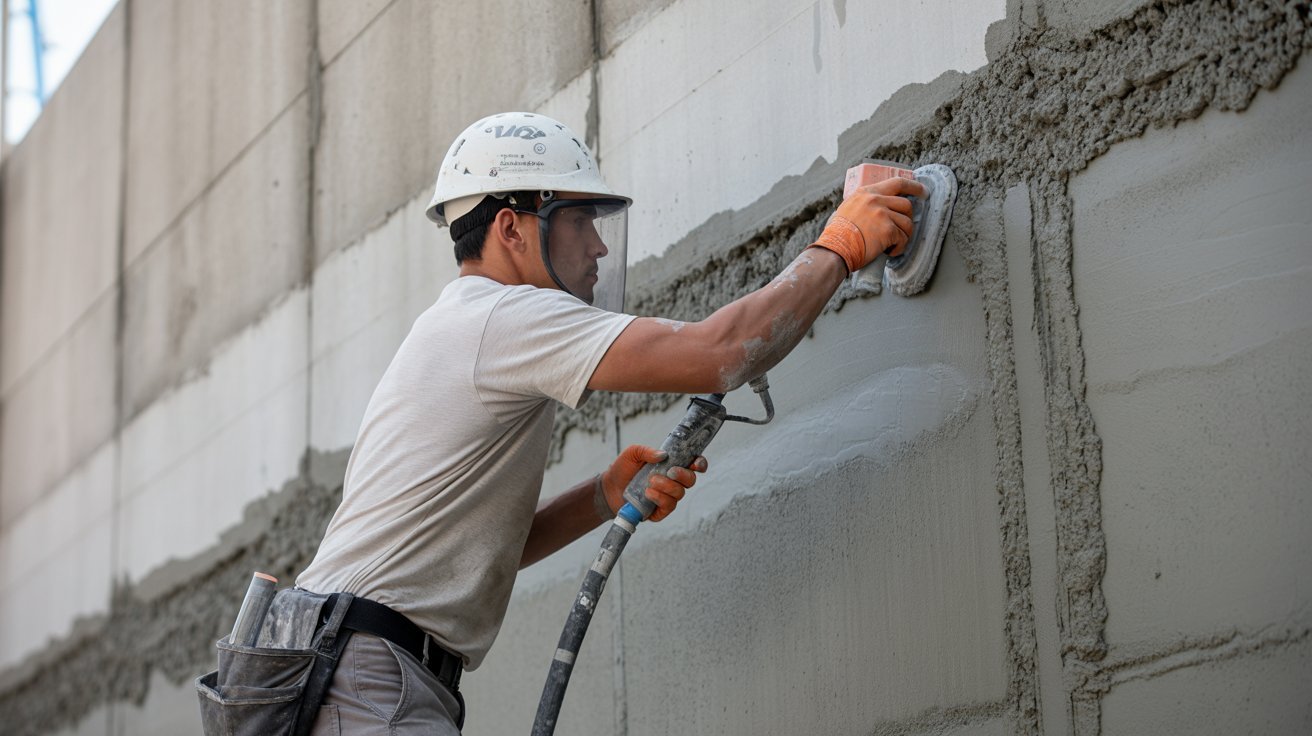
Have you ever seen concrete sprayed onto a wall or tunnel surface and wondered what it was?
That's shotcrete in action. I've worked around construction sites long enough to know that most people confuse it with regular poured concrete.
But they're quite different.
In this blog, I'll walk you through what shotcrete is, what it's made of, how it's applied, and what tools you'll need. I'll also cover curing, safety, and common problems.
What is Shotcrete?

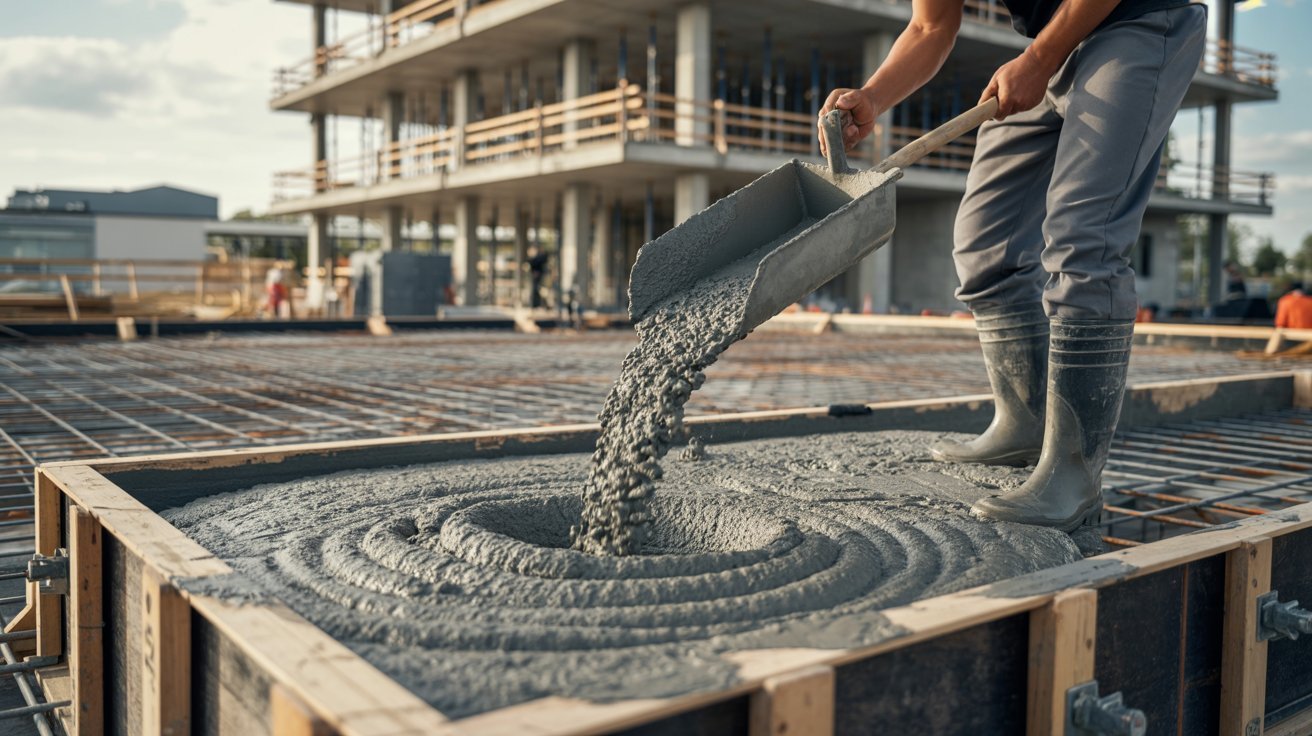
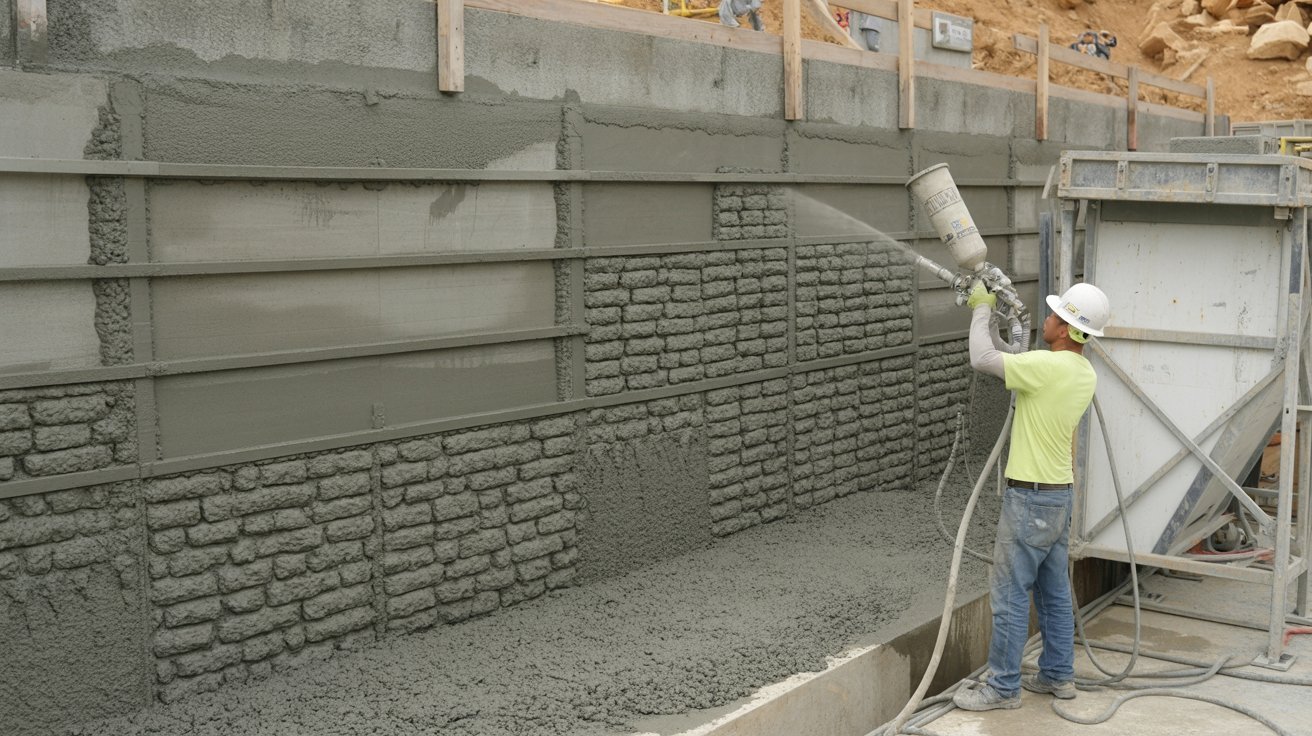
Shotcrete is a method of applying concrete pneumatically. Instead of pouring concrete into formwork, it is sprayed at high velocity through a nozzle onto a surface.
The force of the spray compacts the material as it hits, creating a dense and strong layer.
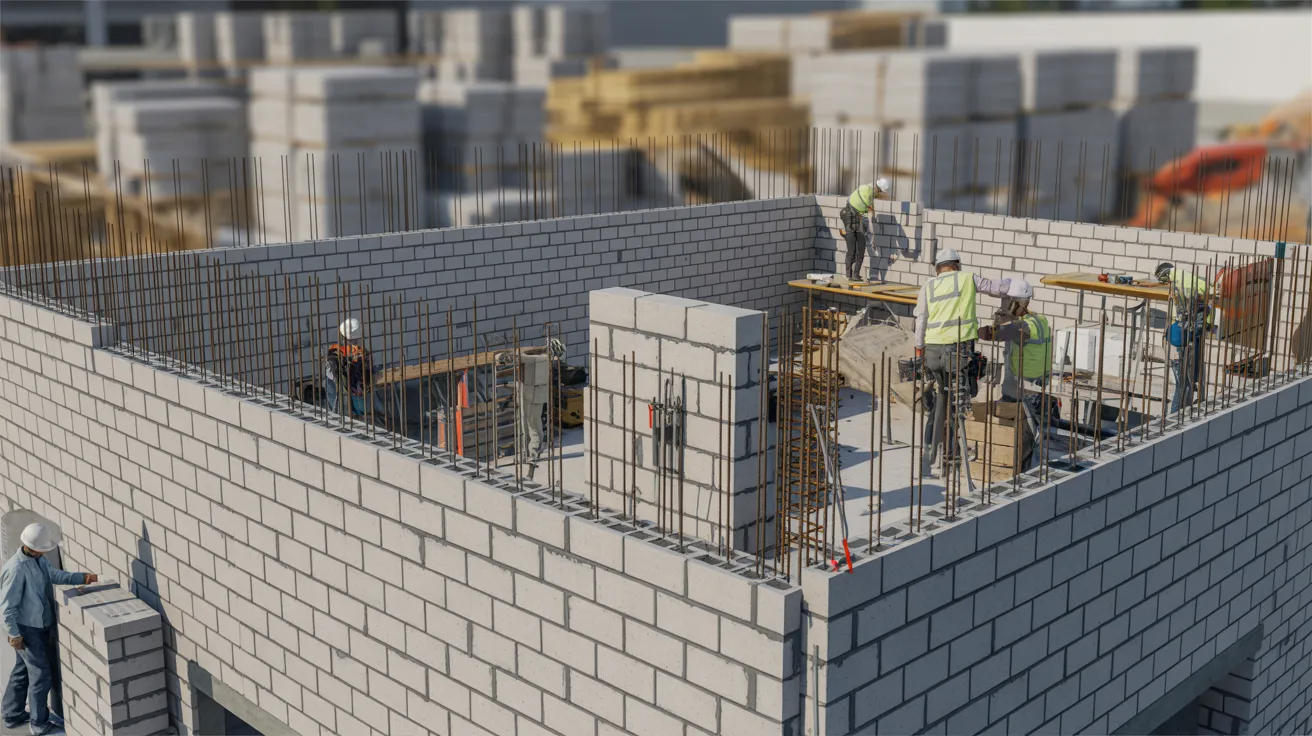
It is widely used in tunnels, swimming pools, slopes, and retaining walls. The process works for both flat and curved surfaces, which makes it flexible for many construction types.
There are two main methods: the dry-mix process and the wet-mix process.
In the dry-mix process, dry materials are fed through the hose and water is added at the nozzle. In the wet-mix process, the concrete is already mixed before it enters the hose.
Shotcrete bonds well to existing surfaces, including rock, steel, and old concrete. This is why it is a popular choice for repair work and new construction alike.
What is the Difference Between Shotcrete and Gunite?
Understanding the difference between shotcrete and gunite helps you choose the right concrete application method.
| Shotcrete | Gunite | |
| Mix Type | Uses wet-mix or dry-mix concrete | Uses only the dry-mix process |
| Water Addition | Water is mixed before or at the nozzle | Water is added only at the nozzle |
| Consistency | More consistent mix quality | Mix quality depends on the nozzle operator |
| Common Use | Tunnels, pools, slopes, repairs | Swimming pools, decorative surfaces |
| Equipment | Requires a pump and hose system | Uses a compressed air gun machine |
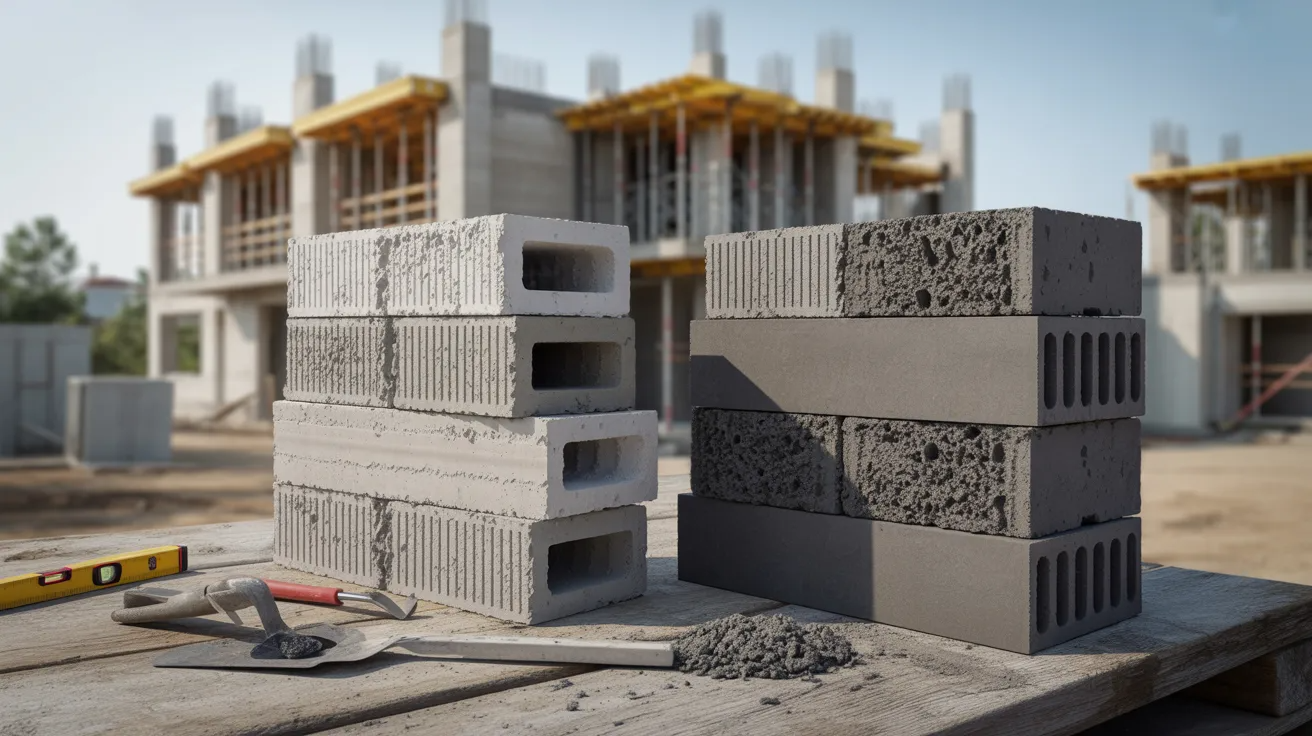
Materials Used in Shotcrete

The quality of shotcrete depends heavily on the materials used. Here is a breakdown of the key components:
Portland Cement: Primary binding material that gives shotcrete its strength
Sand and Aggregates: Clean, well-graded sand and aggregates improve workability, kept at 10mm max for smooth flow.
Water: Controls strength and workability, too much weakens the mix, too little causes blockages.
Additives and Admixtures:
- Accelerators: Speed up the setting time, useful in cold conditions or overhead applications
- Bonding Agents: Help shotcrete stick firmly to existing surfaces such as rock or old concrete
- Water Reducers: Improve workability without adding extra water, maintaining mix strength
- Superplasticizers: Allow higher fluidity in wet-mix shotcrete for easier pumping and better finish
- Stabilizers: Extend the working life of the mix, giving operators more time before the concrete sets
How to Prepare Shotcrete
Follow these simple steps to mix and prepare shotcrete the right way for a strong, lasting result.
Step 1: Standard Mixing Ratios

A common mix ratio for shotcrete is 1 part cement :3 to 4 parts sand or aggregate, with a water-to-cement ratio between 0.40 and 0.50.
The exact ratio depends on the application type, required strength, and site conditions. Additives may change these ratios slightly.
Always follow project specifications before mixing.
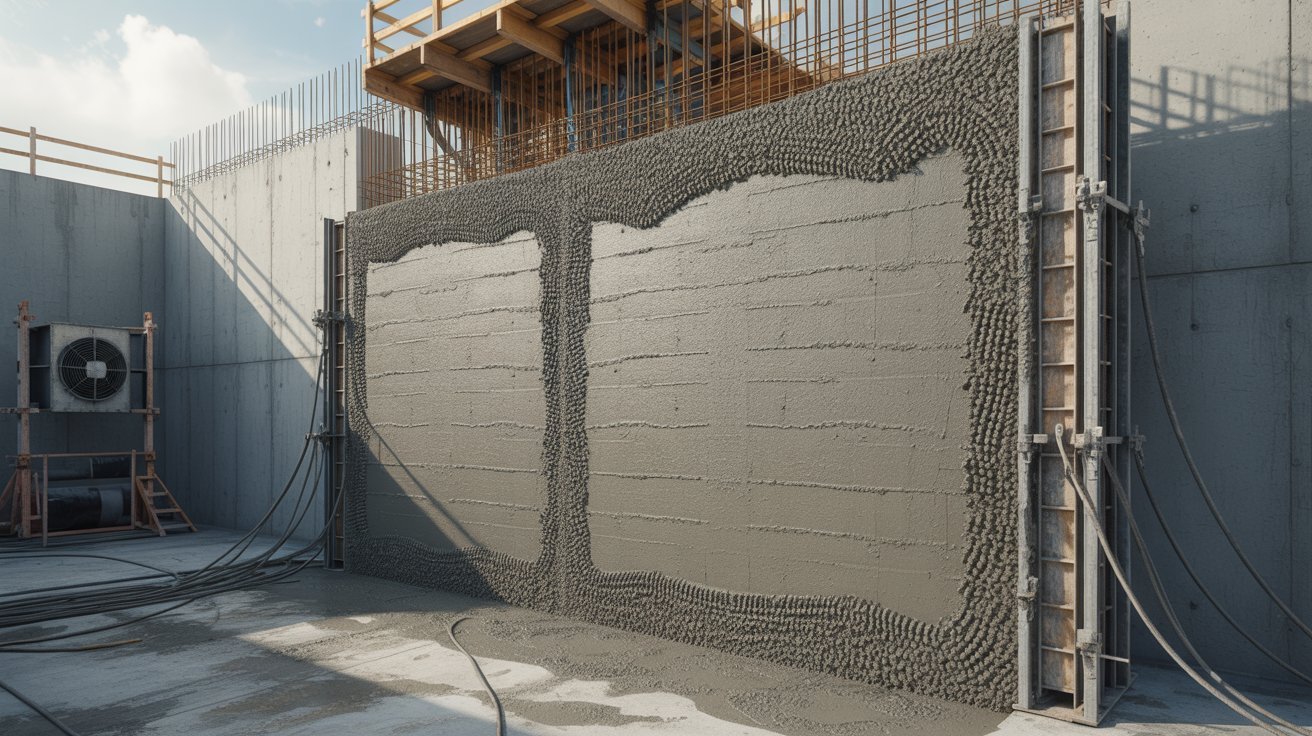
Step 2: Preparing the Surface
Surface preparation is one of the most important steps.
The surface must be:
- Free from dust, oil, loose particles, and standing water
- Roughened slightly to improve bonding
- Pre-wetted if it is very dry, to avoid absorbing water from the mix
- Cleared of any weak or crumbling sections before application begins
Skipping surface preparation leads to poor bonding and early failure of the shotcrete layer.
Step 3: Applying the First Layer

The first layer, also called the scratch coat, is applied at a thickness of about 10mm to 15mm.
The nozzle should be held at a distance of 0.5 to 1.5 meters from the surface.
The operator moves the nozzle in a circular or sweeping motion to build an even layer. This base layer anchors all subsequent layers.
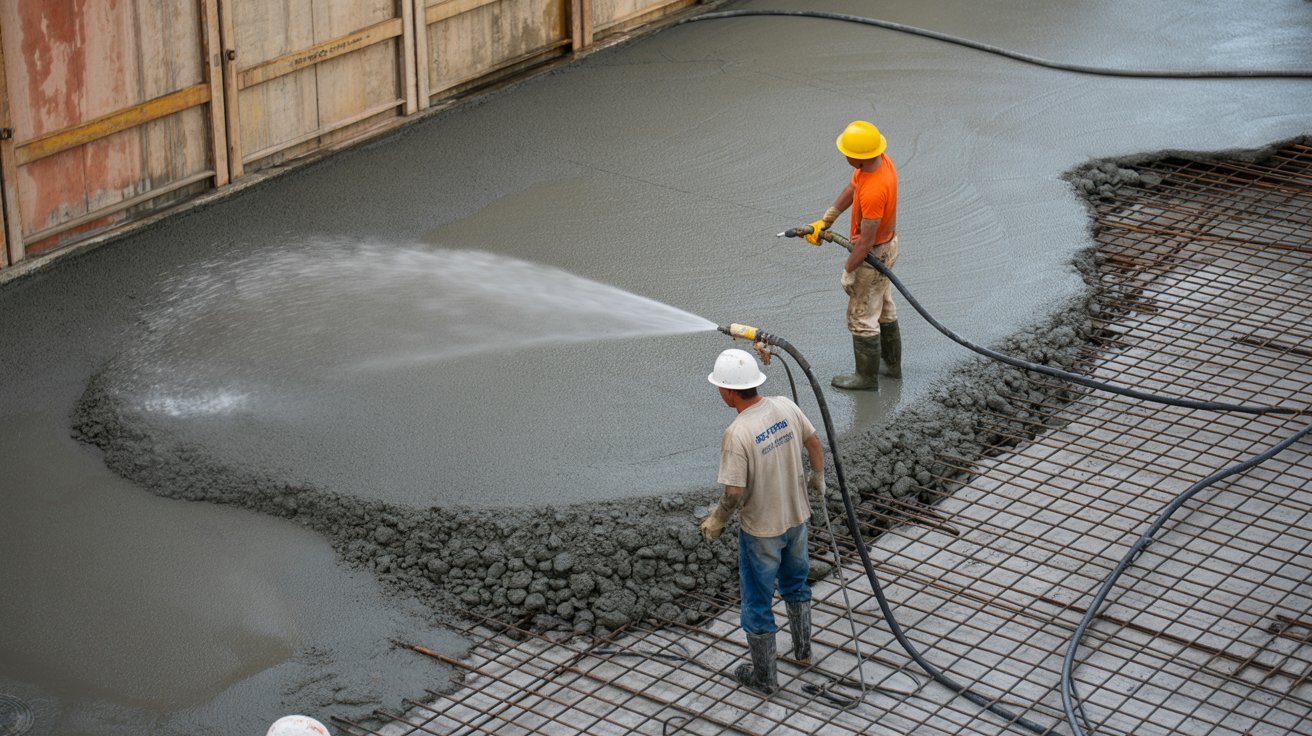
Step 4: Applying Additional Layers
Once the first layer has set enough to hold its shape (usually 30 to 60 minutes), additional layers can be applied.
Each layer should be 25mm to 50mm thick. Allow each layer to reach initial set before adding the next. Do not apply a new layer on a surface that is too wet or too dry.
Shotcrete Curing Process
Understand how shotcrete cures stage by stage so your structure sets properly and lasts longer.
Wet-Curing Stage
Wet curing begins immediately after the shotcrete surface has set enough to hold its shape. Water is applied using misting sprays or wet burlap coverings.
This stage typically lasts 7 days for standard mixes. Keeping the surface moist prevents rapid moisture loss, which causes cracking and surface weakness.
Air-Curing Stage
After the wet-curing stage, the surface is allowed to cure in open air. During this phase, the shotcrete continues to gain strength through the chemical hydration process.
Good airflow around the surface speeds up this process without causing the surface to dry out too fast.
Hardening Process
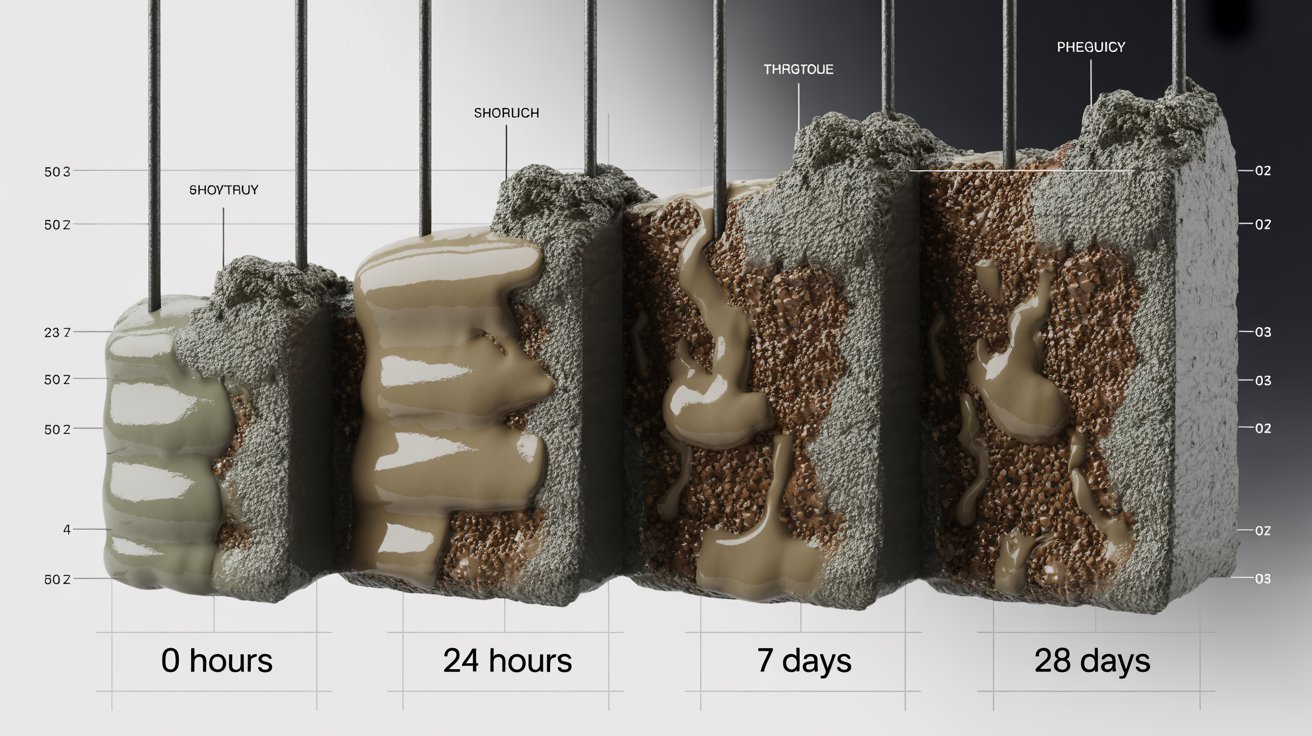
Shotcrete gains about 70% of its design strength within 7 days and reaches full strength at 28 days.
The hardening process depends on cement type, mix ratio, temperature, and humidity. Proper curing through both stages directly affects the final hardness and durability.
Factors That Affect Curing Time
Know what slows down or speeds up shotcrete curing so you get the strength you need.
- Temperature: Cold temperatures slow curing; hot weather speeds it up but risks surface cracking
- Humidity: Low humidity pulls moisture from the mix too quickly
- Wind: Strong wind dries the surface unevenly
- Cement type: Rapid-hardening cement reduces curing time significantly
- Layer thickness: Thicker layers take longer to cure fully
Basic Tools Needed for Shotcrete
Applying shotcrete properly requires the right equipment.
Here is what you need:
Shotcrete Machines: Main units that push the concrete mix through the delivery hose available in wet-mix and dry-mix versions.
Mixer-Pumps: Combine mixing and pumping in one unit ideal for wet-mix shotcrete on smaller job sites.
Gunning Machines: Use compressed air to push dry material through the hose water is added at the nozzle by the operator.
Trowels and Floats: Used to level and finish the surface trowels for corners and edges, floats for broader areas.
Vapor Barriers: Control moisture migration protect the cured layer from ground moisture in basements and tunnels.
Safety Tips During Shotcrete Application
Working with shotcrete involves high-pressure equipment and cement materials.
Follow these safety steps:
- Always wear goggles, face shield, gloves, waterproof clothing, steel-toed boots, and a respiratory mask on site.
- Ensure good air circulation in tunnels and enclosed spaces, using forced ventilation fans when needed.
- Inspect hoses, nozzles, and machine connections before every shift for wear, cracks, or blockages.
- Never operate equipment with loose fittings or damaged hoses.
- Store cement in a dry place, avoid inhaling dust, and wash skin immediately if cement makes contact.
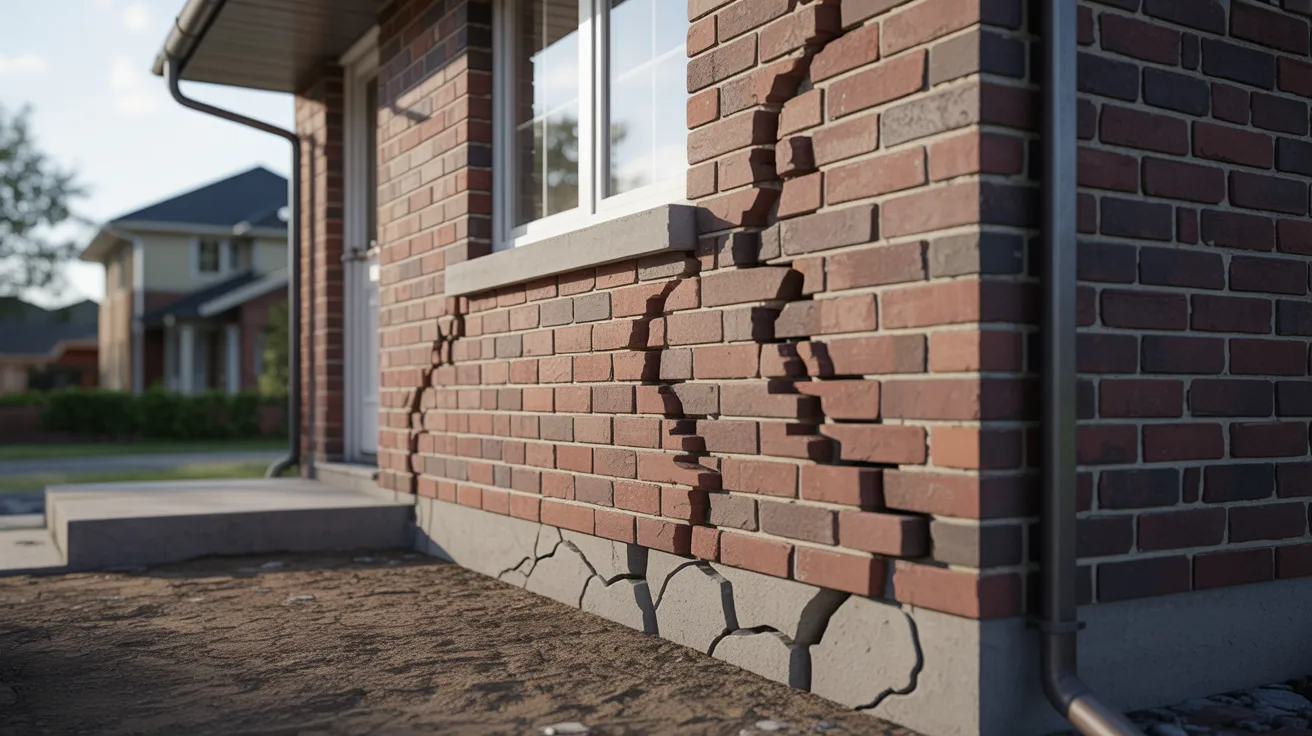
Common Problems in Shotcrete Work
Learn the most common shotcrete issues and how to fix them before they cost you time and money.
- Cracking: Cracks usually appear due to rapid drying, insufficient curing, or excess water in the mix. Use proper curing methods and maintain the correct water-to-cement ratio to prevent this.
- Poor Bonding: This happens when the surface is not properly cleaned or prepared before application. Always remove loose material and pre-wet dry surfaces before spraying.
- Overspray Issues: Rebound and overspray occur when the nozzle is held too far from the surface or at the wrong angle. Keep the nozzle at 90 degrees to the surface and at the correct distance.
- Incorrect Water Ratios: Too much water makes the mix weak and prone to sagging. Too little water causes dry packing and poor workability. Follow the mix design specifications every time.
Maintenance and Repair of Shotcrete Structures
Keeping shotcrete structures in good condition requires regular attention.
Here are five key maintenance steps:
- Regular Inspection: Check the surface every 6 to 12 months for cracks, spalling, or water infiltration. Early detection prevents small issues from becoming large repairs.
- Surface Cleaning: Remove dirt, algae, and chemical deposits using a pressure washer or stiff brush. Clean surfaces allow early defects to be seen clearly.
- Repairing Small Cracks: Fill hairline cracks with a cement-based crack filler or polyurethane sealant. For wider cracks, cut out the damaged area and apply fresh shotcrete or repair mortar.
- Long-Term Durability: Apply a concrete sealer every few years to protect the surface from water, freeze-thaw cycles, and chemical exposure. This extends the life of the structure significantly.
- Professional Assessment: For structural cracks or large damaged sections, always get a qualified engineer to assess the issue before starting repairs.
Conclusion
I hope this blog gave you a clear and simple answer to what shotcrete is and how it works.
From the materials and mixing to curing and repair, shotcrete is a reliable method that professionals have trusted for decades.
In my experience, understanding the basics makes a real difference when working on any project.
If you found this helpful, share it with someone in construction or leave a comment below. I'd love to hear how you're planning to use shotcrete in your work.
Frequently Asked Questions
Is shotcrete stronger than regular concrete?
Shotcrete can be just as strong or stronger because the high-pressure application compacts the mix tightly.
Where is shotcrete commonly used?
Shotcrete is commonly used in tunnels, swimming pools, retaining walls, slopes, and concrete repairs.
What is the main difference between shotcrete and gunite?
Shotcrete includes both wet-mix and dry-mix methods, while gunite uses only the dry-mix process.
How long does shotcrete take to cure?
Shotcrete gains most of its strength within 7 days and usually reaches full strength after 28 days.
Can shotcrete be applied without formwork?
Yes, one major advantage of shotcrete is that it can be sprayed directly onto surfaces without traditional formwork.