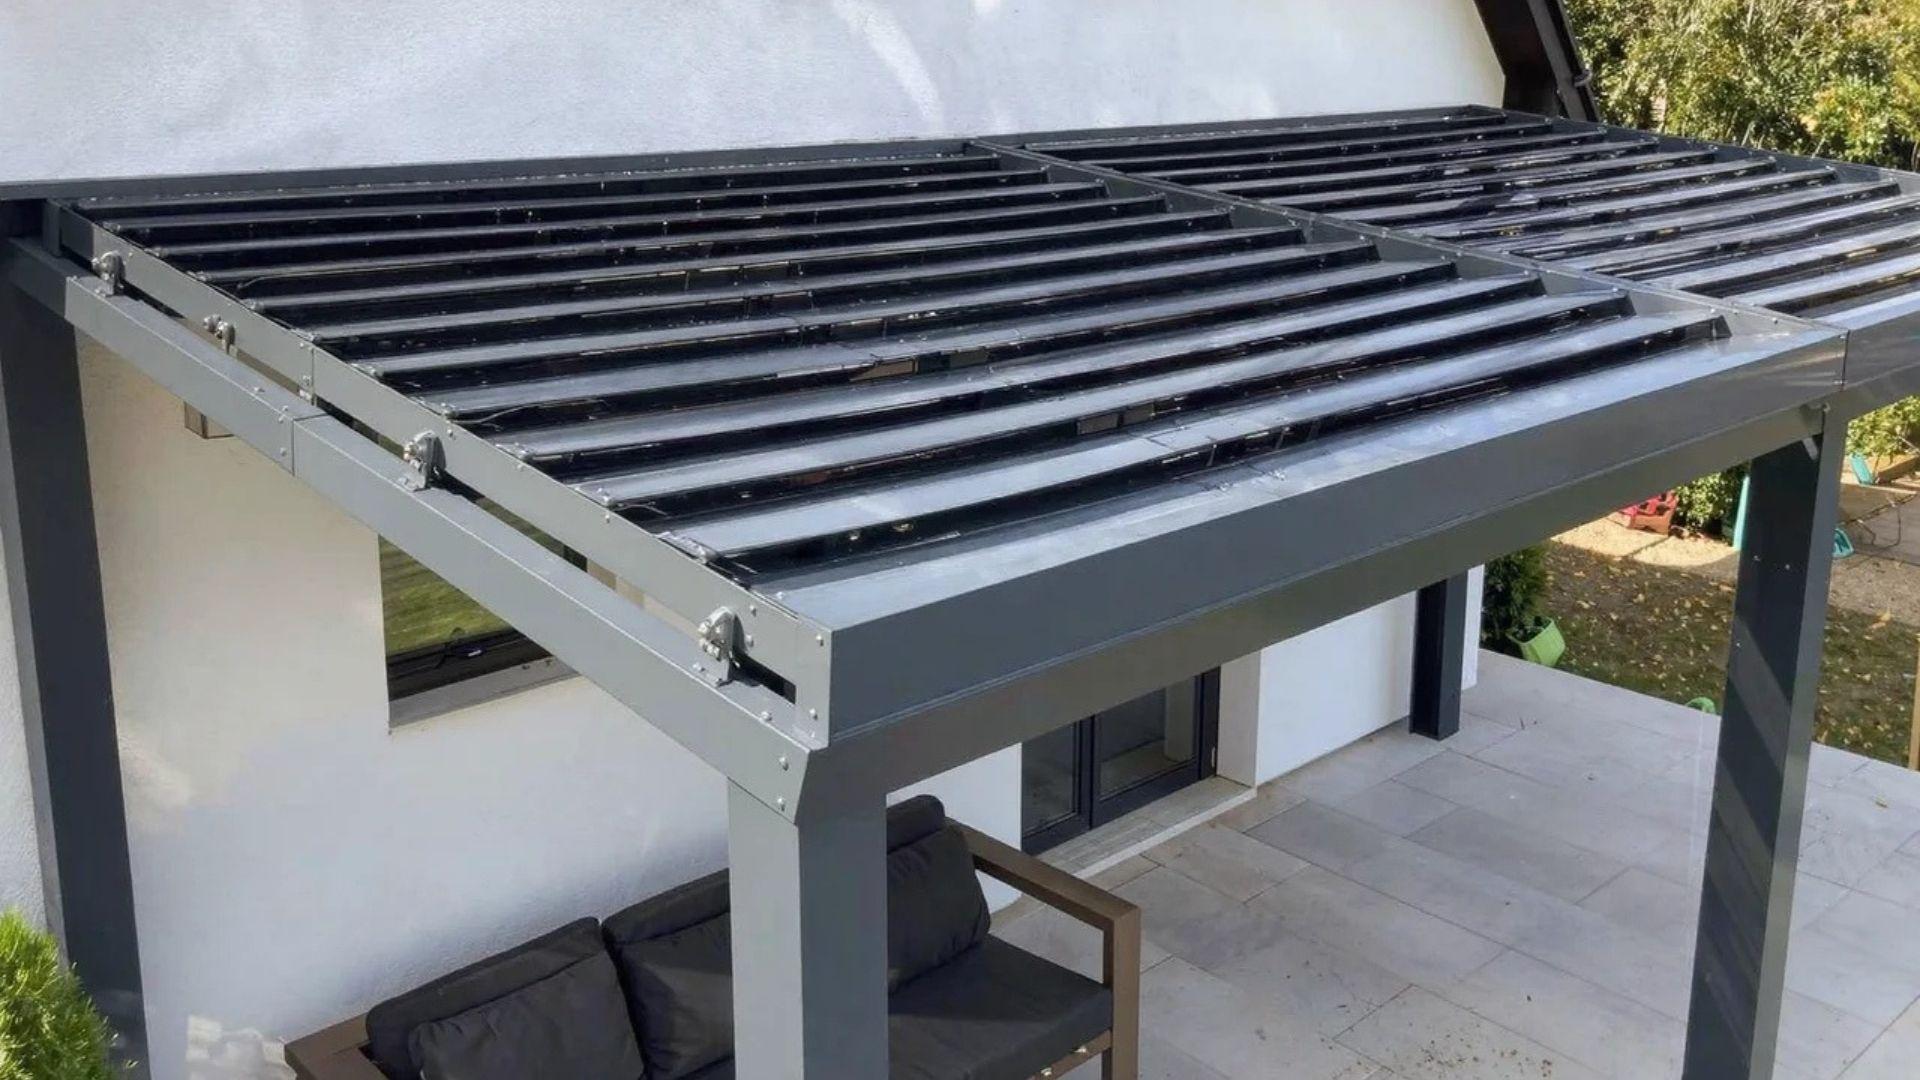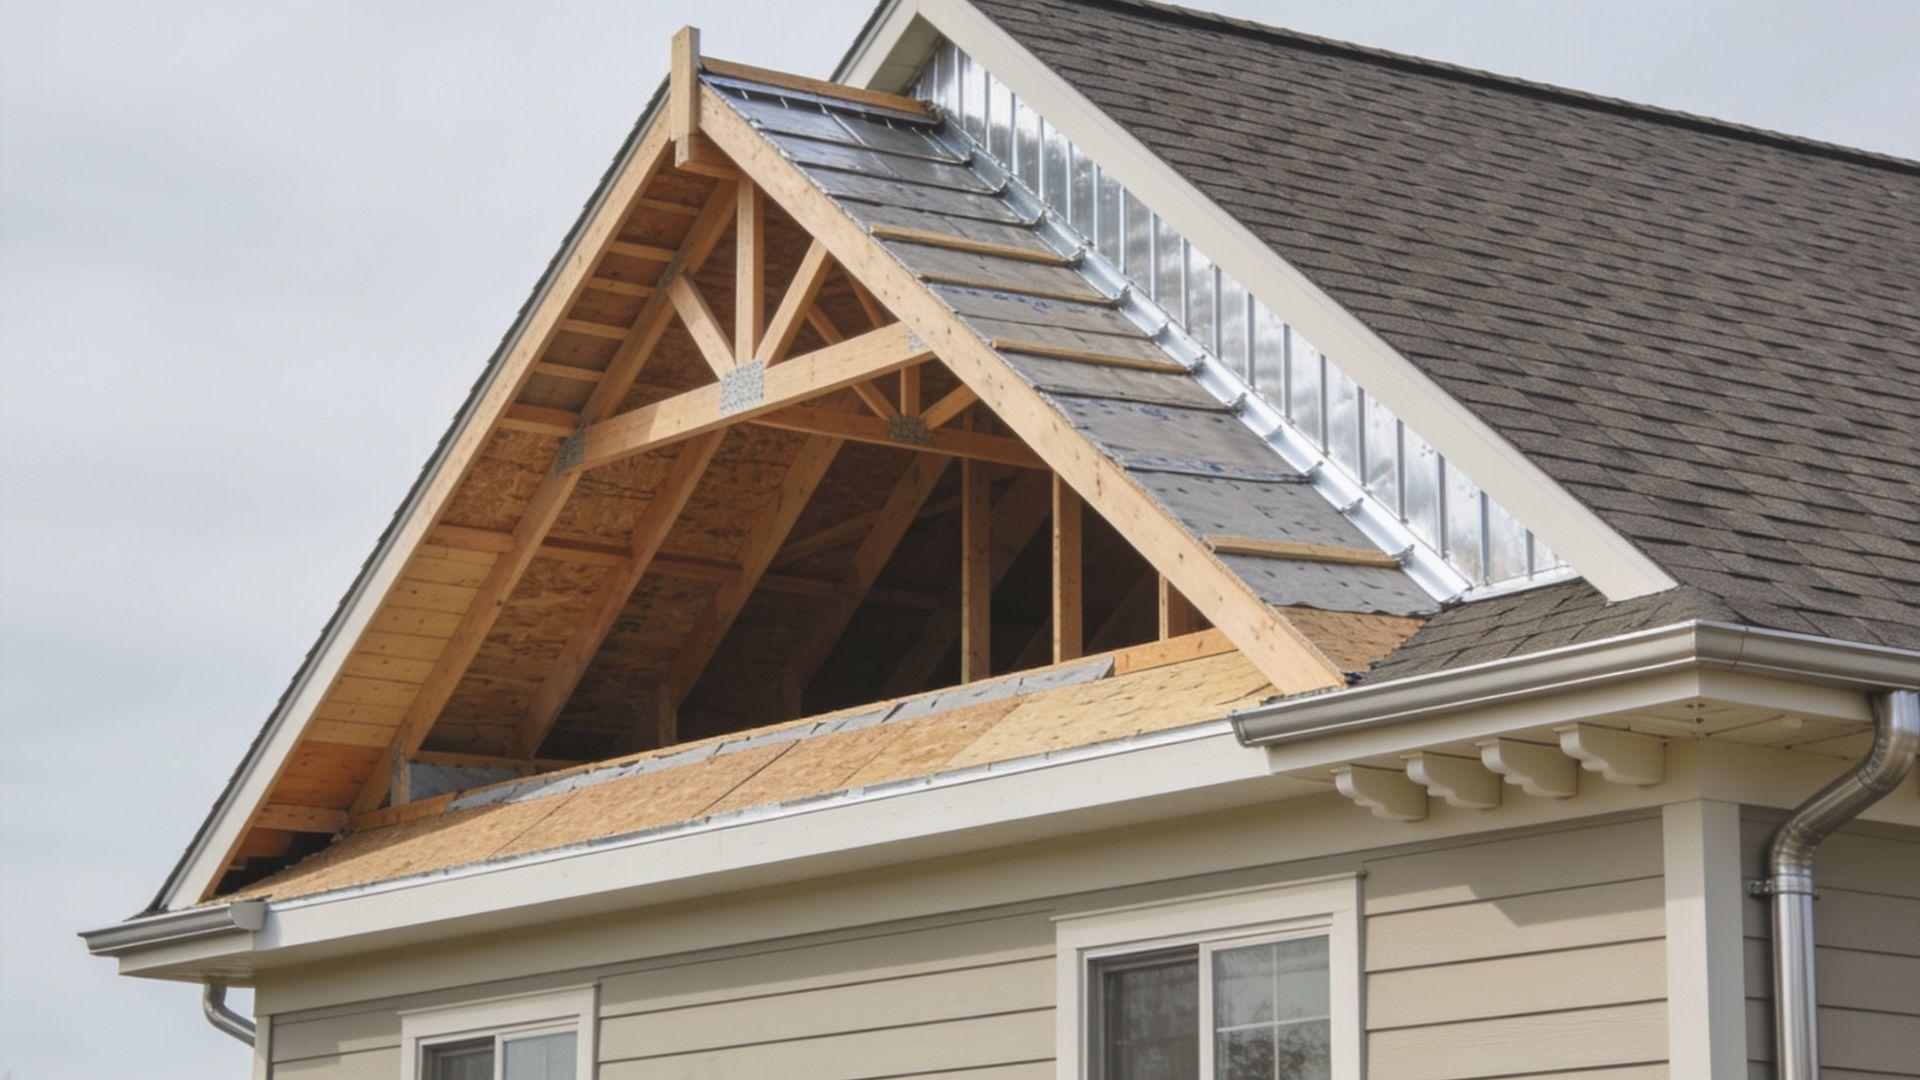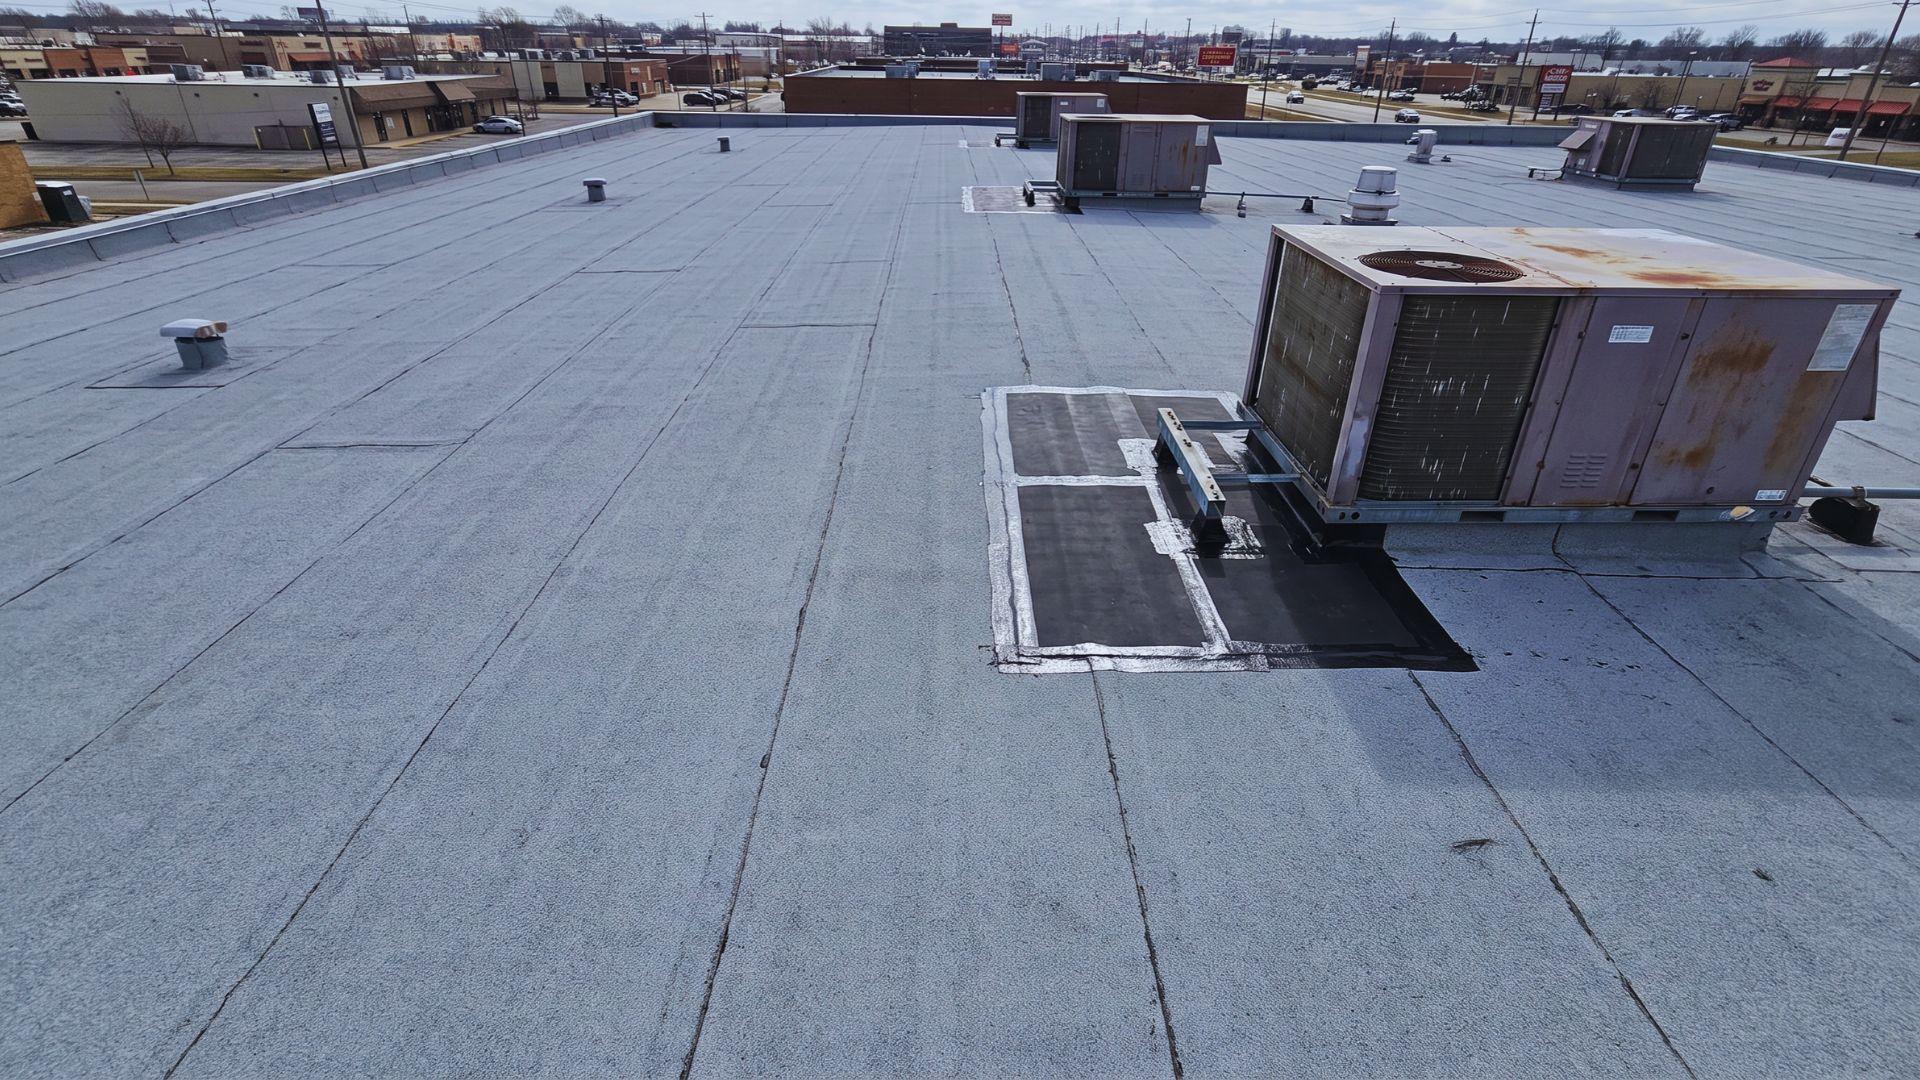
A flat roof looks simple from the outside. One level surface, no pitch, no visible complexity.
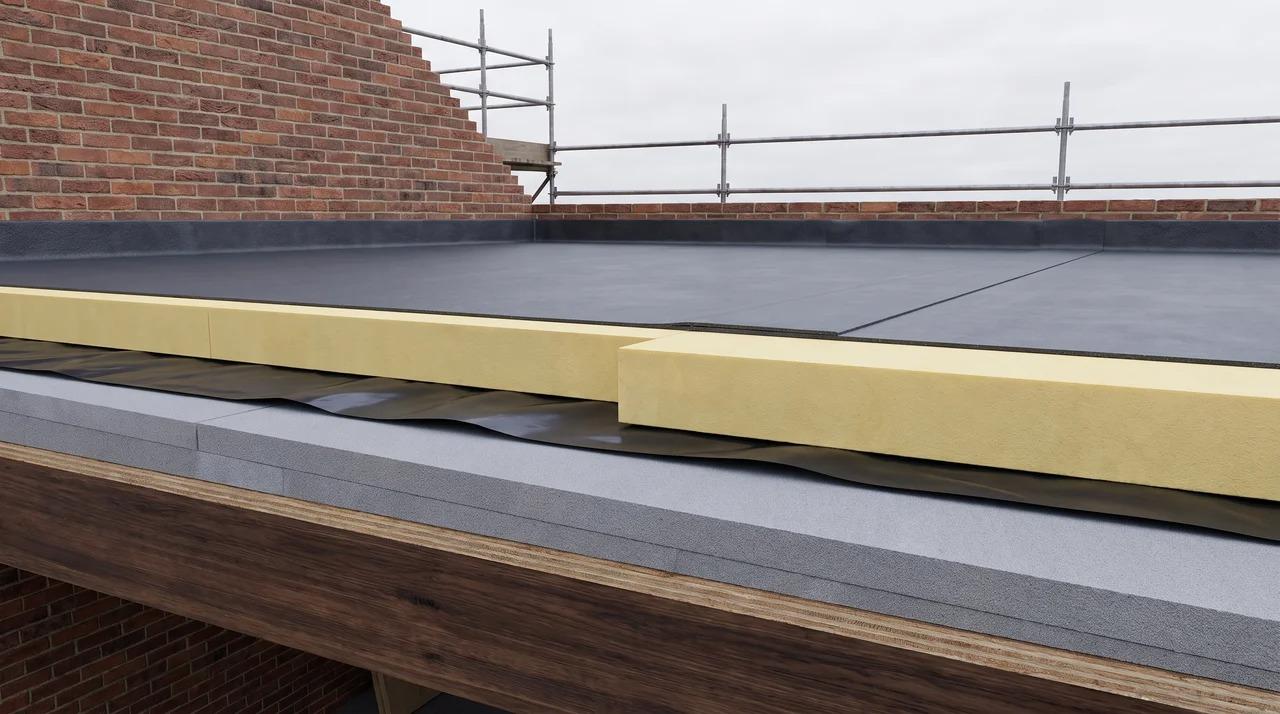
But what sits underneath that surface is a five-layer system where every single layer depends on the one below it being correct.
Get the sequence right and a flat roof construction project can last decades. Miss a step, place something out of order, or skip a layer entirely and the damage starts quietly.
It hides above the ceiling, long before it shows up where you can see it.
What Is Flat Roof Construction?
Flat roof construction is a low-slope roofing system built from a structural deck, a drainage slope, insulation, and a waterproof membrane, each layer doing a specific job in sequence.
The name is a little misleading. A flat roof isn't actually flat. It sits at a slope of 10° or less, with a minimum fall of ¼-inch per foot. That slight angle is what moves water off the surface instead of letting it sit.
What makes flat roof construction distinct isn't the angle. It's the system. Each layer depends on the one below it. Get the order wrong, skip a layer, or place something incorrectly and the whole roof pays for it, usually in ways you can't see until the damage is already done.
What Does a Flat Roof System Include?
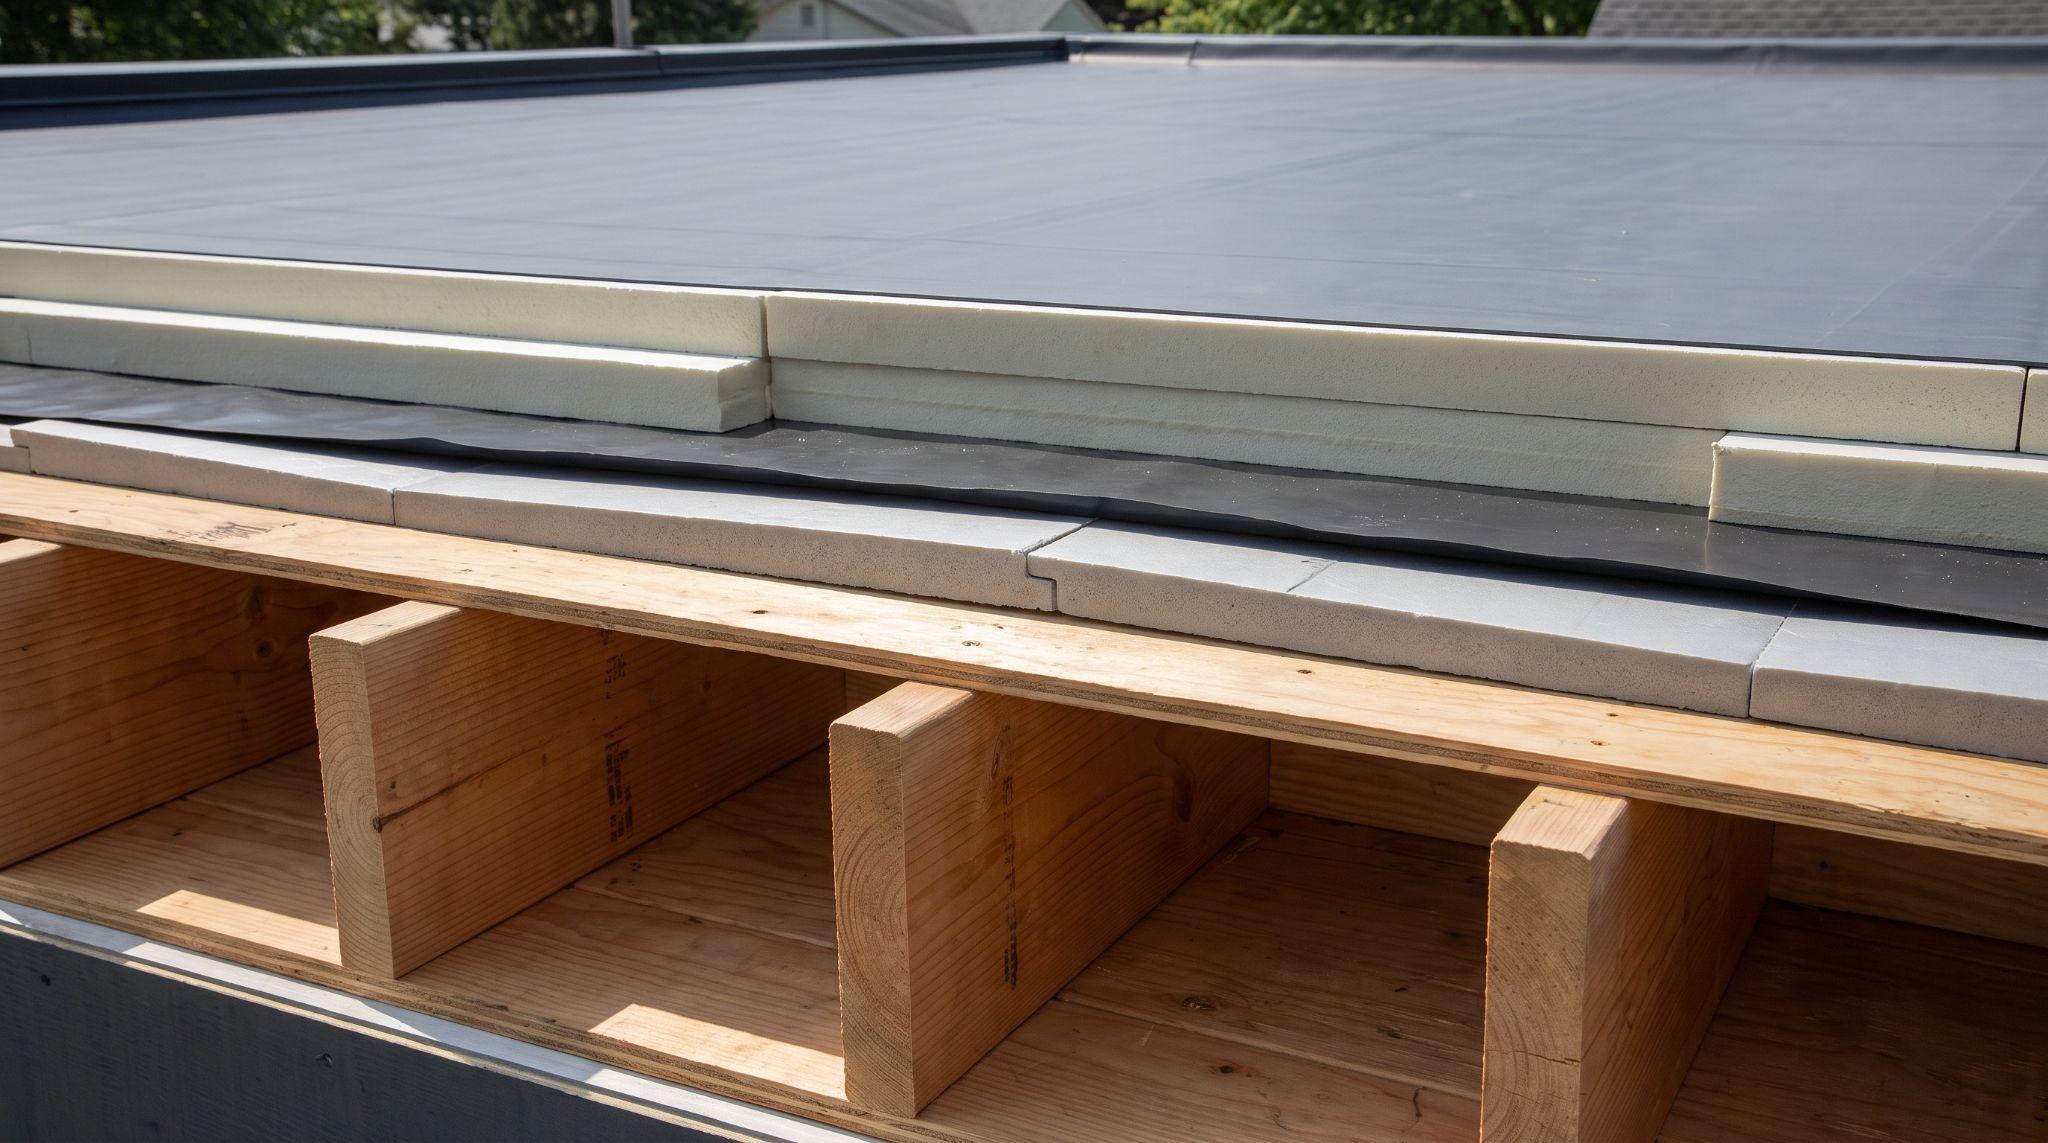
A flat roof is a stacked system of five distinct layers. Each one performs a function the layers around it depend on. Understanding what each layer does and why it sits where it does is what separates a roof that lasts from one that quietly fails.
Structural Deck
The deck is the base everything else sits on. In residential flat roof construction, it's usually plywood or OSB fixed to timber joists. Concrete decks are more common in commercial builds.
The deck needs to be structurally sound and dry before any other layer goes down; moisture in the deck at this stage causes problems that no membrane above it can fix.
Roof Slope and How It's Created
The slope on a flat roof isn't built into the framing the way a pitched roof works. The structure itself is level. The fall comes from what you add on top of it.
Two methods create this slope. Tapered insulation boards are cut at a gradual angle and laid across the deck, building up thickness toward the high point.
Furring strips, thin timber battens fixed to the deck at increasing heights achieve the same result before insulation goes on.
Either way, the goal is the same:a continuous, consistent fall toward the drainage outlet. A slope that's uneven or interrupted creates low spots where water collects.
Vapor Control Layer
Warm air inside a building carries moisture. As that air moves upward and meets colder surfaces, it cools and that moisture condenses. In a flat roof, the cold zone is the insulation layer.
Without a vapor control layer, warm interior air migrates up through the deck and into the insulation where it condenses. You can't see it happening.
The insulation stays wet, loses its thermal performance, and the timber structure beneath it starts to decay.
The VCL sits directly on top of the structural deck below the insulation and stops that warm, moist air before it reaches the cold zone. Its position is non-negotiable. Placed above the insulation, it does nothing useful.
If you're also budgeting a crawl space project alongside this build, vapor barrier installation costs follow a similar logic position and coverage are what determine the price, not just the material.
Thermal Insulation
Rigid insulation boards go directly above the VCL. PIR (polyisocyanurate) is the most common choice in residential flat roof construction; it offers a high thermal resistance relative to its thickness.
EPS and XPS boards are also used, particularly where moisture resistance is a priority.
In a warm roof design, all insulation sits above the deck. This keeps the structural timber warm and dry on both sides.
Verify current recommended R-values with your building regulations before specifying thickness.
Waterproof Membrane
The membrane is the outermost layer, the one that takes the weather. The main options are EPDM (synthetic rubber), TPO, PVC, and modified bitumen.
Each installs differently and suits different conditions. The full comparison is in the materials section below, but at this stage, what matters is that the membrane sits above everything else and forms a continuous, unbroken seal across the entire roof surface.
How to Build a Flat Roof Step by Step
Building a flat roof follows a fixed sequence. Each step creates the condition the next one depends on. You can't lay the membrane before the insulation is down. You can't insulate before the VCL is sealed. The order isn't a preference, it's the build.
Choose Your Membrane Material
Confirm your membrane before work starts, not after the deck is down. Changing your mind mid-build costs time and money.
Here's what each option suits:
- EPDM: low foot traffic, residential builds, wide temperature range
- TPO: high-UV climates, heat-welded seams, cost-competitive
- PVC: high-UV climates, longer track record than TPO, stronger seam performance
- Modified bitumen: regular foot traffic, rooftop equipment, multi-layer durability
Whichever you choose, seam quality matters more than the material itself. A well-installed EPDM will outlast a poorly seamed TPO every time.
Step 1: Frame the Roof Structure
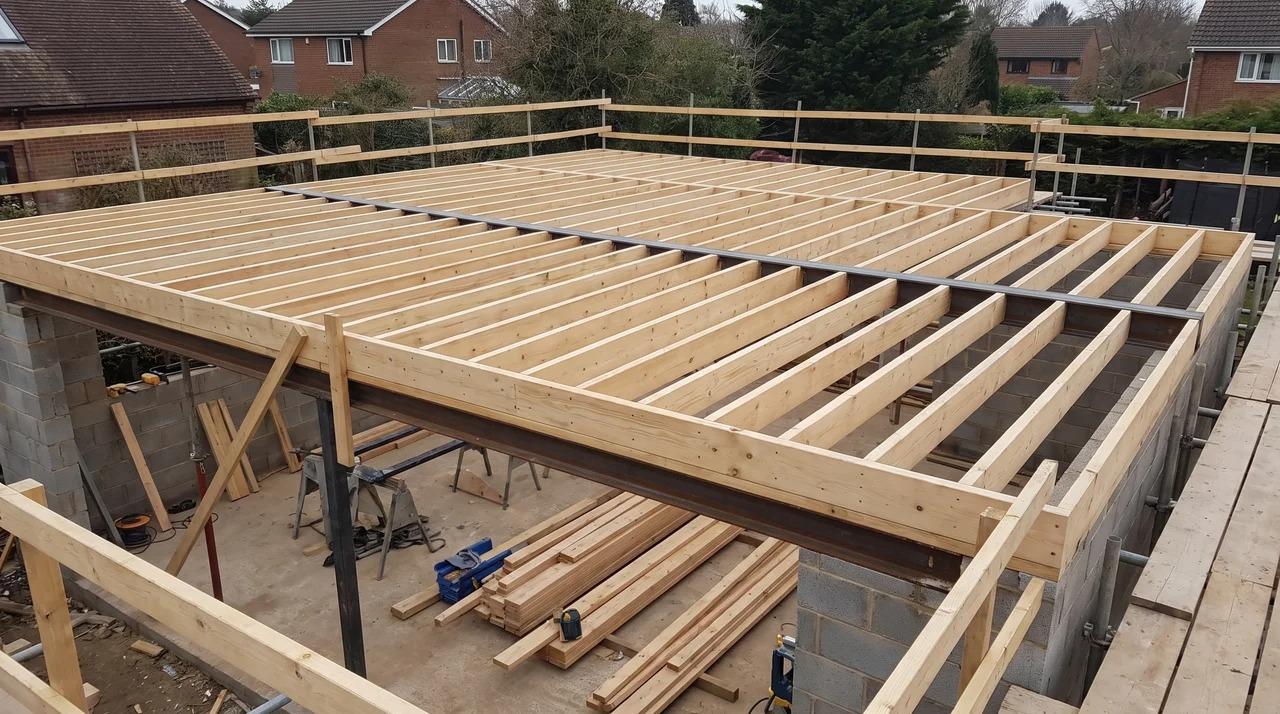
Install your joists or beams at the correct centres and span for the roof's load. If you're still deciding on your framing approach, it helps to understand the different roof truss types before you commit to a layout. Keep the frame level.
Slope comes later, not here. Any twist or bow in the framing creates an uneven base that every layer above it will inherit.
Step 2: Fix the Deck and Create the Drainage Slope
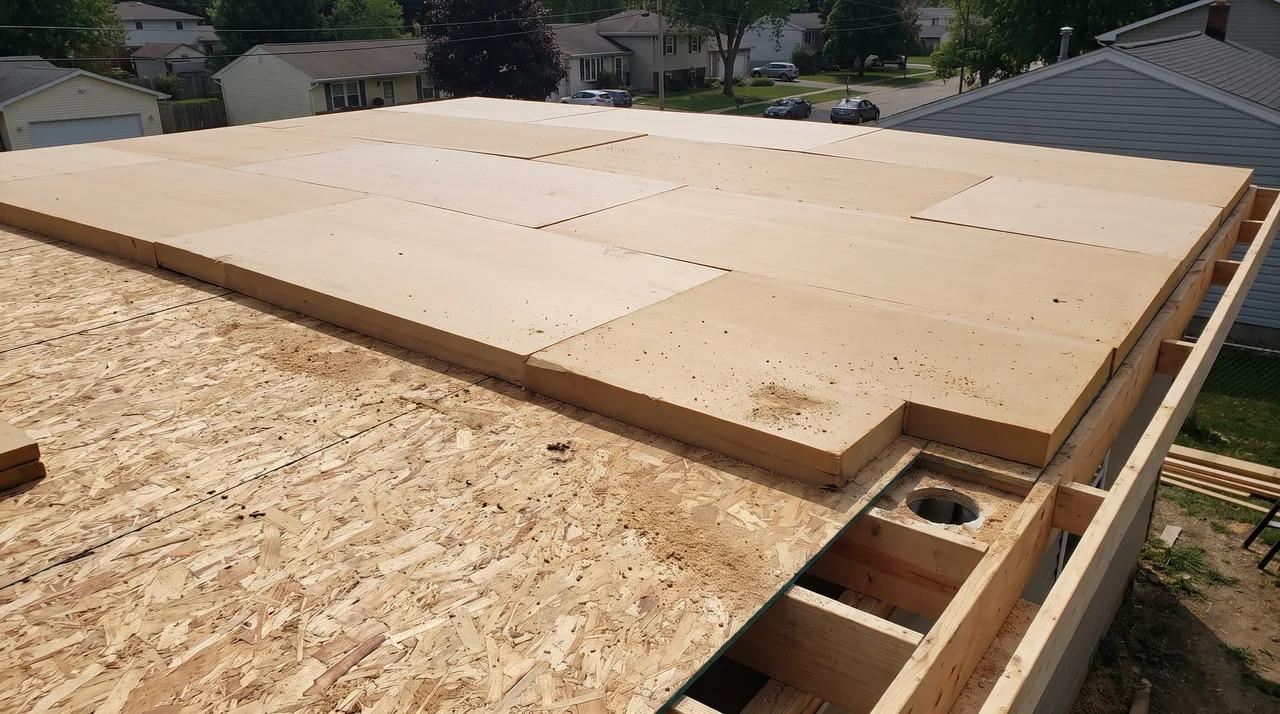
Lay plywood or OSB across the joists and fix it securely. It must be dry at installation. Once the layers go on top, any moisture trapped in the deck has nowhere to go.
Then build the slope on top of the level deck using tapered insulation boards or furring strips fixed at increasing heights.
Either way, the fall needs to be consistent at least ¼-inch per foot running toward the outlet.
Step 3: Lay the Vapor Control Layer
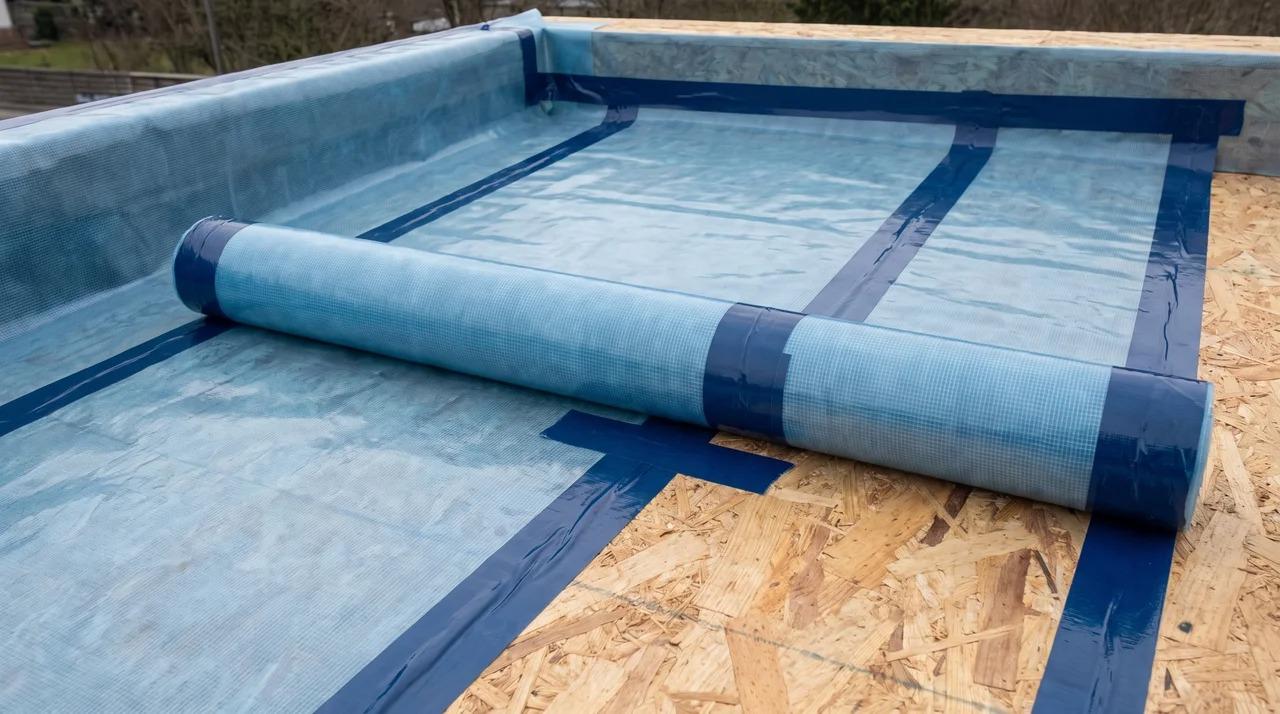
Roll the VCL directly onto the deck before any insulation goes down. Lap every joint by at least 150mm and seal the edges completely.
A single unsealed gap breaks the barrier across the whole roof. The VCL belongs below the insulation. Placed above it, it does nothing useful.
Step 4: Install the Insulation and Apply the Membrane
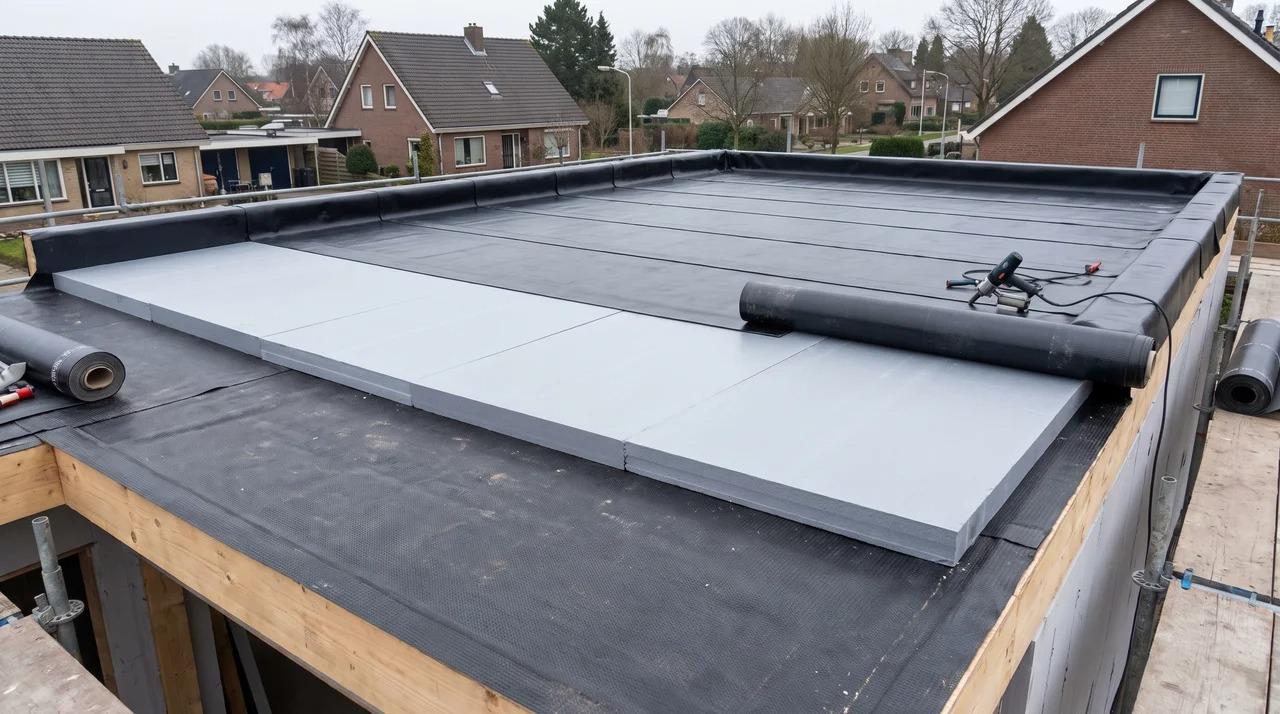
Lay rigid insulation boards above the VCL, butted tight with no gaps at the joints. The finished surface must be flat and stable before the membrane goes down. Then roll out your chosen membrane across the full surface.
EPDM glues or ballasts down. TPO and PVC heat-weld at the seams. Modified bitumen torches in layers. Seams get fully bonded with no lifting edges.
Penetrations get dressed before the field membrane goes down, not after.
Step 5: Fit Flashings and Drainage Outlets
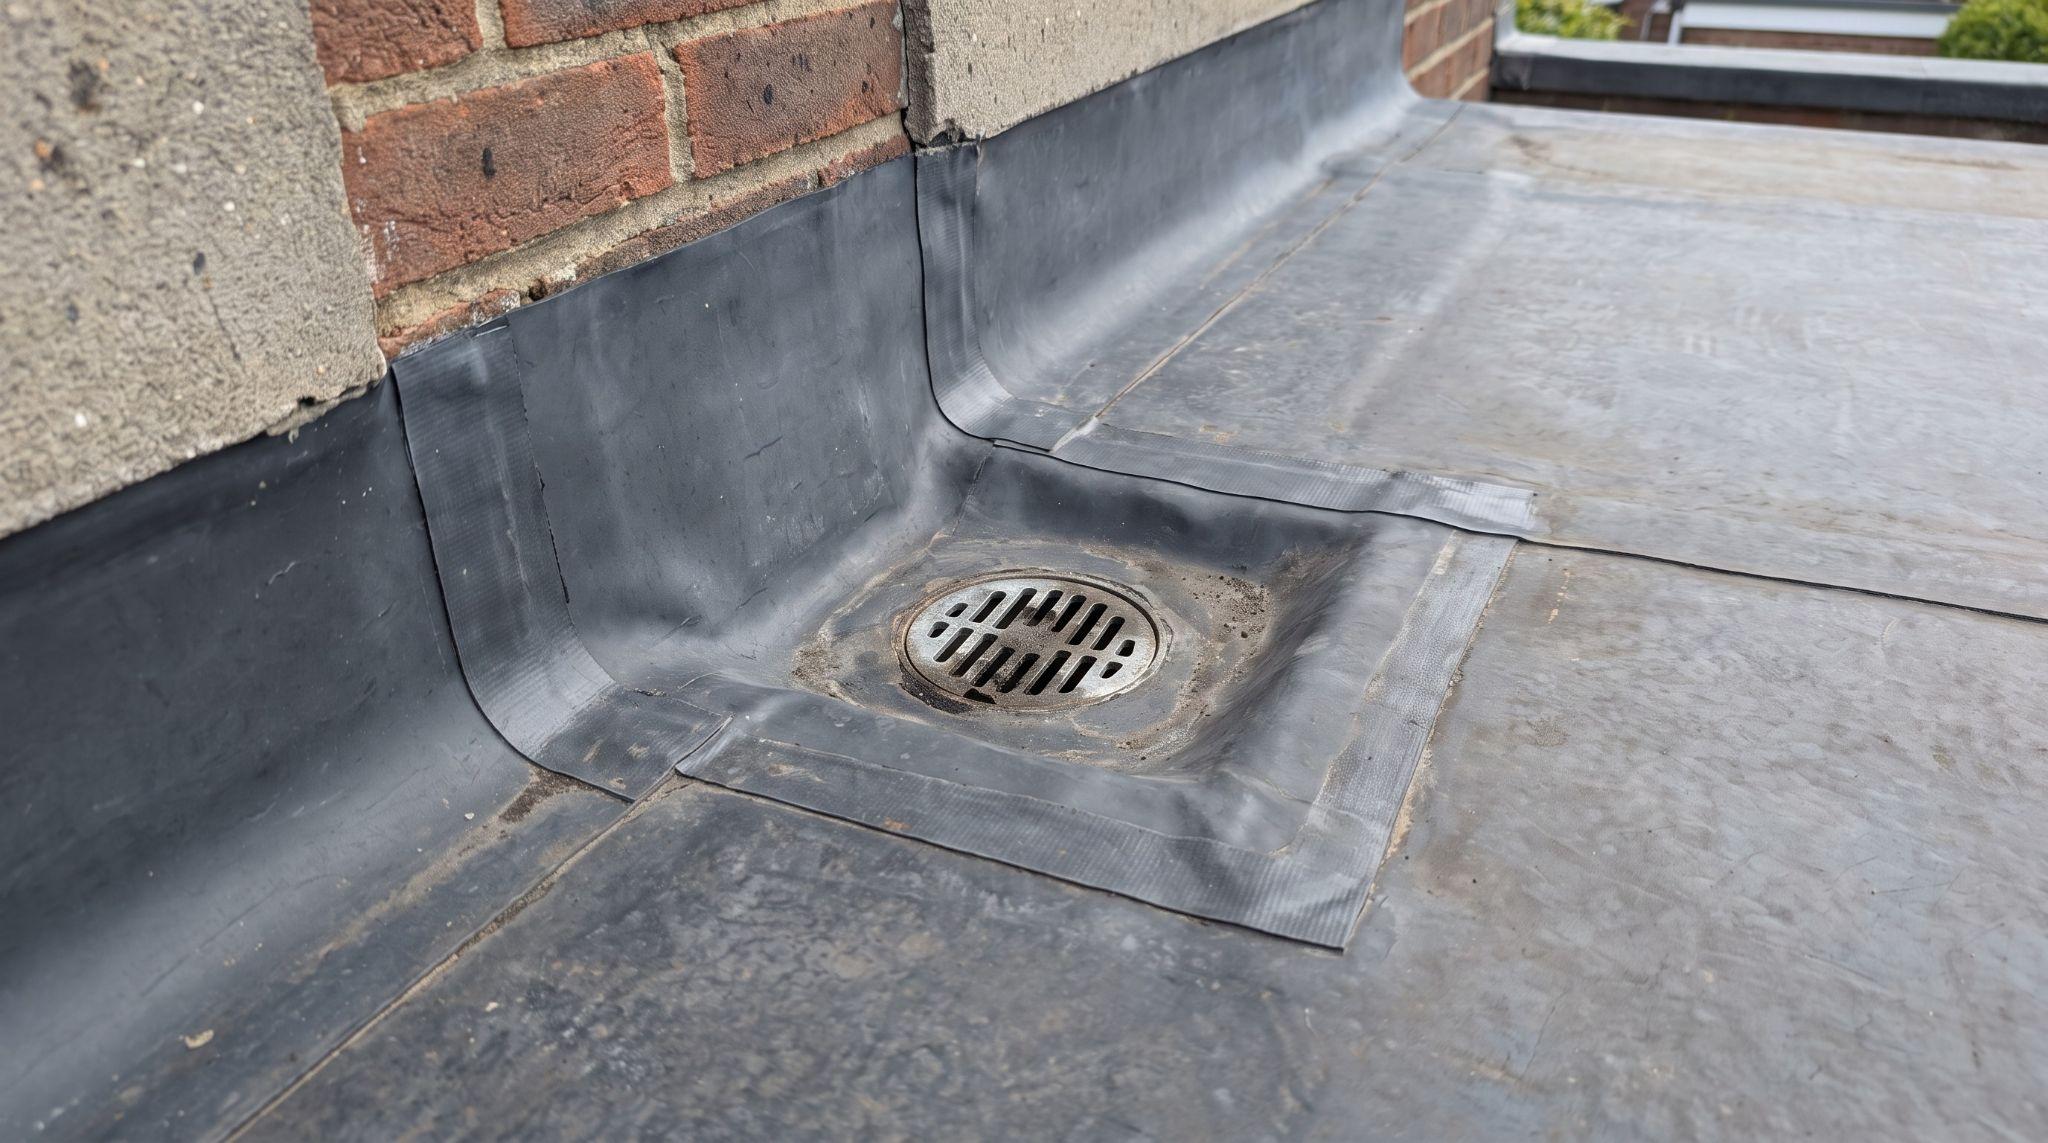
Flashings dress every junction where the membrane meets a vertical surface, upstands, parapets, and wall abutments.
Each one gets fully bonded and turned up to the correct height. A flashing that lifts at the edge is a water entry point.
Outlets and scuppers must sit at the lowest point of the finished surface. Not the deck. The finished surface, after all layers are down.
Warm Deck vs. Cold Deck: Which Flat Roof Design Is Right?
Warm deck and cold deck refer to where insulation is placed relative to the structural deck. That single decision determines whether the roof structure is at risk of hidden condensation damage.
| Factors | Warm Deck | Cold Deck |
| Insulation position | Above the structural deck, below the membrane | Between or below the joists |
| Deck temperature | Stays warm, matches interior | Exposed to cold air |
| Condensation risk | None, no cold zone forms | High, deck sits where condensation triggers |
| Ventilation required | No | Yes, 50mm clear airflow path minimum |
| Execution difficulty | Straightforward | Difficult to achieve correctly |
| Industry standard | Yes | No |
The ventilation requirement is where cold deck designs consistently fail. That 50mm airflow gap needs to run clear and unobstructed across the full roof area.
Once you've insulated the joist bays to modern thermal standards, there's almost no depth left to achieve it. The insulation fills the bay. The ventilation path closes.
When that gap gets compromised, moisture builds in the deck. Rot follows silently, above the ceiling, until the damage is already serious.
A warm deck removes that risk entirely. The insulation sits above the deck. There's no cold zone, no condensation risk, and no ventilation calculation to get wrong. For any residential flat roof construction project, a warm deck is the design worth building.
Where Flat Roof Construction Goes Wrong
Most flat roof failures trace back to one of three causes: inadequate drainage slope, membrane failure at seams or penetrations, or a missing vapor control layer.
Each has a different origin and a different fix.
- Drainage failure. The fall across the surface needs to be consistent, at least ¼-inch per foot, with outlets at the lowest point. When that slope is off or drains are blocked, water pools. Standing water accelerates UV degradation and forces its way into any weakness it finds.
- Membrane failure. Field failure is almost always age or UV wear. Failure at seams, penetrations, or flashings is almost always an installation error. The fix for one is replacement. The fix for the other is better workmanship. Treating them the same way means the problem comes back.
- VCL omission. There are no immediate symptoms. The roof looks fine from the outside while warm air condenses against the deck, wets the insulation, and breaks down the timber beneath it. By the time it shows, the structural damage is already significant.
All three failures are avoidable. But only if you know to look for them before the roof goes on, not after.
Final Verdict
Flat roof construction rewards the builders who understand the system, not just the surface. Every layer has a job. Every step sets up the next.
The difference between a roof that lasts and one that fails early often comes down to a single decision made before the build starts. The wrong deck design, a VCL placed incorrectly, a seam left unbonded.
Now that you know what each layer does and why the sequence matters, you are in a far stronger position to plan, oversee, or evaluate a build.
Frequently Asked Questions
Are flat roofs cheaper to build than pitched roofs?
Flat roofs cost less upfront due to simpler framing and less material. However, long-term maintenance costs are higher. The true cost comparison depends on membrane choice, building size, and local climate.
What are the three common types of flat roof construction?
The three main types are warm deck, cold deck, and inverted roof. Warm deck is the industry standard for residential builds. Cold decks need strict ventilation and inverted roofs are more common commercially.
How long does a flat roof last?
Lifespan depends on membrane type and installation quality. EPDM, TPO, and PVC systems can perform well for decades with proper maintenance. Seam quality and drainage performance matter more than material choice alone.
Why don't more residential homes use flat roofs?
Flat roofs need more active drainage management than pitched roofs, which shed water passively. In areas with heavy rain or snow, the margin for error is smaller. Modern membranes have improved significantly but the perception hasn't fully caught up.