Compare vapor barrier vs encapsulation costs, benefits, and which one truly protects your crawl space best.
Cost To Install Vapor Barrier In Crawl Space Guide

Moisture in your crawl space can quietly damage your home long before you notice the signs. Over time, excess moisture can lead to mold growth, wood rot, poor indoor air quality, and even structural problems.
This guide explains the two most common solutions, vapor barriers and full crawl space encapsulation, so you can understand the differences, costs, and long-term benefits of each option.
Whether you are dealing with light humidity or serious water intrusion, choosing the right moisture control system is important for protecting your home.
Our recommendations are based on real homeowner experiences and practical home improvement research to help you make an informed decision with confidence.
Why Crawl Space Moisture Is a Major Concern for Homeowners
Crawl space moisture is a problem that grows quietly. Water vapor rises from the ground every day and soaks into wood beams, insulation, and walls, leading to mold, pests, and structural damage.
Most homeowners don't find out until repair costs are already high. Both vapor barriers and encapsulation help by blocking ground moisture before it causes harm.
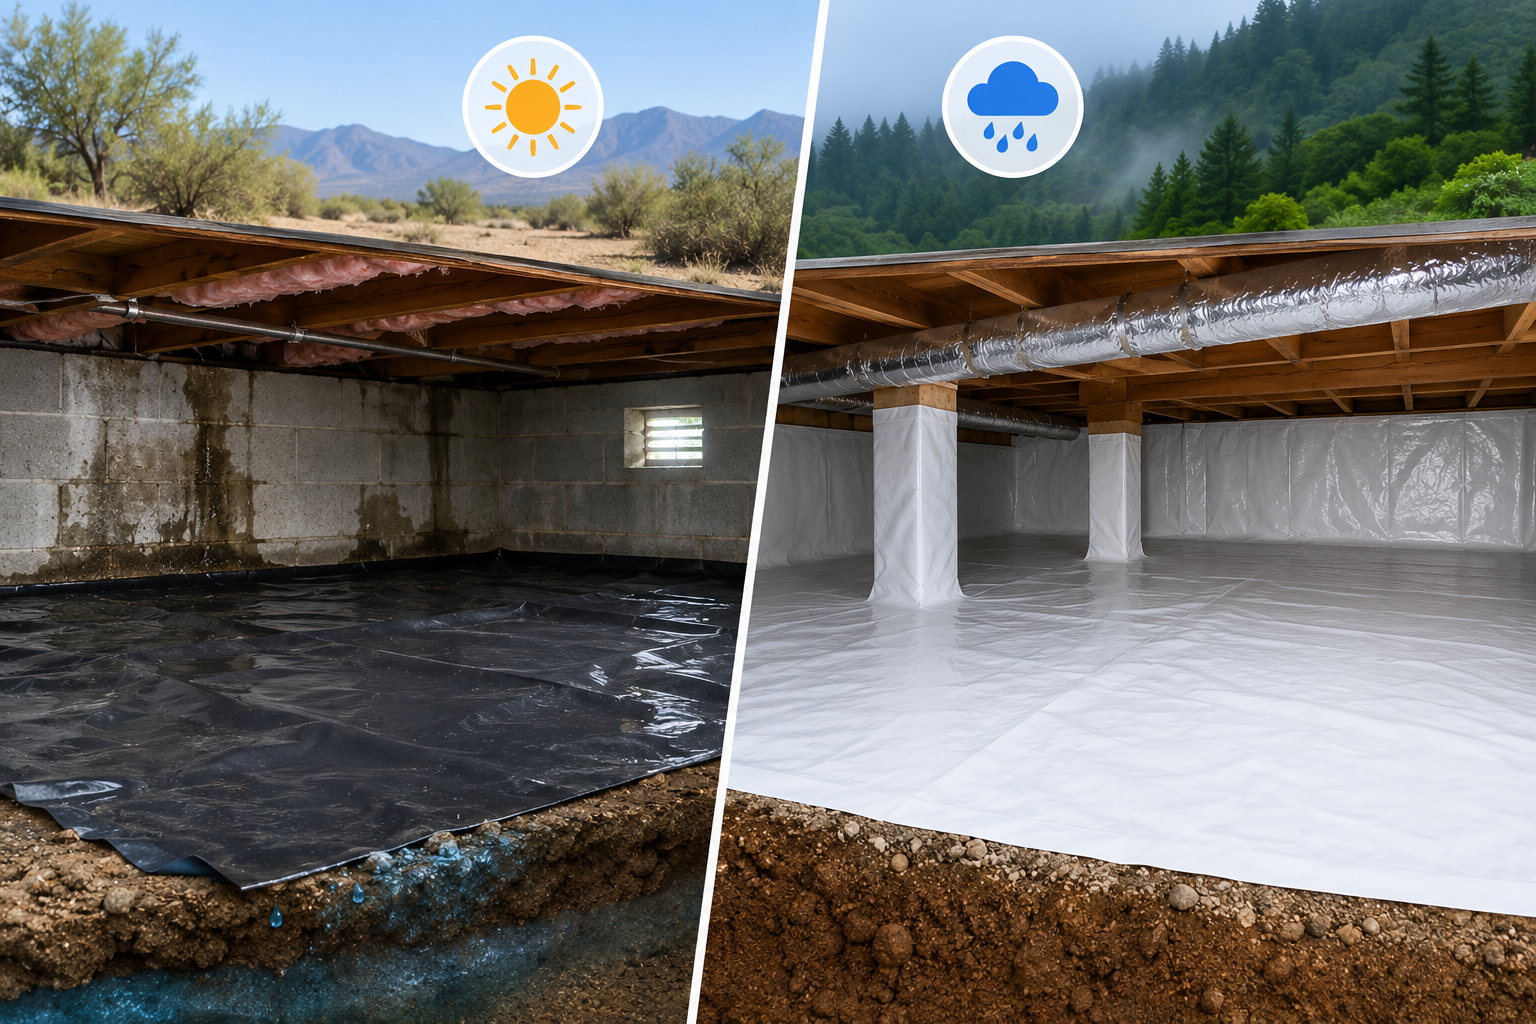
A vapor barrier covers the floor with plastic sheeting, while encapsulation goes further by sealing the walls, floor, and vents into one complete system.
Vapor barriers typically cost between $1,500 and $4,000, while full encapsulation runs $5,000 to $15,000 or more. The right choice comes down to your home's moisture level, your climate, and your budget.
What Is a Crawl Space Vapor Barrier?

A crawl space vapor barrier is a plastic sheet laid across the ground beneath your home. It slows moisture from rising up through the soil. It's the most basic form of moisture control, and for many homes, it gets the job done well.
Definition and Basic Function
The barrier sits on the crawl space floor and acts as a shield. It doesn't eliminate all moisture, but it reduces how much enters the space.
This simple step can prevent mold, protect wood, and keep the air in your home cleaner.
Materials Used (6mm–9mm Plastic Sheets)
Most vapor barriers are made from polyethylene plastic, ranging from 6mm to 9mm thick. Thicker sheets last longer and resist tears better.
Thinner options cost less but may need replacing sooner.
How Installation Is Done in Crawl Spaces
A contractor clears the crawl space, then lays the sheeting across the ground. Seams are overlapped and taped. The edges are secured to the walls or foundation.
The job usually takes one day for an average-sized crawl space.
Benefits of Installing a Vapor Barrier
Even as the simpler option, a vapor barrier delivers real, measurable benefits for your home.
- Blocks ground moisture before it soaks into wood beams, insulation, and walls, stopping mold before it starts.
- Improves indoor air quality by reducing the amount of moisture that circulates up from the crawl space into your living areas.
- Lowers energy costs by reducing strain on your heating and cooling system, making it work less to manage humidity.
- Keeps pests out by removing the damp conditions that attract termites, rodents, and other common crawl space pests.
- Protects your home's structure by slowing wood rot and preserving the integrity of your floor joists and foundation supports over time.
What Is Crawl Space Encapsulation?

Encapsulation is a full moisture control system. It seals the entire crawl space, including the floor, walls, and sometimes the ceiling. It's more involved than a simple vapor barrier, but it offers much stronger protection.
Full Sealing vs Partial Coverage
A vapor barrier only covers the floor. Encapsulation covers everything, walls, support columns, and the foundation. This creates a fully sealed space where outside air and moisture can't easily get in.
Materials Used (12mm–20mm Heavy-Duty Liners)
Encapsulation uses thicker liners, usually 12mm to 20mm. These are reinforced and far more durable. They're designed to last 20 years or more with minimal upkeep.
Additional Systems Like Dehumidifiers and Sump Pumps
Most encapsulation systems include a dehumidifier to manage humidity levels inside the sealed space. Some also add sump pumps if water pooling is a concern. These additions increase cost but create a much more complete solution.
Benefits of Full Crawl Space Encapsulation
Encapsulation goes well beyond what a simple barrier can do. It's a long-term investment in your home's health and comfort.
- Seals the entire crawl space including walls, floors, and vents, creating a fully controlled environment where humidity stays low year-round.
- Reduces mold and moisture problems significantly by eliminating the conditions that allow them to grow and spread in the first place.
- Lowers long-term repair costs by preventing serious moisture damage, meaning fewer pest treatments, less structural work, and lower HVAC maintenance bills.
- Saves on energy costs by reducing the moisture load your heating and cooling system has to handle, with some homeowners reporting 10 to 20% savings.
- Increases home value by giving buyers confidence that the home has been properly maintained, making it a strong selling point when it's time to list.
Crawl Space Encapsulation Cost vs Vapor Barrier Cost
Both options protect your home, but they come at very different price points. Here's how they compare side by side.
| Factor | Vapor Barrier | Full Encapsulation |
| Upfront Cost | $1,500 to $4,000 | $5,000 to $15,000+ |
| Lifespan | 5 to 10 years | 20+ years |
| Replacement Needed | Yes, every few years | Rarely |
| Maintenance Level | Low | Very Low |
| Energy Savings | Minimal | 10 to 20% on heating and cooling |
| Moisture Protection | Partial (floor only) | Full (floor, walls, vents) |
| Long-Term Value | Good for low moisture homes | Better for humid or high moisture homes |
| Added Systems | Not included | Dehumidifier and sump pump optional |
The upfront cost difference is significant, but so is the protection each one delivers. A vapor barrier works well for basic needs.
Encapsulation is the stronger investment if you plan to stay in your home long-term and want a solution that holds up without frequent replacement.
Which Option Is More Cost-Effective?
This depends on your specific situation. There's no single right answer, but there are clear guidelines that point you in the right direction.
When a Vapor Barrier Is Enough
If your crawl space has low to moderate moisture, a vapor barrier works well. It's a smart choice for homes in drier climates or with good natural drainage.
It handles the basics without a large investment.
When Encapsulation Is the Better Investment
If your crawl space has standing water, heavy condensation, or a mold history, encapsulation is the smarter move.
It addresses root problems instead of managing symptoms. It also makes sense if you plan to stay in the home long-term.
Climate and Moisture Level Considerations
Homes in humid climates like the Southeast or Pacific Northwest benefit most from encapsulation.
In drier regions, a barrier often provides enough protection. Talk to a local contractor who understands your area's typical moisture patterns.
Installation Process Overview
Knowing what to expect during installation helps you plan ahead and ask the right questions before work begins.
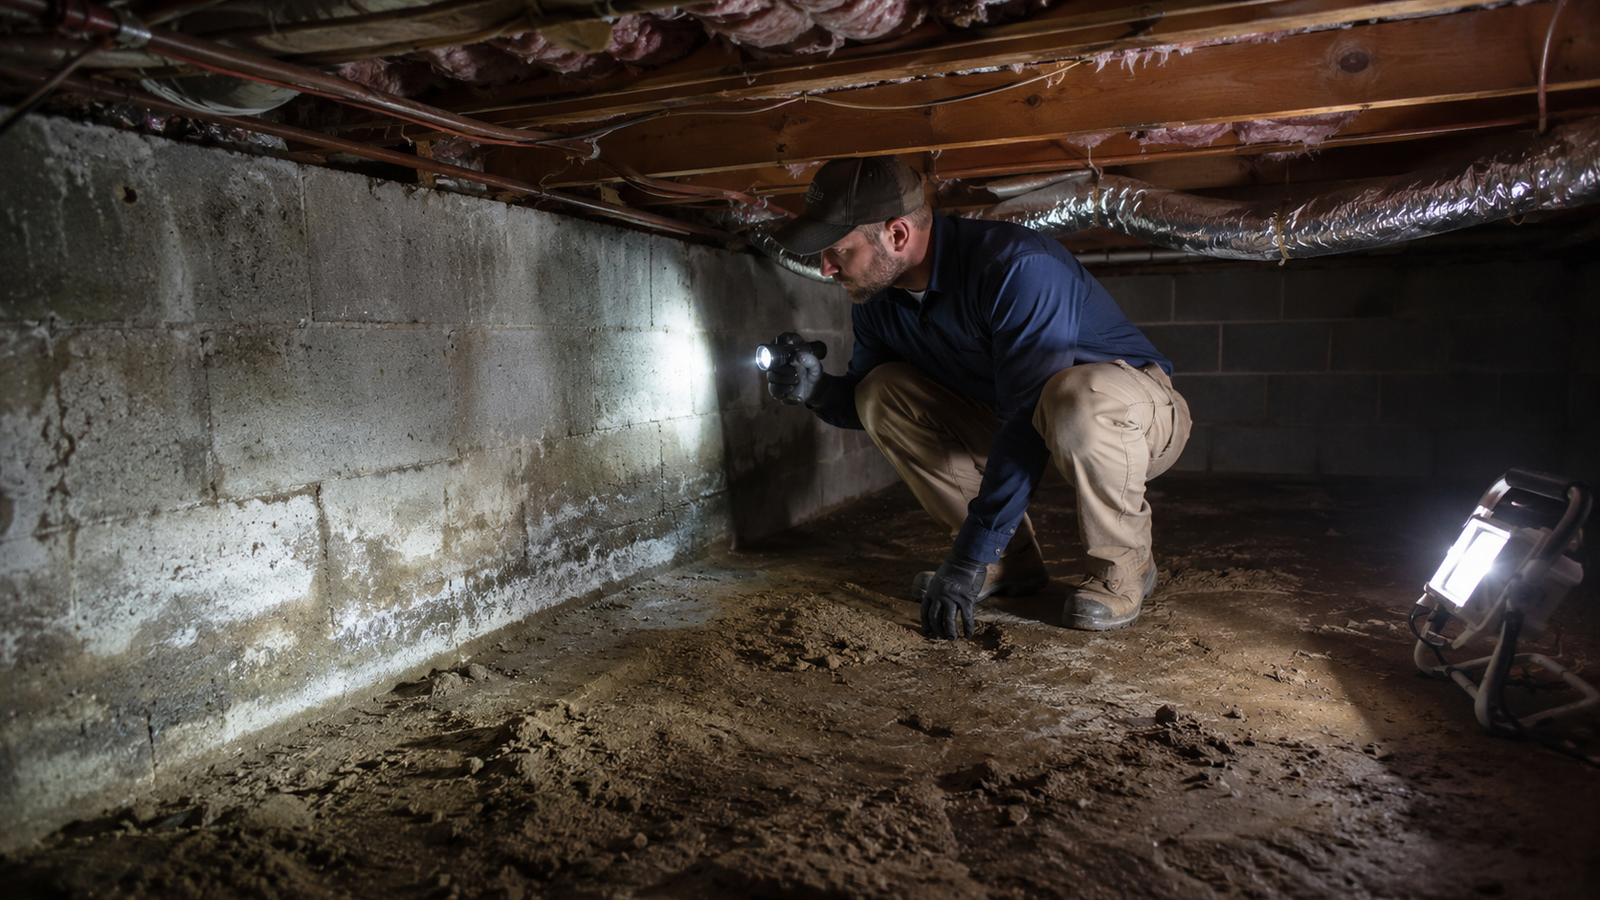
Step 1: Crawl Space Inspection and Preparation
Before anything is installed, a contractor inspects the crawl space.
They check for:
- Existing mold on walls and beams
- Standing water or drainage issues
- Pest damage from termites or rodents
- Structural concerns that need fixing first
Any problems found must be addressed before installation begins. Skipping this step leads to bigger issues down the road.
Step 2: Installation Timeline
| Solution | Time to Complete |
| Vapor Barrier | 1 day |
| Full Encapsulation | 3 to 5 days |
The timeline depends on crawl space size and whether added systems like dehumidifiers or drainage are included.
Step 3: Post-Installation Maintenance
Both options are low-maintenance, but small regular checks go a long way.
| Solution | What to Check | How Often |
| Vapor Barrier | Tears, gaps, loose edges | Once a year |
| Full Encapsulation | Dehumidifier, drainage systems | Every season |
Staying on top of these simple checks prevents small issues from turning into costly repairs.
Choosing the Right Solution
Both options protect your home. The question is which one fits your needs and your budget right now.
Budget vs Performance Trade-Offs
If the budget is tight, a quality vapor barrier gives solid protection at a lower cost. If you want stronger, long-term protection and can invest more upfront, encapsulation delivers better results over time.
Importance of Professional Assessment
Don't skip a professional inspection. A contractor can tell you the actual moisture levels in your crawl space and recommend the right solution based on real data, not guesses.
Long-Term Savings Perspective
Think beyond the install cost. Factor in energy savings, avoided repairs, and home value. In many cases, encapsulation pays for itself within 7 to 10 years when all those factors are added up.
Conclusion
Crawl space moisture isn't something most people think about until it becomes a real problem, and I completely understand that. It's not exciting.
But here's what I've seen time and again: the homeowners who deal with it early are the ones who avoid the big, stressful repair bills later. Even starting with a basic vapor barrier is a step in the right direction.
Pick the option that fits your budget, get a professional opinion, and don't wait. If this article helped you, share it with a neighbor or friend who might be dealing with the same thing.
Frequently Asked Questions
How Long Does a Crawl Space Vapor Barrier Last?
Most vapor barriers last between 5 and 10 years. Thicker materials last longer, and regular inspections help you catch damage before it turns into a bigger issue.
Is Crawl Space Encapsulation Worth the Cost?
For homes in humid climates or with ongoing moisture problems, yes. It provides long-term protection that reduces repair costs, lowers energy bills, and adds home value over time.
Can I Install a Vapor Barrier Myself?
It's possible for small spaces, but professional installation ensures proper sealing and overlap. DIY installs often have gaps that allow moisture through anyway.
What Thickness of Vapor Barrier Do I Need?
A 6mm sheet works for low-moisture areas, but for most homes, 9mm or higher is the better choice. It holds up longer and performs better under typical crawl space conditions.
Does Encapsulation Stop All Crawl Space Moisture?
It greatly reduces it. When paired with a dehumidifier and proper drainage, encapsulation controls moisture very effectively. No system removes 100% of moisture, but encapsulation comes closest.