I have built and maintained floating docks for years, and I know how confusing it can get when you are starting out.
This guide covers everything you need, from planning and materials to step-by-step assembly, anchoring methods, and maintenance tips.
Whether putting up your first dock or fixing an old one, you will find clear answers here. No fluff. No complicated terms.
I will walk you through the whole process so you feel confident at every step.
By the end, you will know exactly what to do, what to buy, and what mistakes to avoid before they cost you money.
Let’s get into it.
What Is Floating Dock Construction?
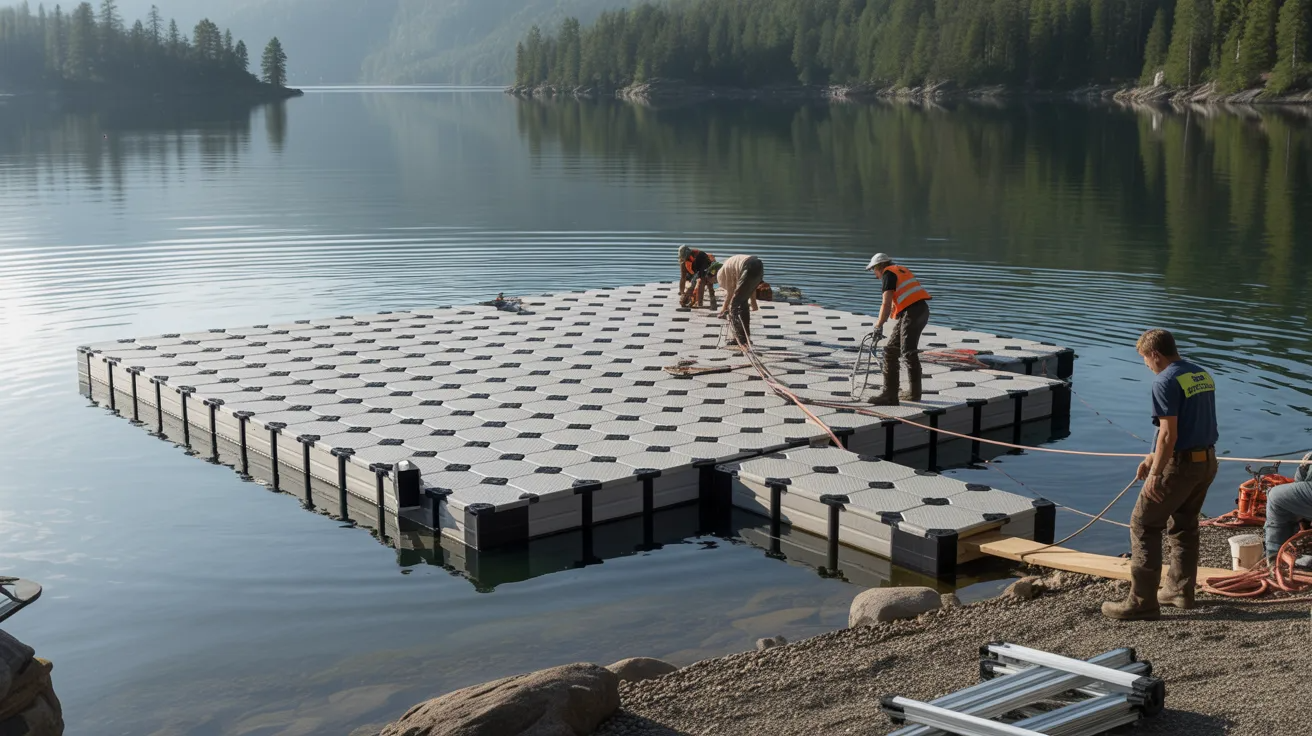
Floating dock construction means building a dock that sits on water using buoyant materials instead of fixed supports.
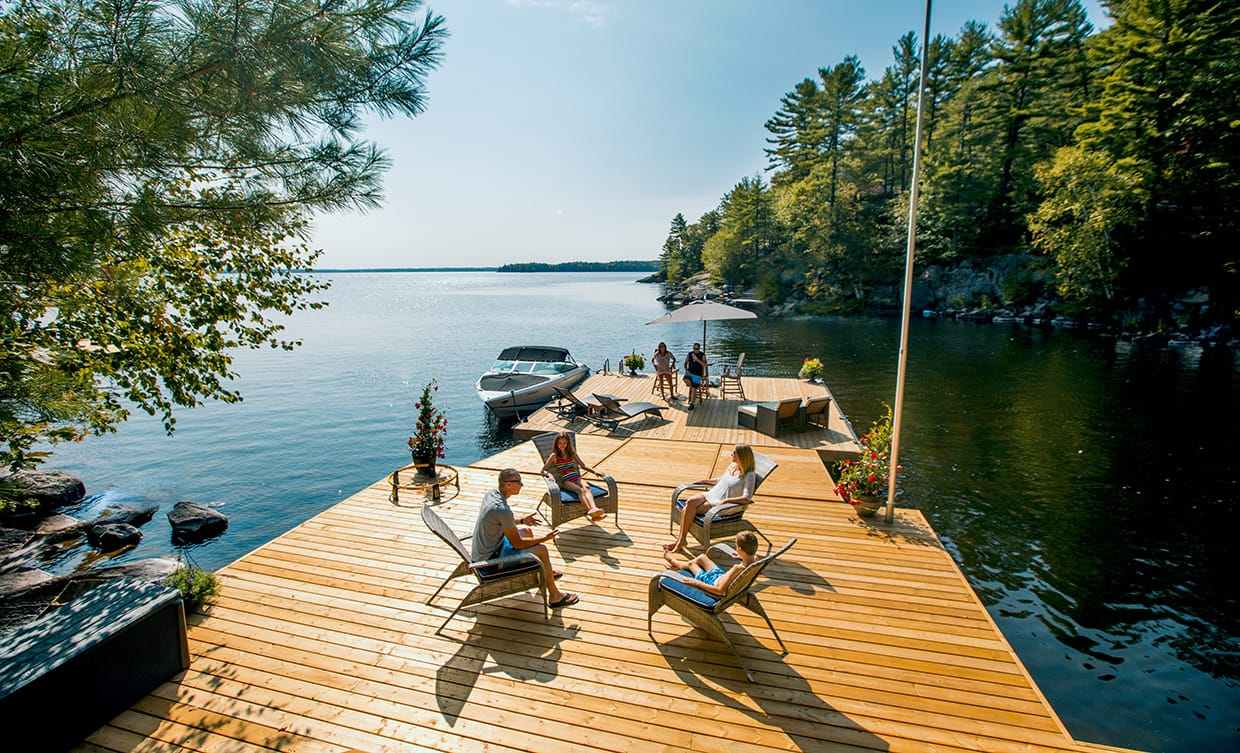
Floating dock construction is the process of building a platform that stays on top of the water. Unlike fixed docks, these structures rise and fall with the water level. This makes them a great fit for lakes, rivers, and marinas with changing tides.
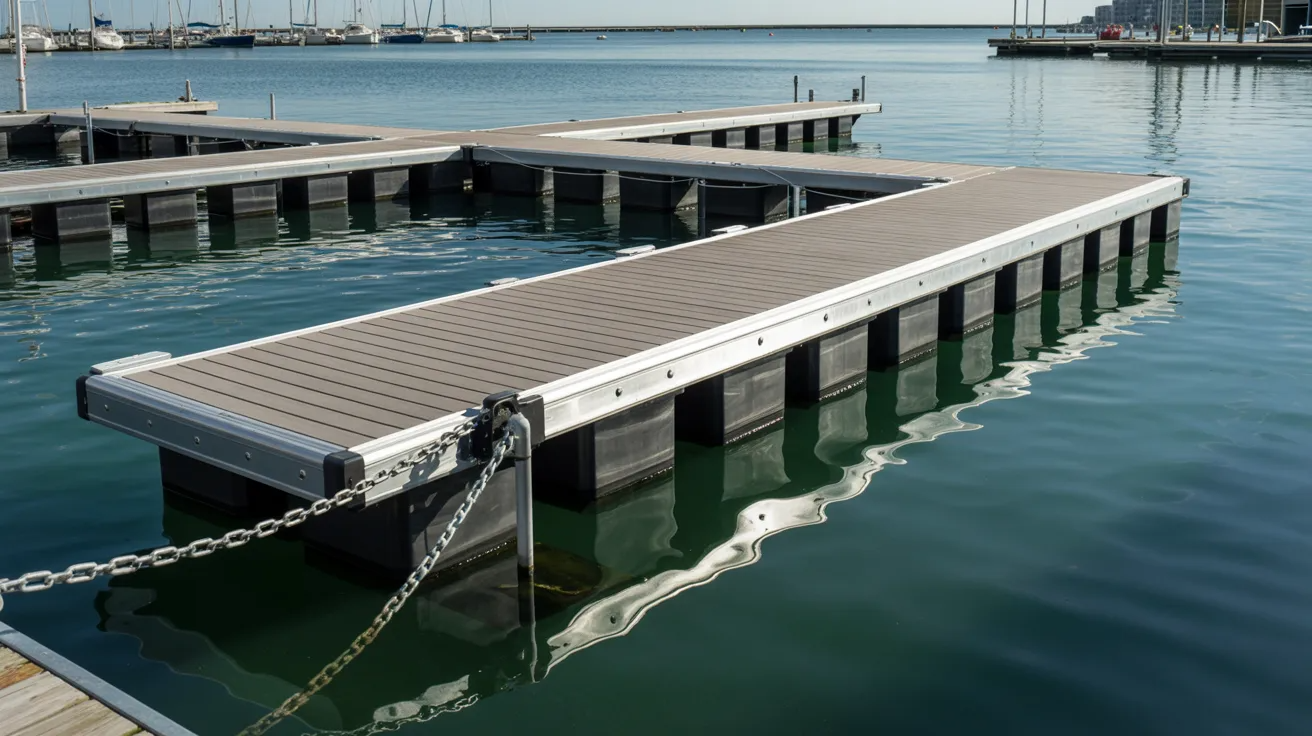
The base uses foam-filled floats or hollow plastic modules to keep the platform above water. The deck is built from wood, aluminum, or composite boards depending on your budget and needs.
Cables, chains, or anchor pilings hold the dock in place. It stays secure but still moves freely with the water.
Many floating docks are modular. You can add or remove sections based on your space. They work well for boat tie-ups, swimming platforms, and general waterfront access.
Planning a Floating Dock
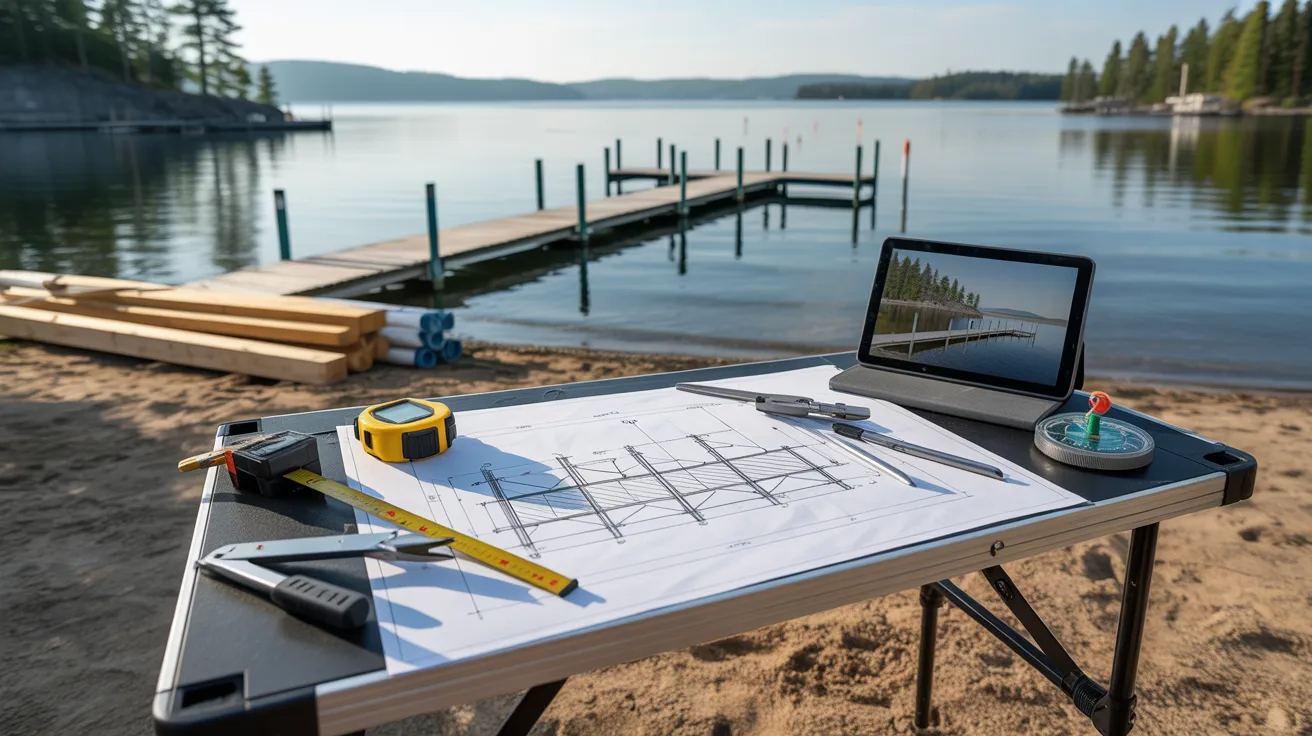
Planning lets you figure out what size you need, check local rules, and pick the right anchoring system before you spend a single dollar.
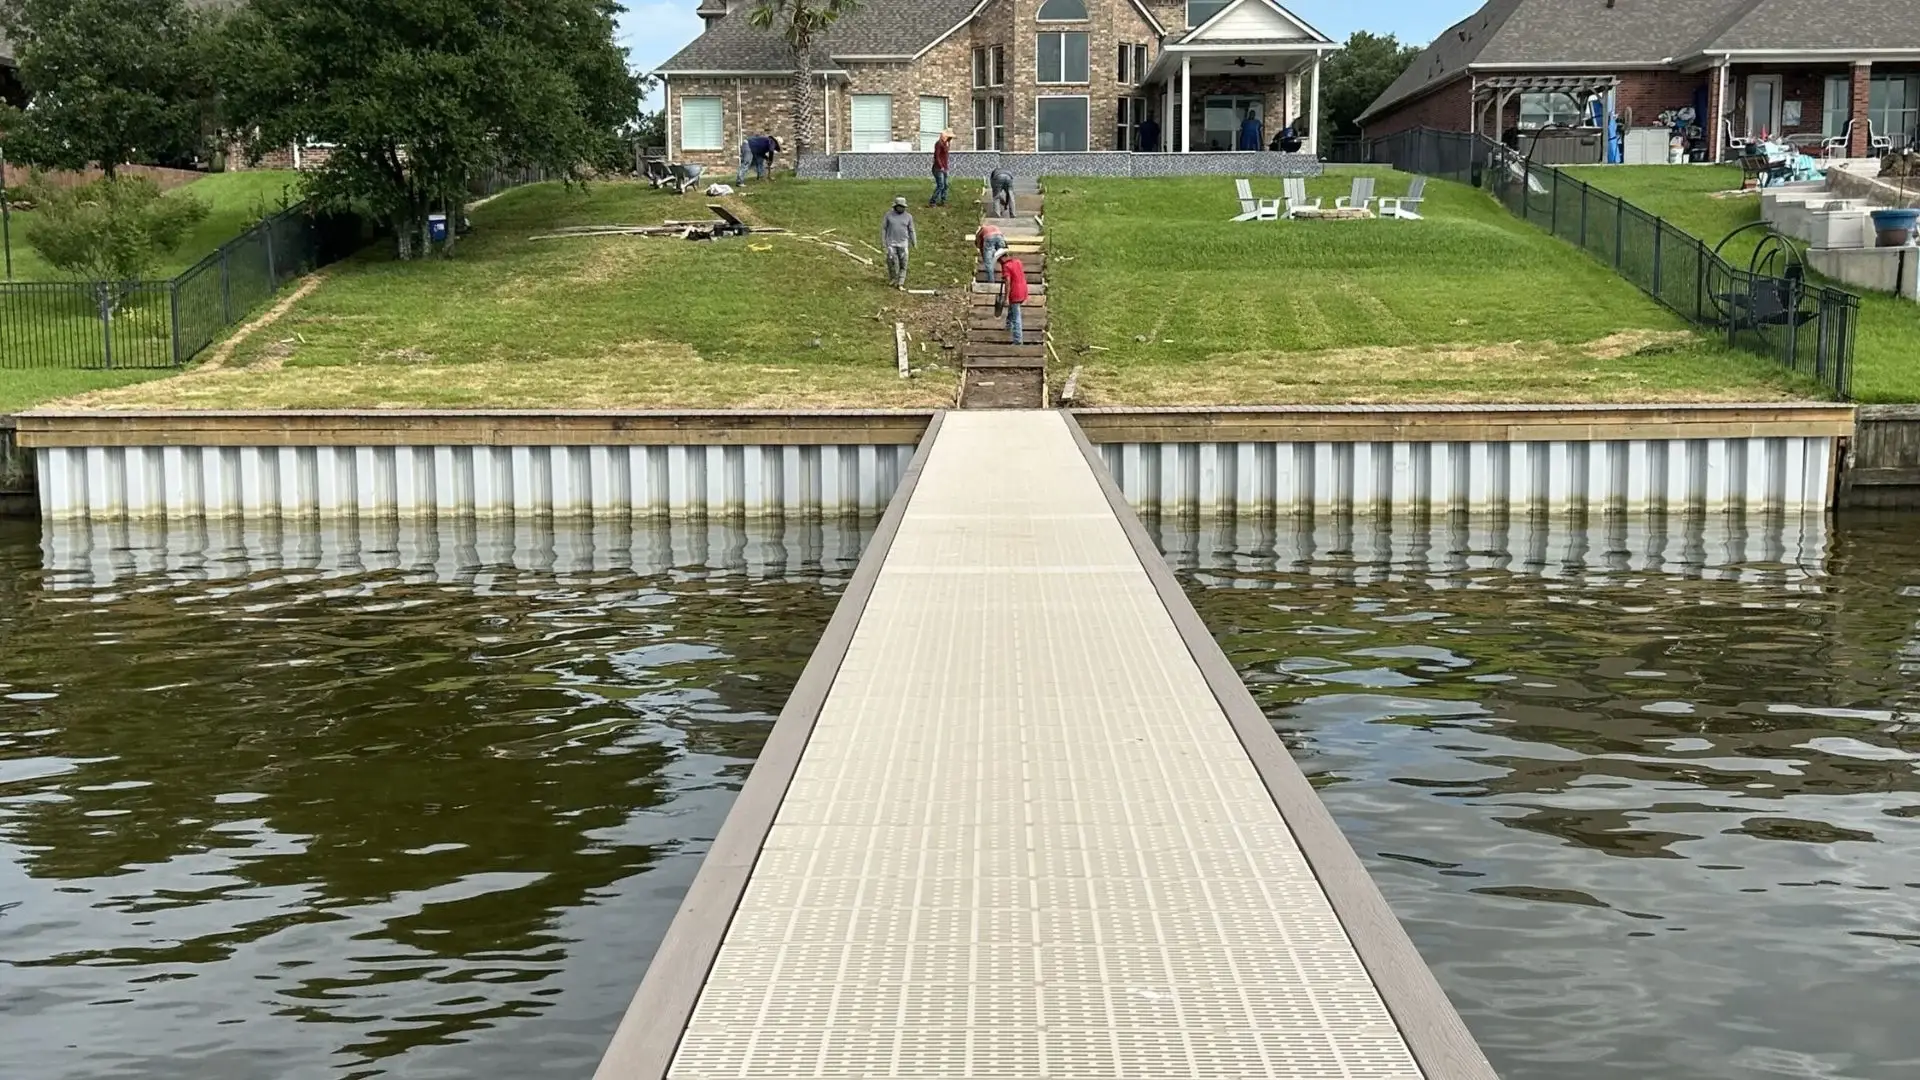
Choosing the Right Location
The spot you pick for your dock affects how well it works, how safe it is, and how long it lasts.
You want water deep enough for your boat but not so deep that anchoring gets complicated. Check the lake bottom too.
Muddy bottoms cause anchors to drag over time. Sandy or rocky bottoms hold much better.Also think about wind exposure.
Picking the Right Materials
Your choice of materials affects how long your dock lasts, how much upkeep it needs, and what it costs.
There are three main options. Wood is traditional and looks natural but needs regular sealing and treatment. Aluminum is lightweight, rust-free, and low maintenance but costs more upfront.
For the floats, go with HDPE foam-filled floats. They do not absorb water and hold their buoyancy for years.
Planning the Size and Layout
Getting the size right means your dock works for your actual needs without taking up too much space.
Make the dock at least 6 feet wide so two people can pass each other comfortably. For boat docking, extend the dock past the length of your boat on each side.
Anchoring and Stability
A solid anchoring system keeps your dock from drifting and protects both the dock and the boats tied to it.
The most common method uses cables or chains connected to bottom anchors. Spud poles are vertical poles that slide through brackets and stick into the bottom..
Make sure anchor lines are the right length. Too short and the dock strains. Too long and it swings around too freely.
Materials Needed for Floating Dock Construction
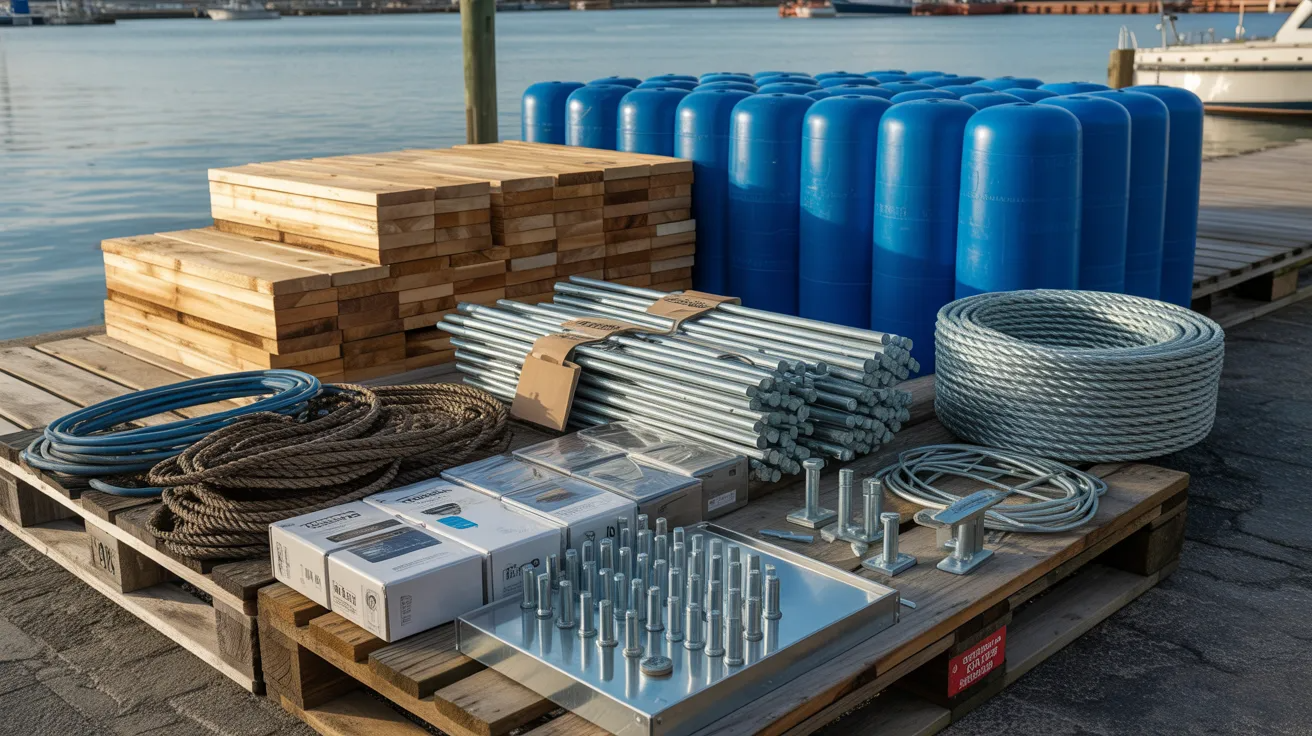
Before you start building, you need to know what goes into a floating dock.
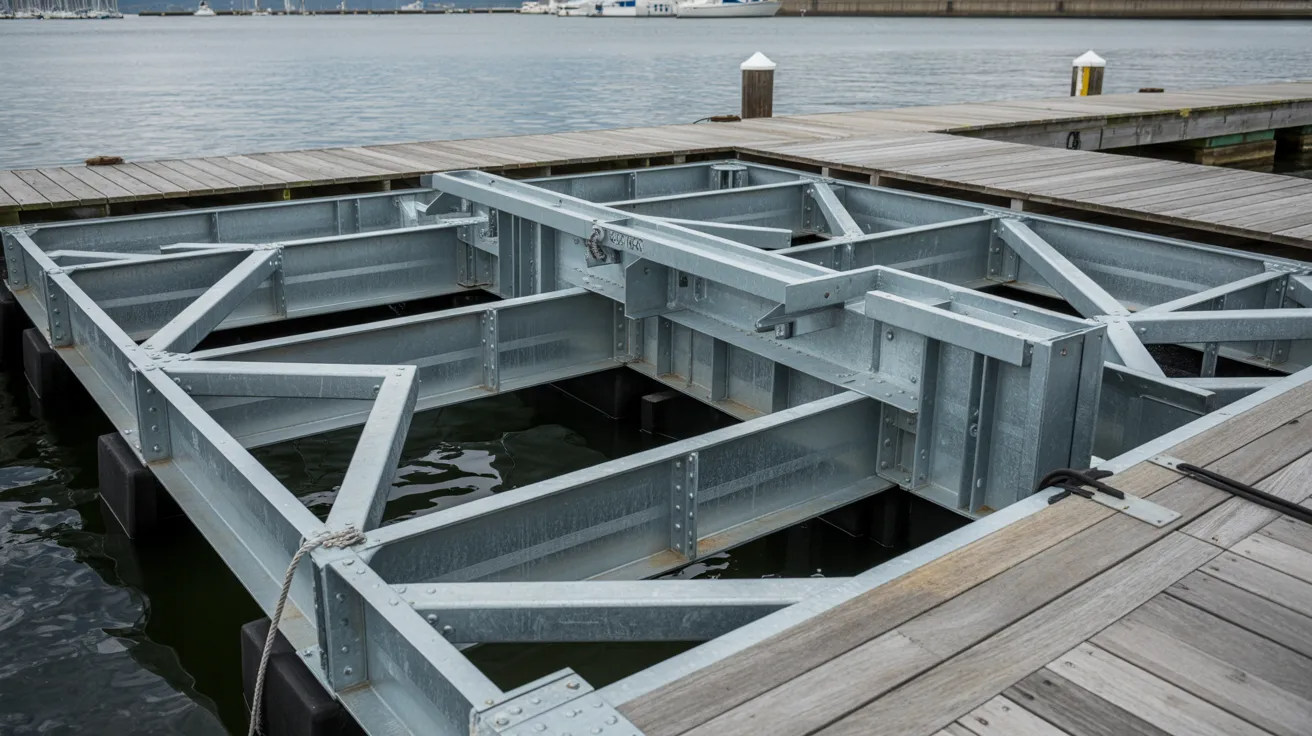
For a solid floating dock, you will need pressure-treated lumber or composite decking for the surface, foam billets or plastic barrels for flotation, and a steel or aluminum frame to hold it all together.
Galvanized bolts and screws are a must since regular hardware rusts fast near water.
You will also need anchor cables and concrete or steel anchors to keep the dock in place, plus a waterproof sealant if you go with wood decking.
Step-by-Step Floating Dock Assembly Guide
Building a floating dock yourself saves money and gets you exactly what you need for your waterfront.
Step 1: Building the Dock Frame
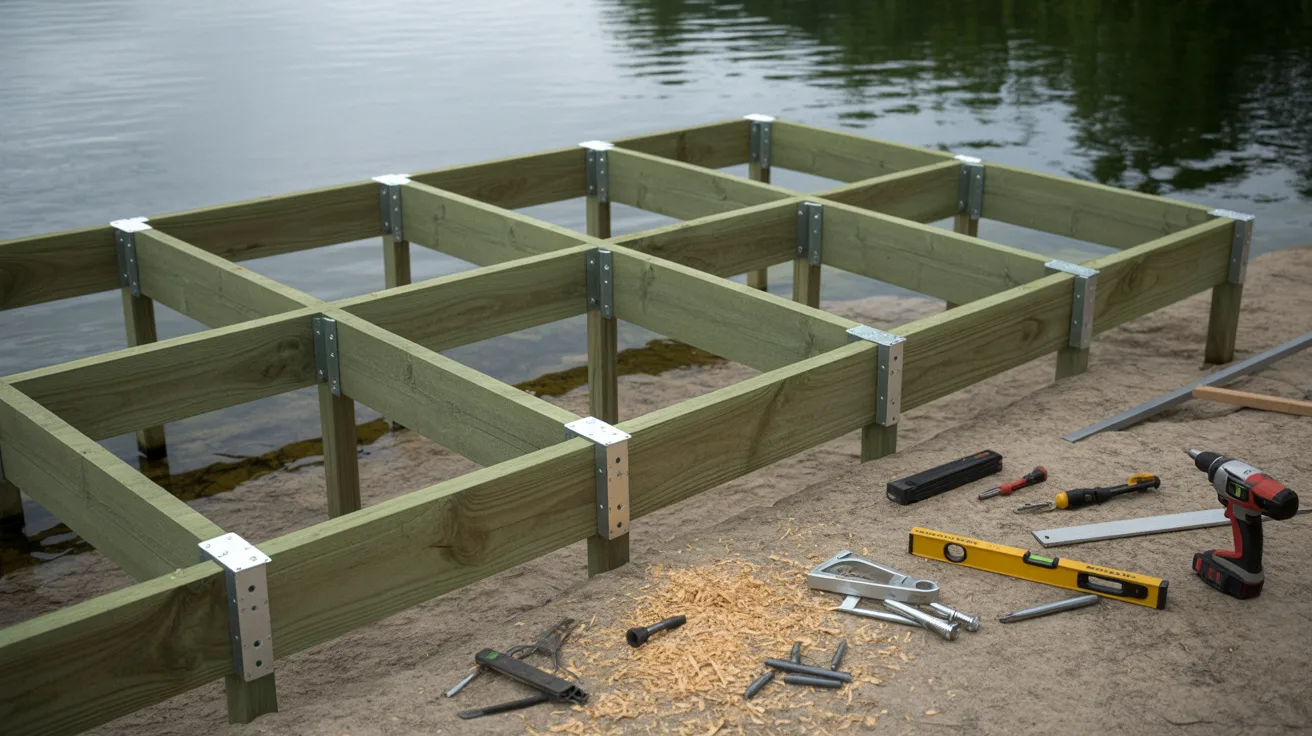
Start with pressure-treated lumber rated for water contact. Lay the outer frame pieces on a flat surface and check that diagonal measurements match. Equal diagonals mean square corners.
Drill pilot holes before driving screws to stop the wood from splitting. Use galvanized or stainless steel hardware only. Regular steel rusts fast near water.
Step 2: Installing Cross Supports and Bracing
Space cross supports every 16 to 24 inches inside the frame. Toe-screw each one from both sides or use metal joist hangers.
Add diagonal bracing if your dock will face strong currents. It stops the frame from leaning under pressure.
Step 3: Securing the Floats Under the Dock
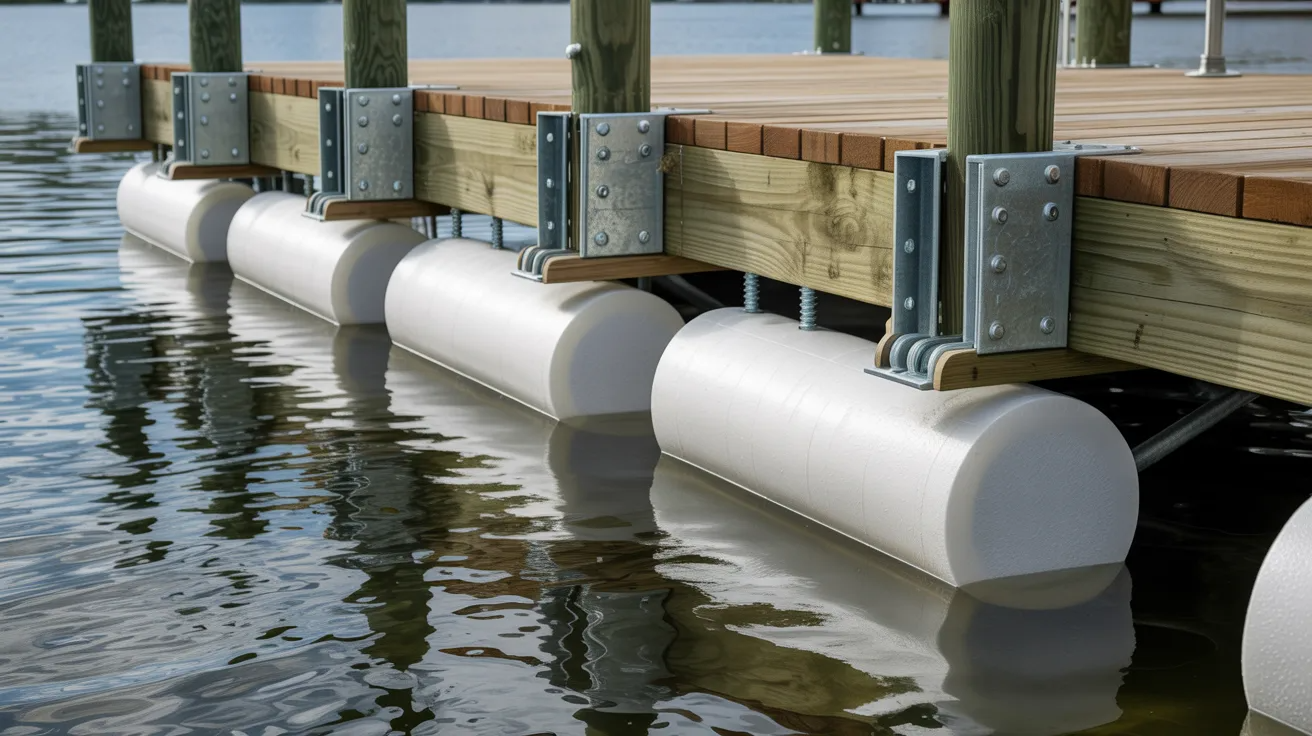
Flip the frame face-down before attaching floats. Space them evenly from front to back and side to side. Use U-bolts or through-bolts to secure each float.
Check the float weight ratings before you finalize placement. Tighten all bolts fully before moving to the next step.
Step 4:Flipping and Launching the Dock
You need at least two or three people for this. Tip the frame onto its edge, then lower it float-side down. Slide it into the water from a ramp or bank.
Once it is floating, check the balance right away. A low corner usually means a float needs repositioning.
Step 5: Installing Deck Boards and Finishing Touches
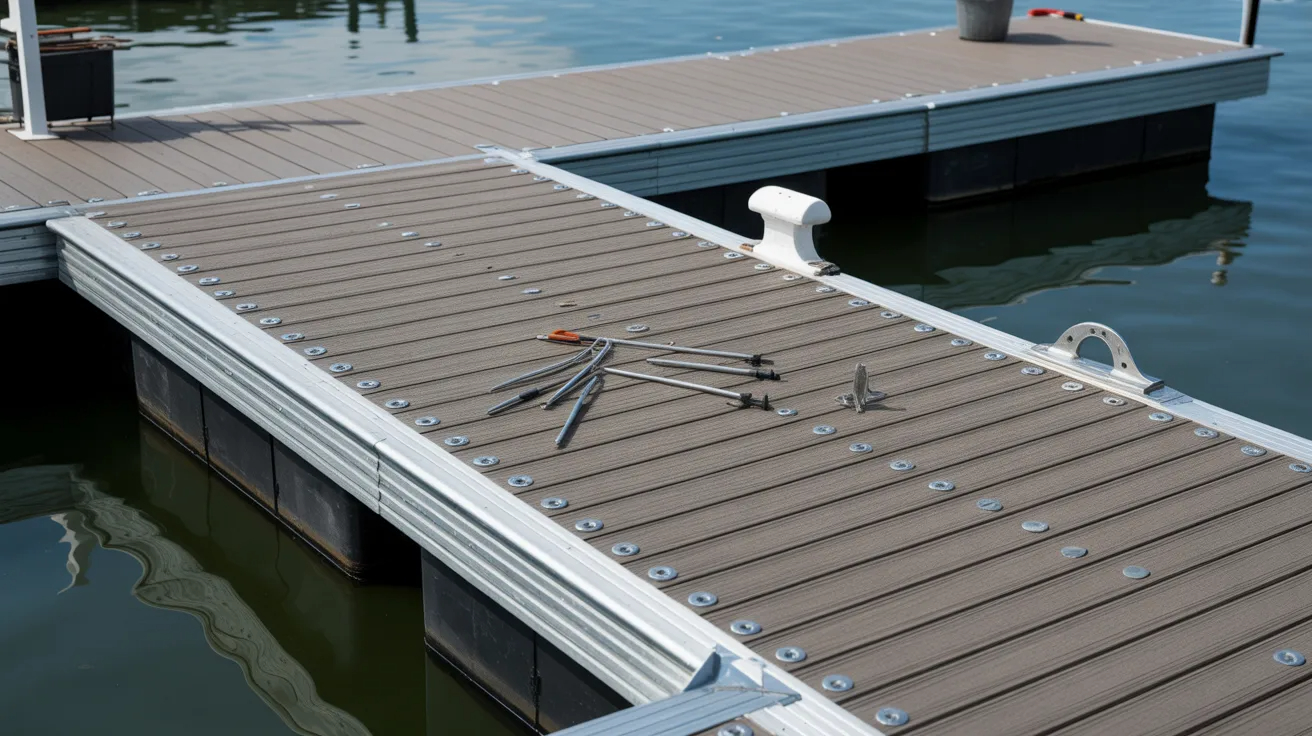
Lay boards across the frame with a quarter-inch gap between each one. Pre-drill and use two screws at every connection point.
Trim overhanging edges and sand rough spots. Then add cleats, bumpers, and anchoring lines to finish the job.
Floating Dock Anchoring Methods
A floating dock needs the right anchoring system to stay safe, stable, and in place all season long.
Pole Anchors and Cable Systems
Pole anchors are steel or aluminum pipes driven into the lake or river bed. The dock slides up and down the pole as water levels change. No manual adjustments needed.
Cable systems use stainless steel or galvanized cables tied to anchors on the water floor. They run at an angle from the dock corners down to the bottom. This keeps the dock from drifting sideways.
Preventing Dock Movement and Roll
Dock roll is that side-to-side rocking when someone walks near the edge. Check that all float barrels or foam billets are even and in good shape under the frame.
Lateral drift means your dock is not anchored from enough angles. Use at least four anchor points, one near each corner. Add a fifth at the center of a long dock to reduce flex.
Wind and wave action can be managed by adding bumper stops against a seawall or fixed pilings.
Common Floating Dock Construction Mistakes
Small mistakes during floating dock construction can lead to big, costly problems down the line.
- Incorrect Float Placement: If floats are not spaced evenly, the dock will sit unevenly and rock constantly. Always follow the manufacturer’s spacing guidelines.
- Weak Framing: A weak frame flexes under load and breaks down fast. Use pressure-treated lumber rated for ground contact. Add diagonal bracing where sections meet.
- Using Non-Galvanized Hardware: Standard steel hardware rusts quickly in wet conditions. Use hot-dipped galvanized or stainless steel for every connection point. Bolts, screws, joist hangers, all of it.
- Poor Weight Distribution: Too much weight on one side stresses the floats unevenly. Think about where heavy items like storage boxes and coolers will sit regularly. Avoid loading the corners.
Floating Dock Maintenance Tips
Owning a floating dock is great, but skipping upkeep leads to fast damage. These simple tips keep it in good shape all season.
- Scrub the surface with a stiff brush and mild soap at least once a month to clear algae, dirt, and mildew buildup.
- Check the floats a few times a year for cracks, dents, or water getting inside. A damaged float throws off the balance of the whole dock.
- Walk the dock every few weeks and tighten any loose bolts, brackets, or connectors. Water movement loosens hardware faster than you think.
- Look at each deck board for splinters, cracks, or warping. Replace damaged boards right away since worn decking is a safety risk.
- Inspect ropes, chains, and anchor points for rust or wear. Swap out anything weak before storm season hits
Conclusion
I have seen firsthand how a little regular care keeps a floating dock looking and working great for years. Most people wait until something breaks, and that always costs more.
If I had to pick one habit, it would be a monthly scrub and a quick hardware check.
Those two steps alone make a big difference. Start small and build from there.
Got a floating dock maintenance tip that works for you? Drop it in the comments below and help someone else out!
Frequently Asked Questions
What is the best material for a floating dock?
Composite decking and HDPE foam-filled floats are the best combo as they last long and need very little upkeep.
How often should I inspect my floating dock?
Do a full inspection at least twice a year, and do quick checks every few weeks during the active season.
How do I stop my floating dock from drifting?
Use at least four anchor points, one near each corner, and check cable tension at the start and end of each season.
Can I build a floating dock on my own?
Yes, you can build one yourself with basic tools, the right materials, and a couple of people to help during the launch.
How long does a floating dock last?
A well-built and properly maintained floating dock can last 20 to 30 years depending on the materials used.