Shed roofs go wrong before the first rafter is cut.
A builder finishes the walls on a weekend, climbs up with a speed square, and finds the lean-to’s slope is already locked in by the wall heights, with no good way to change it.
The roof, it turns out, is partly built the day the first stud goes up.
Learning how to build a shed roof now, while the lumber is still unbought, costs far less than learning it from a roofline that sags, leaks, or pools water.
It all starts with the shape of the roof.
How to Build a Shed Roof: Pick a Style and Gather Materials
Building a shed roof means choosing a lean-to or gable shape, setting the pitch when the walls are framed, then framing rafters, sheathing them, and covering them.
The shape you pick sets how many cuts, boards, and wall heights each of those four stages needs.
Lean-To and Gable Shed Roofs Compared
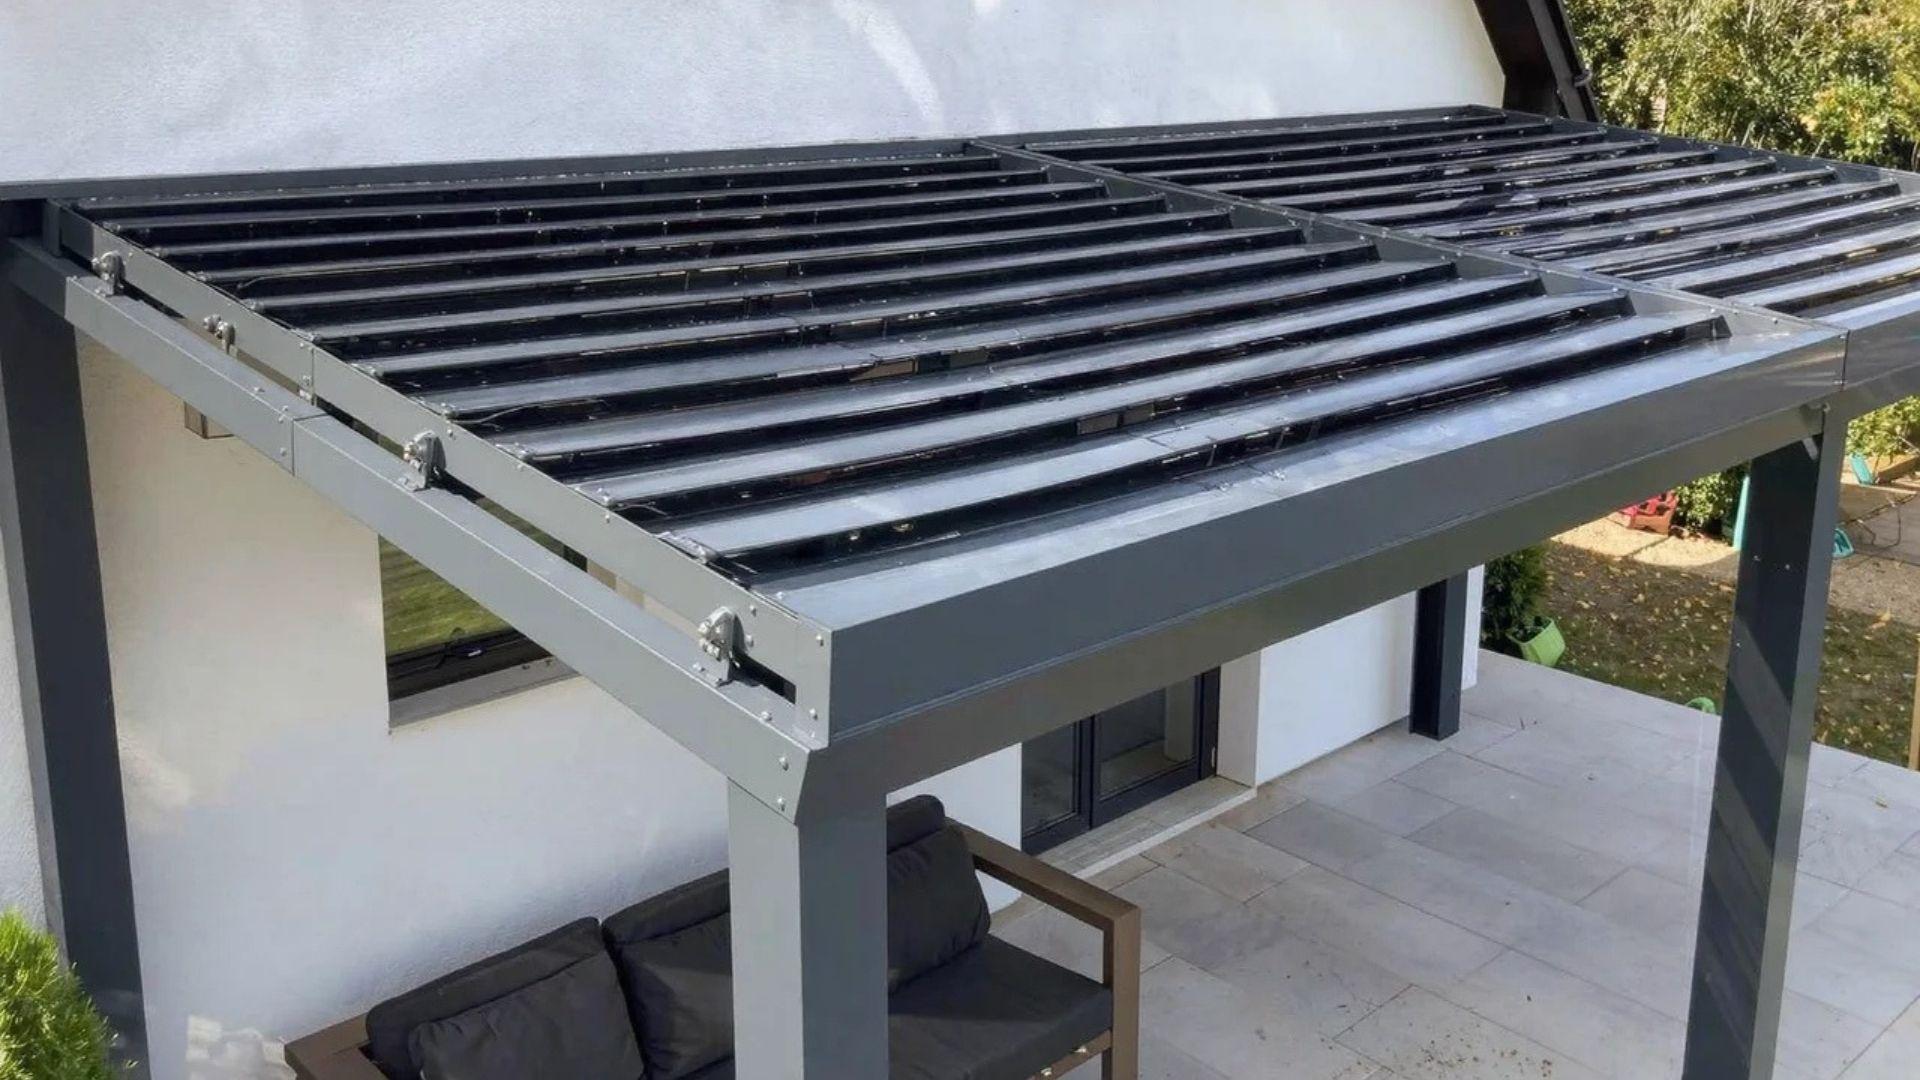
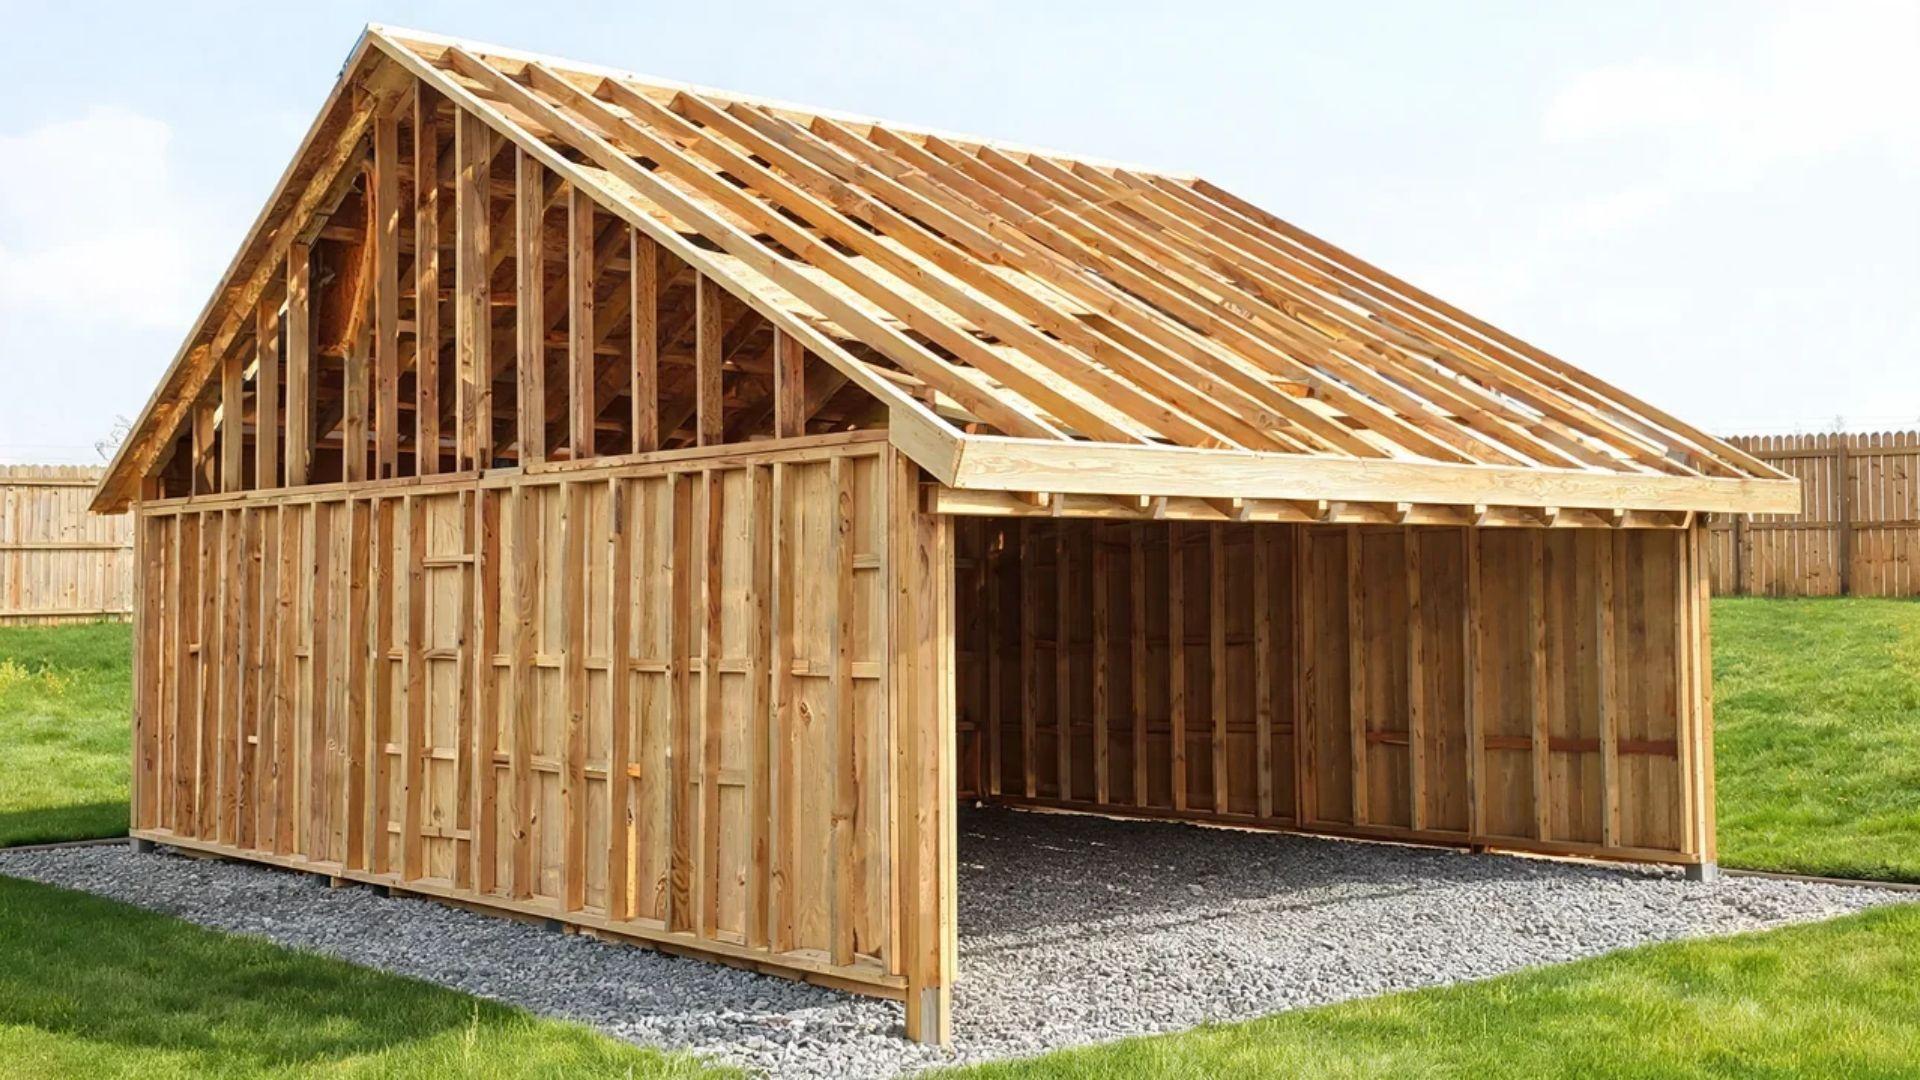
A lean-to shed roof slopes one way, from a taller wall down to a shorter one, so water drains off a single side. A gable slopes both ways from a center ridge and drains to two sides.
The lean-to suits a shed set against a fence, a property line, or a house, where a roof attached to a house needs a structural connection to the wall, while a gable suits a freestanding shed that needs a roomier peak for storage.
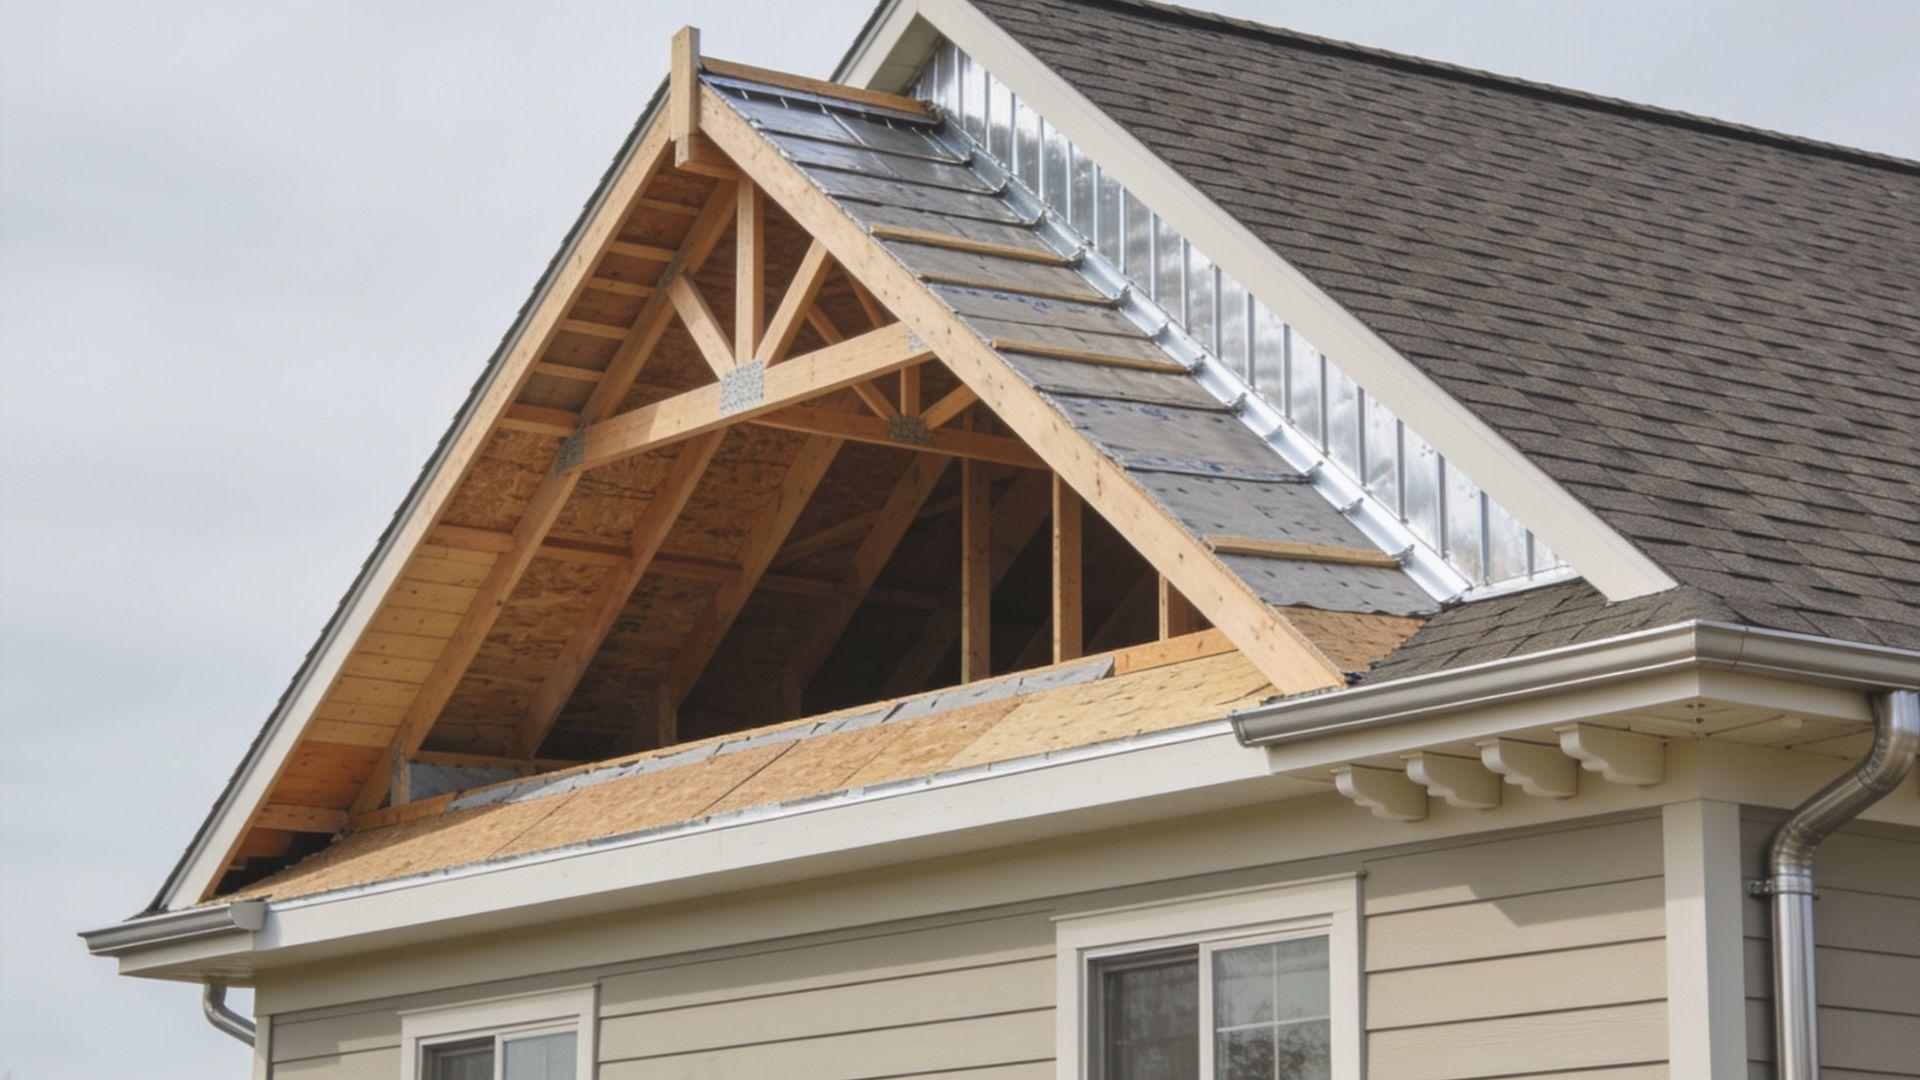
The trade-off is framing work, since a gable adds a ridge board, mirrored rafter sets, and gable-end walls.
Setting Pitch and Rafter Size Before the Walls Go Up
Pitch is the rise in inches for every 12 inches of horizontal run, written as 4:12.
Here is the math for a lean-to with an 8-foot span between wall plates:
- Run: 8 feet, or 96 inches
- Rise at 4:12: 96 ÷ 12 × 4 = 32 inches
- Wall heights: the back wall stands 32 inches taller than the front wall
- Rafter length: about 101 inches along the slope, before overhang
- Rise at 2:12: 16 inches
Run those numbers before cutting a single stud, because wall height, pitch, and rafter length all come from the same calculation.
A steeper pitch sheds water and snow faster but adds wall height and material, while a lower pitch is limited by the roofing you plan to use, which the covering section below explains.
Rafter size depends on span, spacing (16 or 24 inches on center), lumber species and grade, and snow load.
Look it up in the American Wood Council span calculator instead of guessing, then ask your building department what wind and snow loads your area adds, since the calculator covers dead, live, and snow loads but not wind.
Materials and Tools for a Shed Roof
Gather these before the first cut.
Materials
- Rafter, tie, and blocking lumber
- Roof sheathing panels
- Framing nails
- Rafter-to-plate connectors
- Drip edge
- Underlayment
- Roofing
Tools
- Speed square
- Circular saw
- Framing nailer or hammer
- 4-foot level
- Chalk line
- Tape measure
- Stable ladder or scaffold
On a wide gable, pre-built trusses can replace stick framing. Review common roof truss types to see the options, and get the engineered span specs from the supplier before you order.
How to Frame a Shed Roof Step by Step
Framing a shed roof means cutting matching rafters and fixing them to the wall plates at the planned pitch, with connections that keep them from sliding or spreading.
Before cutting, check that the plates are level and parallel and that the span matches your drawing, because any error repeats down the whole set of rafters.
Step 1: Mark and Cut the Pattern Rafter
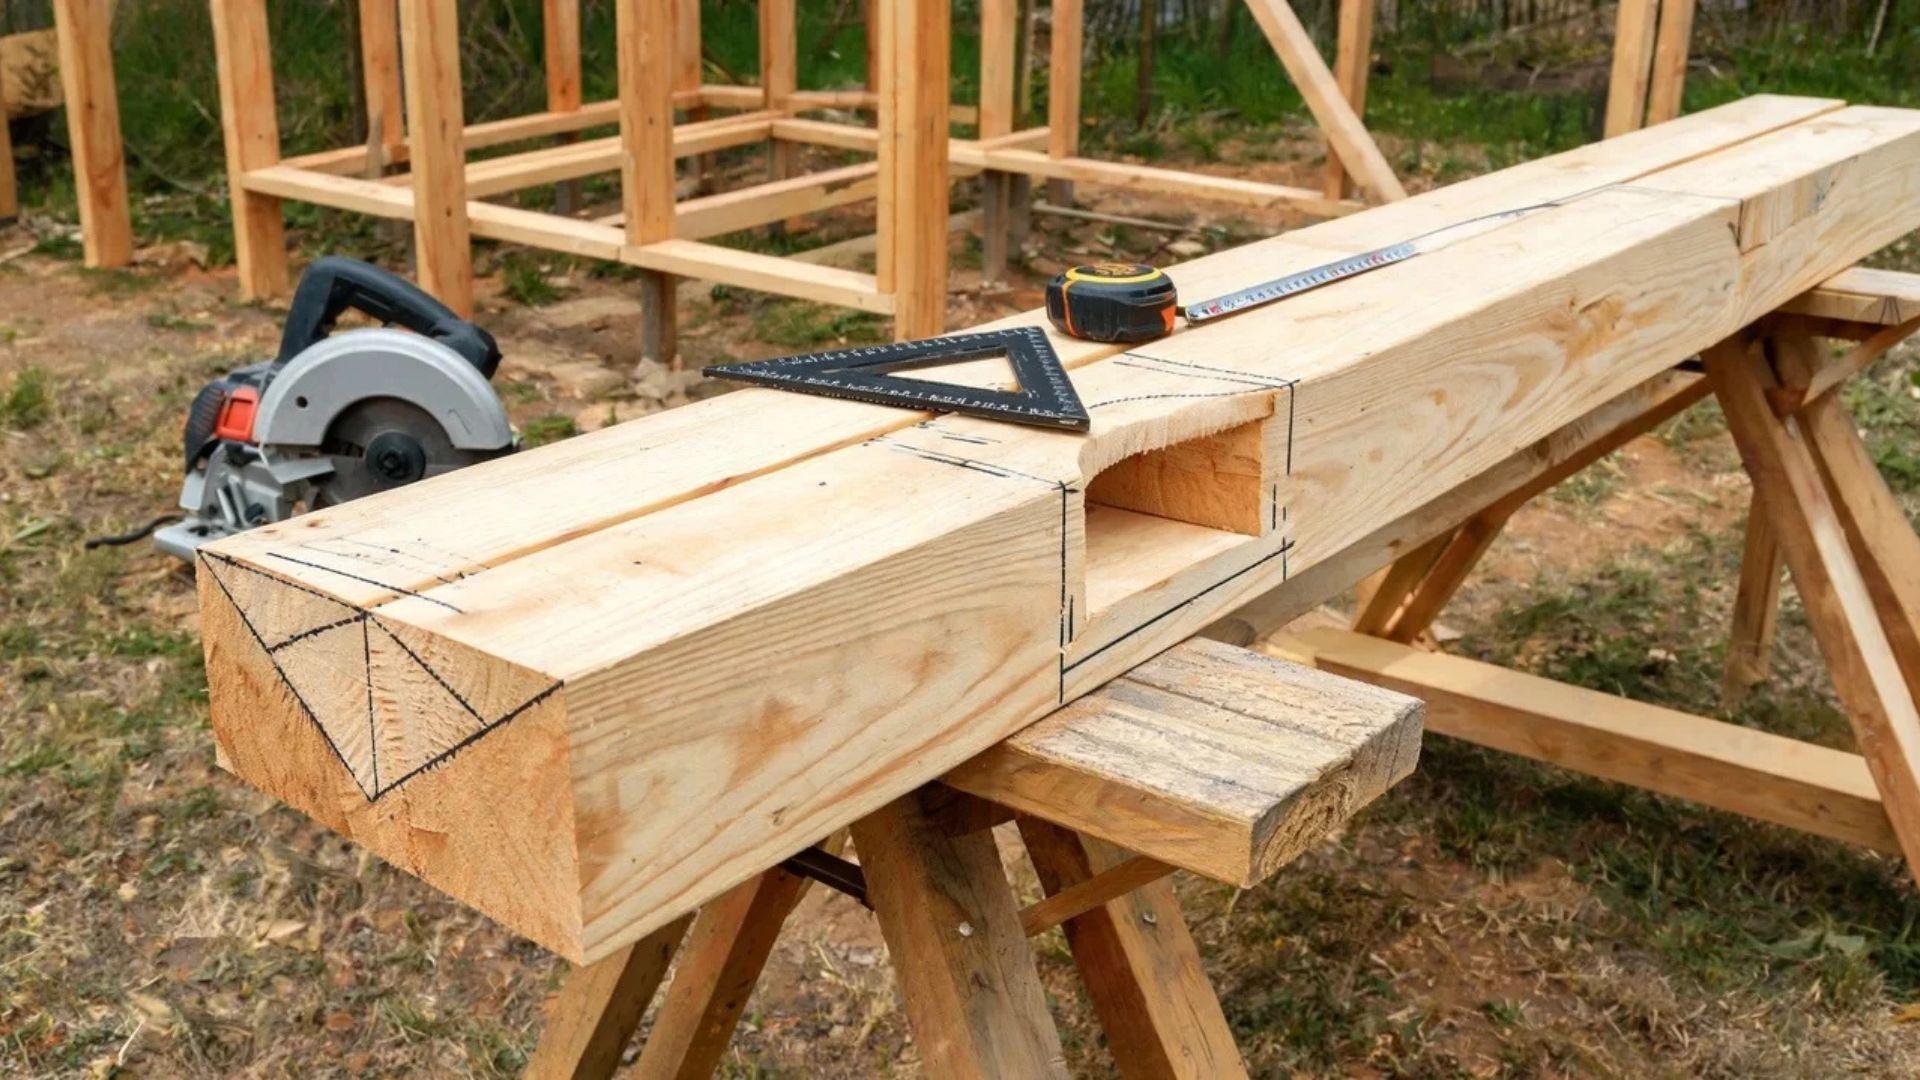
Shed roof rafters are all copied from one pattern rafter, so start there.
Mark and cut it in this order:
- Plumb cut: Mark it with a speed square set to the pitch (4:12 works out to about 18.4 degrees).
- Seat cut: Lay out the level notch that rests on the plate.
- Heel cut: Mark the plumb cut beside the seat cut. Together, the seat and heel cuts form the birdsmouth.
- Tail cut: Finish at the overhang length.
Keep the notch shallow, because a rafter loses strength where wood is removed.
The IRC roof framing provisions limit a notch at the end of a rafter to one-fourth of its depth, so a 2×6 rafter, which is 5½ inches deep, allows a notch about 1⅜ inches deep.
A seat cut wider than the plate also pushes the load onto the rafter’s toe and raises the chance of splitting.
On a 4:12 roof resting on a 3½-inch plate, a full-width seat cut is about 1⅙ inches deep, measured plumb, which stays inside that limit.
Test-fit the pattern rafter on the plates before tracing it onto the other boards.
Set each board crown-up, meaning the arched edge faces up, because warped lumber or plates that are not parallel will break the match across the set.
Step 2: Set the Ridge Board and Paired Rafters for a Gable
Lean-to builders can skip to Step 3.
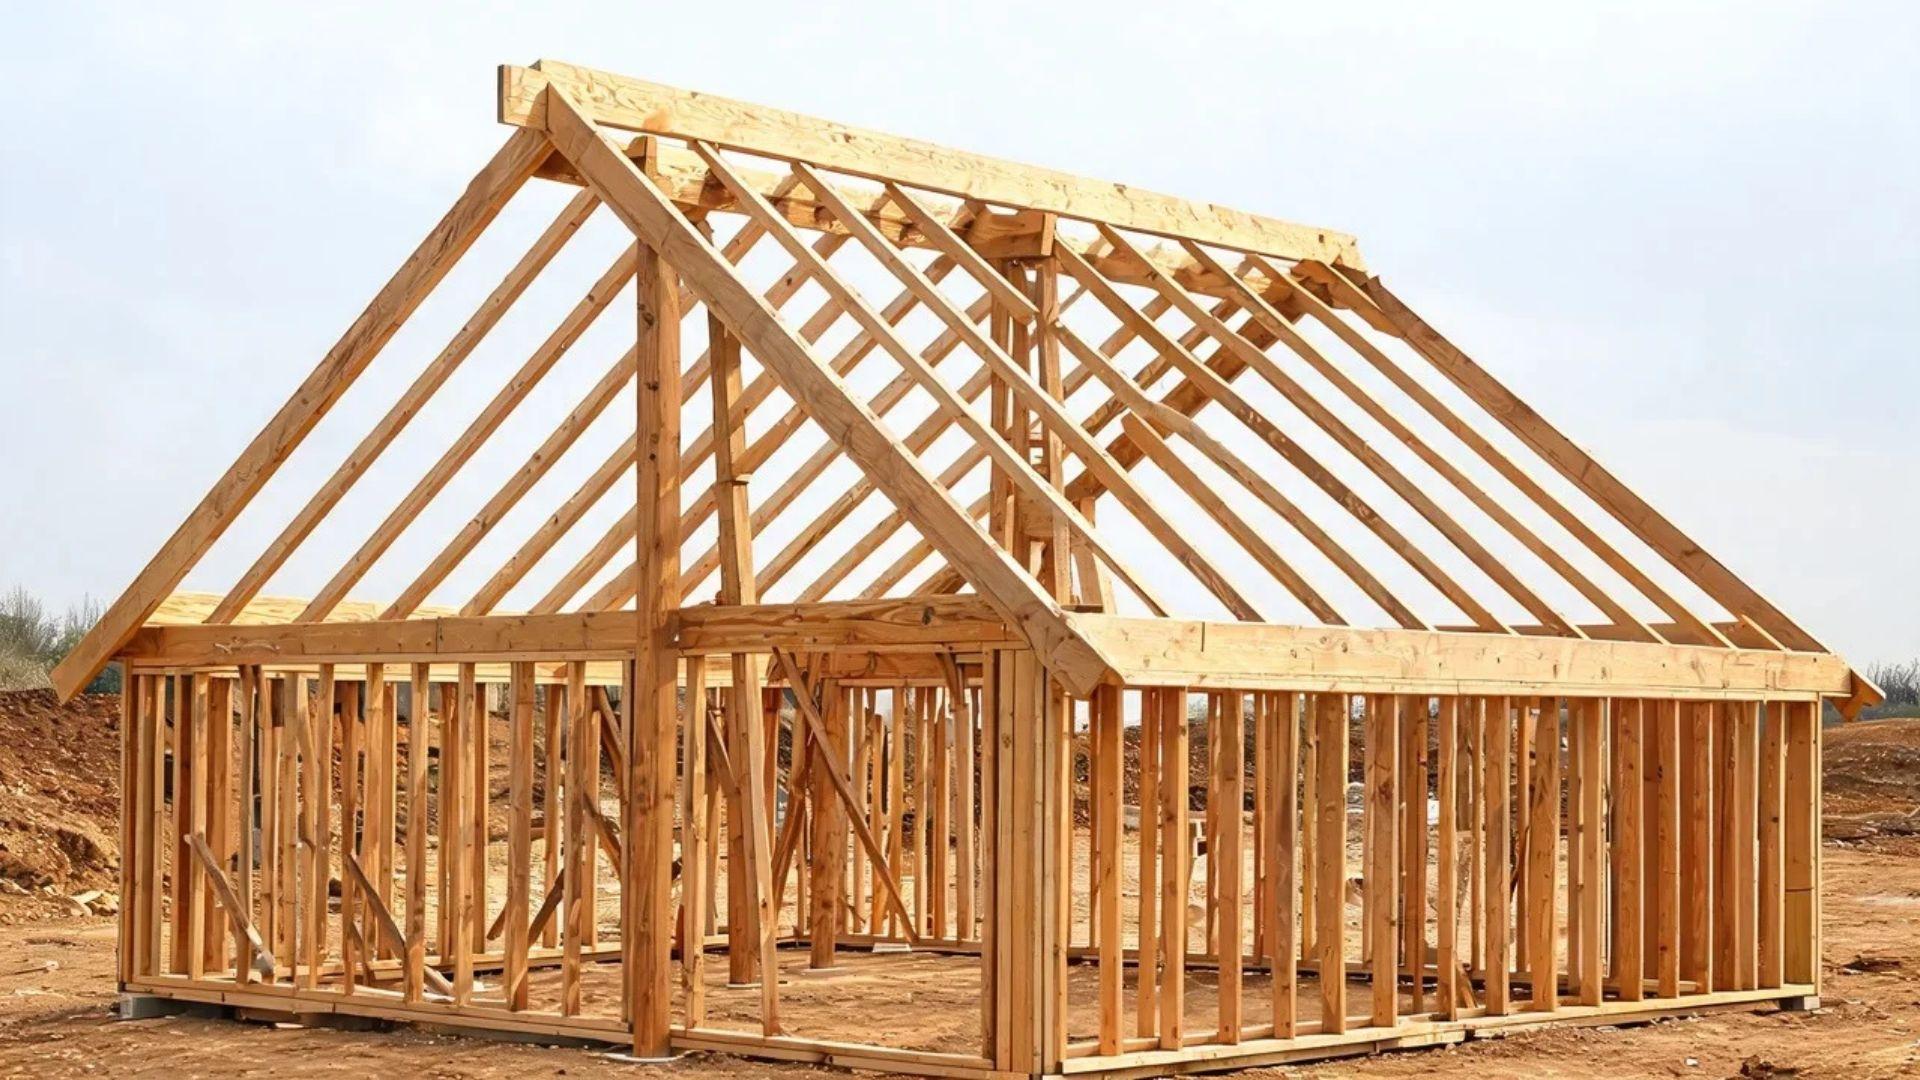
On a gable, each rafter pair meets at a ridge board, so shorten the pattern rafter by half the ridge board’s thickness, measured square to the plumb cut line.
A 2x ridge board is 1½ inches thick, which means a ¾-inch deduction.
Below a 3:12 pitch, the IRC requires a structural ridge beam instead of a ridge board, so confirm your pitch before framing a gable.
From there, work in this order:
- Brace the ridge board at the planned height with temporary posts before the pairs go up, checking the height with a level on the posts.
- Cut the second slope from the same pattern rafter using mirrored cuts.
- Nail each pair to the ridge board and the plates.
Both slopes push outward on the walls, so ties matter here.
Step 3: Install the Rafters With Ties and Blocking
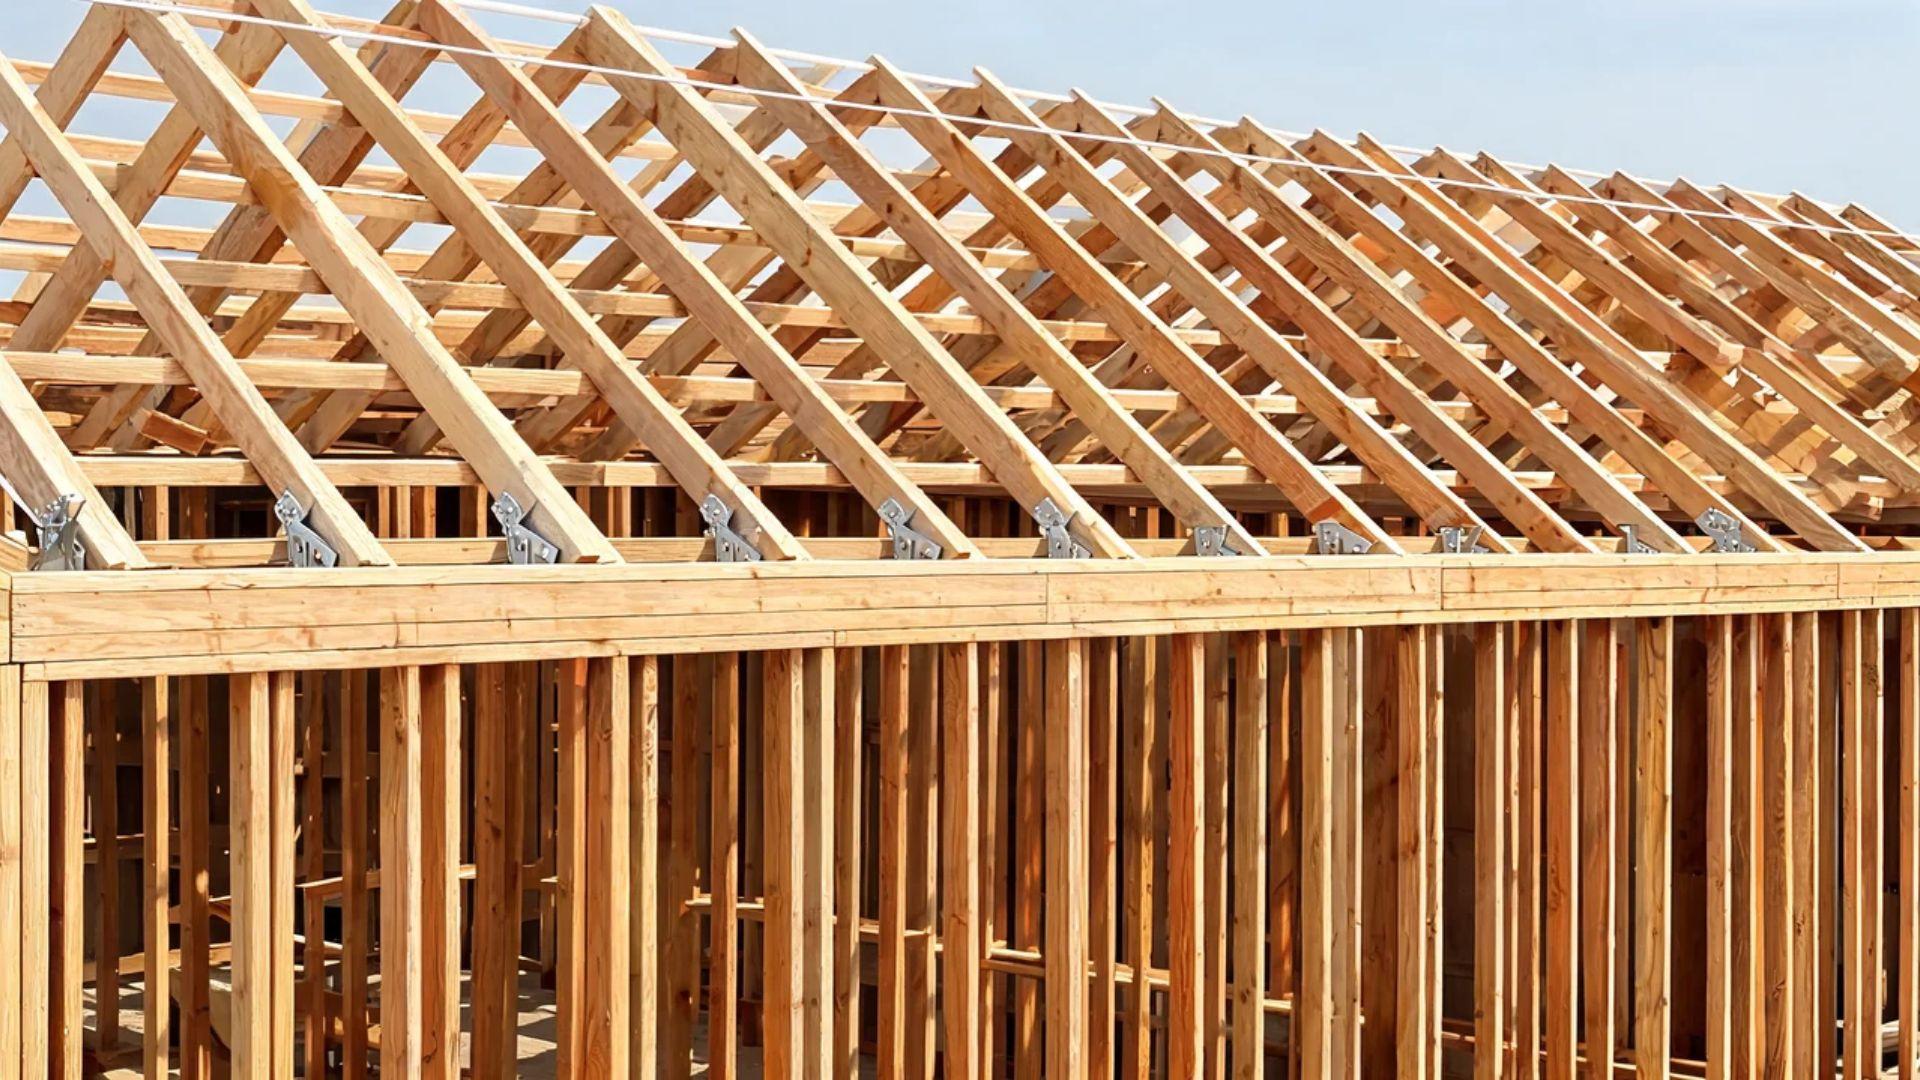
Set the rafters in this order:
- Install the first and last rafters.
- Pull a string line across their tops.
- Set the rest at the planned spacing, checking each against the line.
- Nail each rafter to the plate, and add rafter-to-plate connectors where your local code or wind exposure calls for them.
Ties and blocking can look like extras, but they do structural work.
A loaded rafter pushes down and outward on the top of the wall, and a tie across the opposing rafters gives that outward push something to pull against.
The same IRC chapter places rafter ties in the lower third of the roof’s height above the plate and calls for at least a 2×4.
Ties raised above that point require a structural ridge beam, which needs an engineer’s design.
A lean-to is no exception, because its sloped rafters also push outward on the walls. Blocking between rafters at the plate keeps them from twisting sideways while the sheathing goes on.
How to Sheathe and Cover a Shed Roof
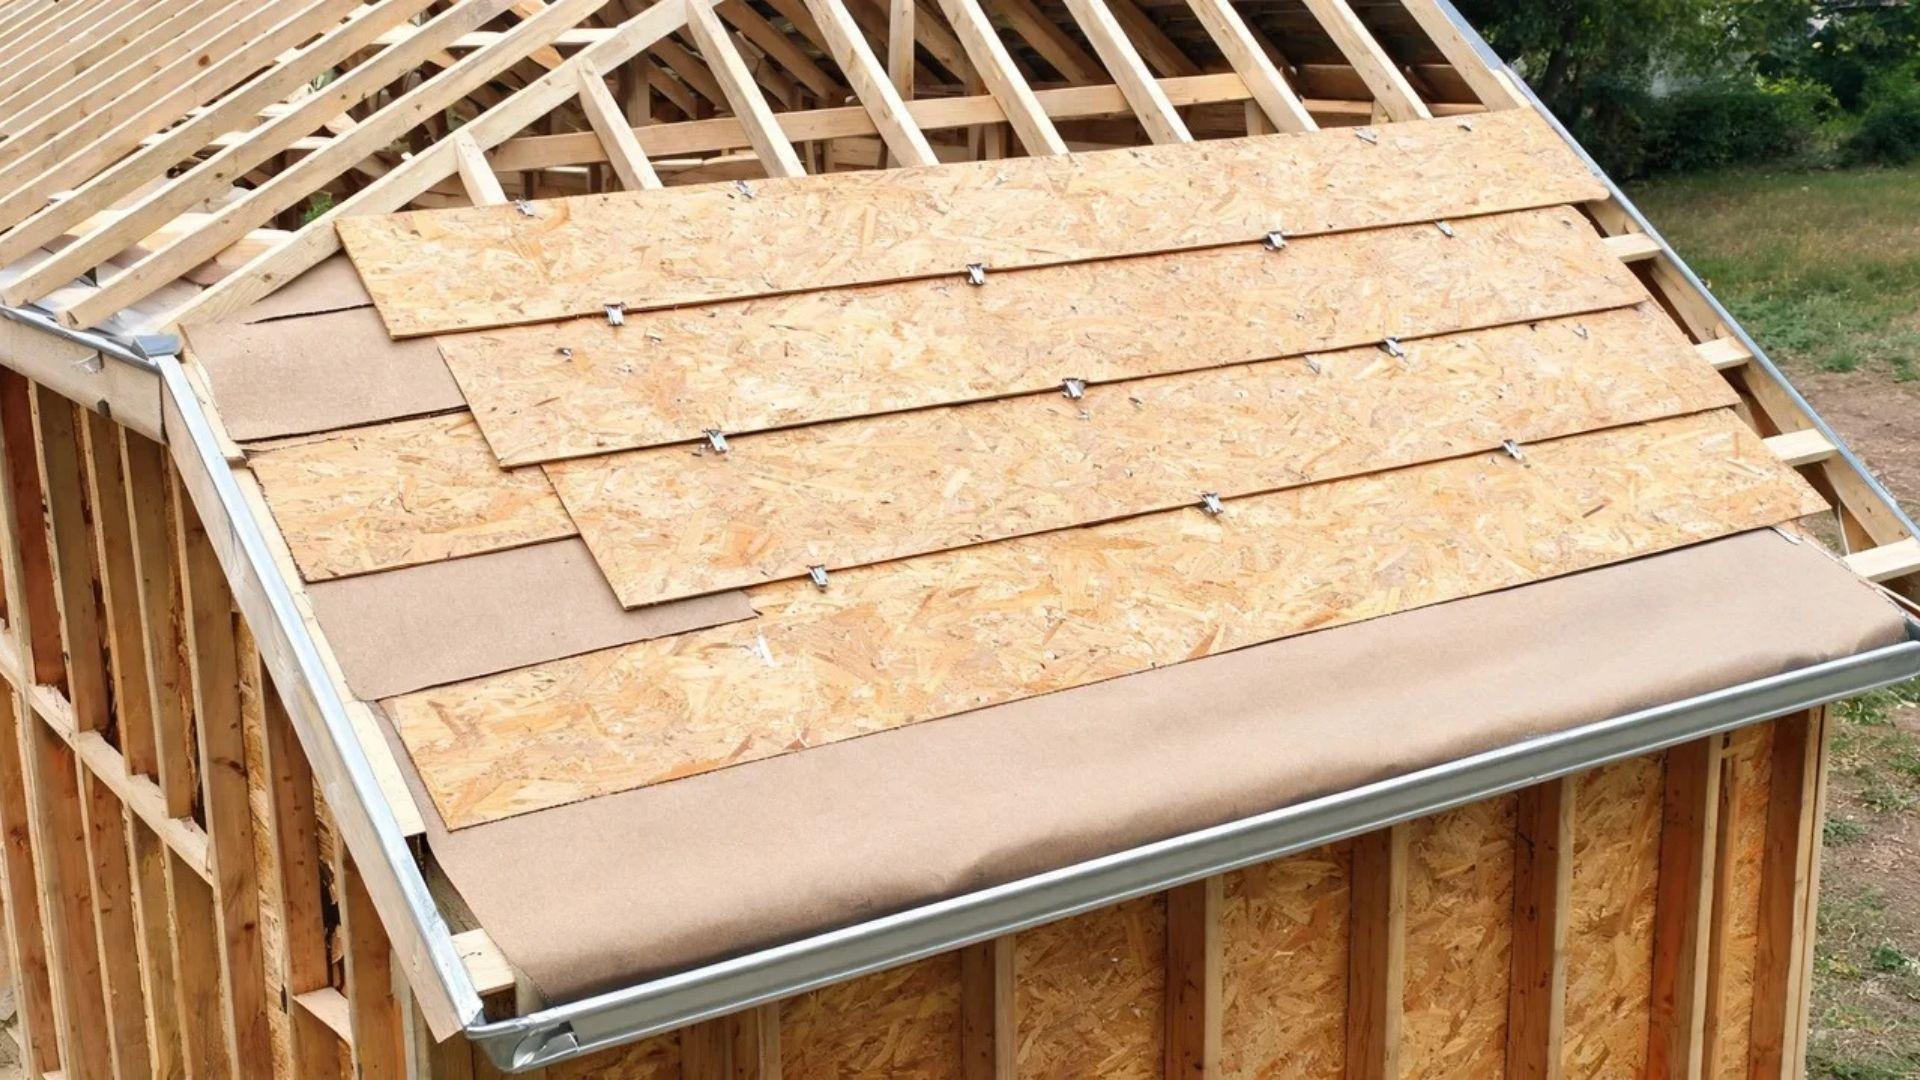
Sheathing is the structural deck over the rafters, and underlayment and roofing go on top of it to shed water.
Use plywood or OSB with a span rating that matches your rafter spacing, check the rating stamped on each panel, and add panel clips between rafters where the manufacturer requires edge support.
Then install the panels in this order:
- Run the panels perpendicular to the rafters.
- Start at the bottom edge, since the first course also squares up the frame, so set it square.
- Stagger the end joints.
- Leave the small expansion gap the manufacturer specifies.
Layers then go on in a set order:
- Drip edge at the eaves
- Underlayment
- Drip edge at the rakes, over the underlayment
- Roofing
Confirm that order against the roofing manufacturer’s instructions.
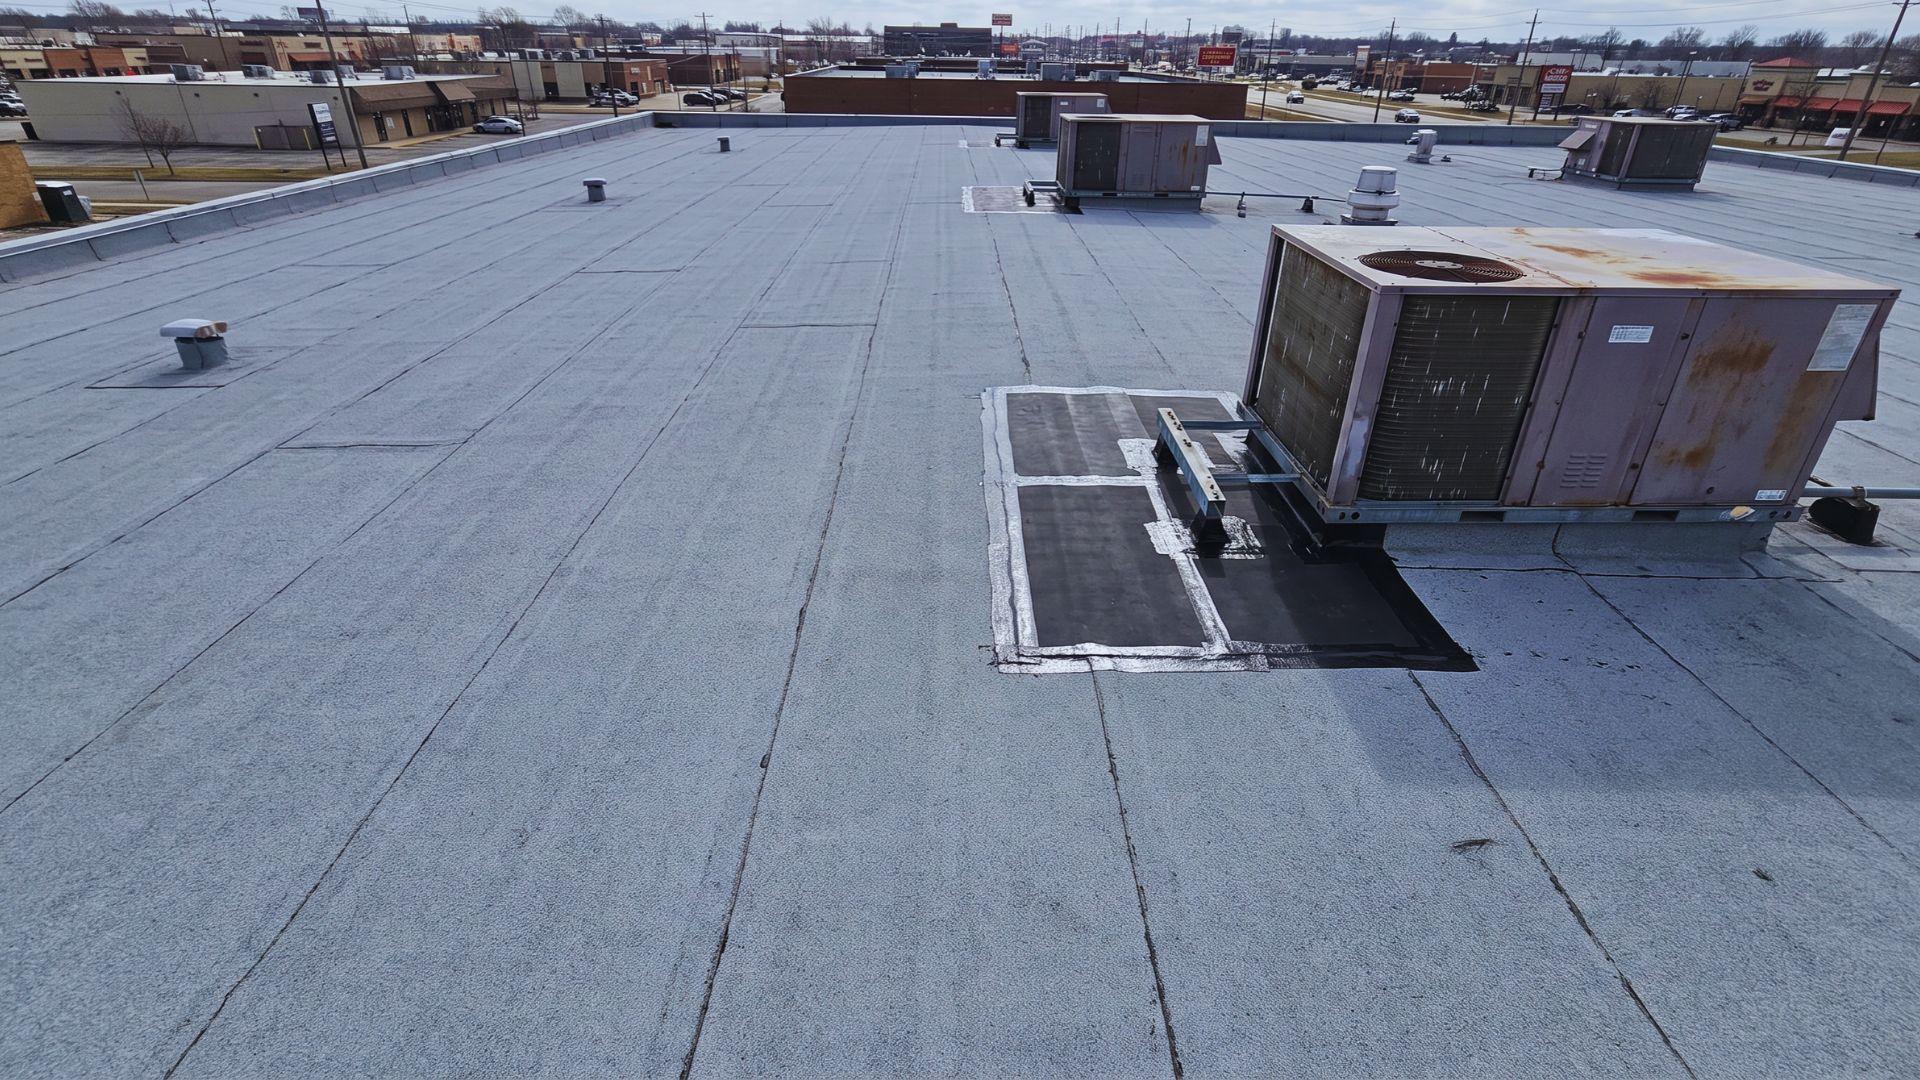
Roofing also sets a minimum pitch.
Under Section R905.2.2 of the IRC roof assemblies chapter, asphalt shingles need a slope of at least 2:12, and slopes from 2:12 up to 4:12 call for double underlayment.
Metal panels carry their own minimums by profile, so check the manufacturer’s number against your planned slope.
Common Shed Roof Framing Mistakes and Check Your Work
Check a shed roof frame for square, straight, and level before any sheathing goes on, because every fix costs less now than after roofing covers it.
These checks catch the most common mistakes:
- Frame out of square: Measure both diagonals across the frame and adjust until they match.
- Rafters out of line: Run a string line along the rafter tops.
- Uneven plates: Confirm the plates and the first rafter are level.
- Crown-down rafters: Look for any rafter that went in with the arched edge facing down.
- Loose ties and blocking: Look for ties or blocking that are only tacked in place.
Problems that show up after roofing usually trace back to this stage:
- A wavy roofline: Uneven plates or mismatched rafters.
- A slope shallower or steeper than planned: Wall heights that did not match the pitch calculation.
Start With the Wall Heights
Knowing how to build a shed roof comes down to one habit: make the roof decisions on paper before the walls go up.
Every cut afterward, from rafter to roofing, follows numbers you already set, and the pitch is the only one that cannot be adjusted cheaply once the walls stand.
That is the payoff of the worked example above, since a few minutes of math replace guesswork later.
Before you buy lumber, sketch your shed in side view, mark the span, pitch, and wall heights, and run your rafter size through the span calculator.
Frequently Asked Questions
Should I use 2×4 or 2×6 for a shed roof?
A 2×6 handles longer spans and heavier snow loads than a 2×4 because the deeper board resists bending, so 2x4s fit only short spans with light loads. Confirm the size in the span calculator.
Is a shed roof cheaper to build?
A lean-to roof usually costs less than a gable because it skips the ridge board and needs fewer cuts, though its taller back wall adds studs and siding. Price both full packages first.
What is the easiest roof to build for a shed?
A lean-to is the least complex because every rafter has the same length and angle and rests on two parallel walls, with no peak to align. A gable adds mirrored cuts and a ridge board.