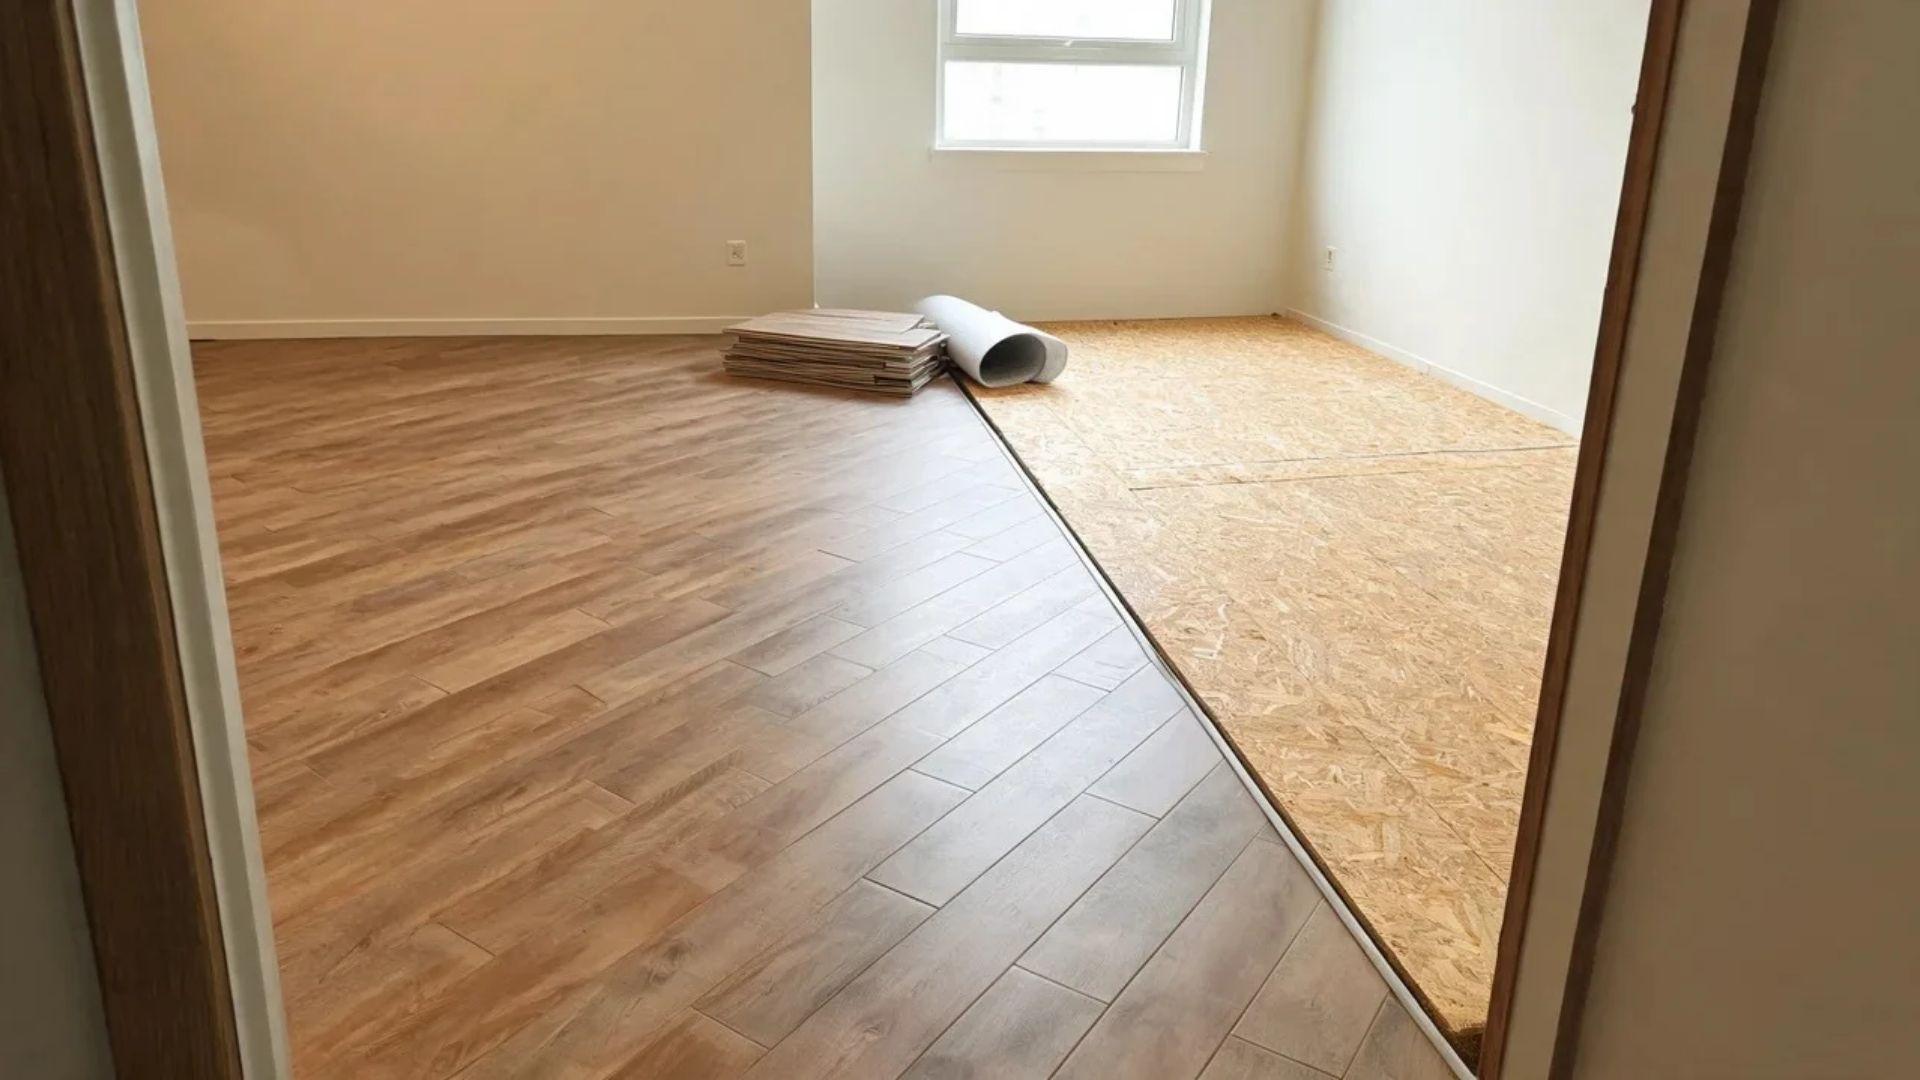
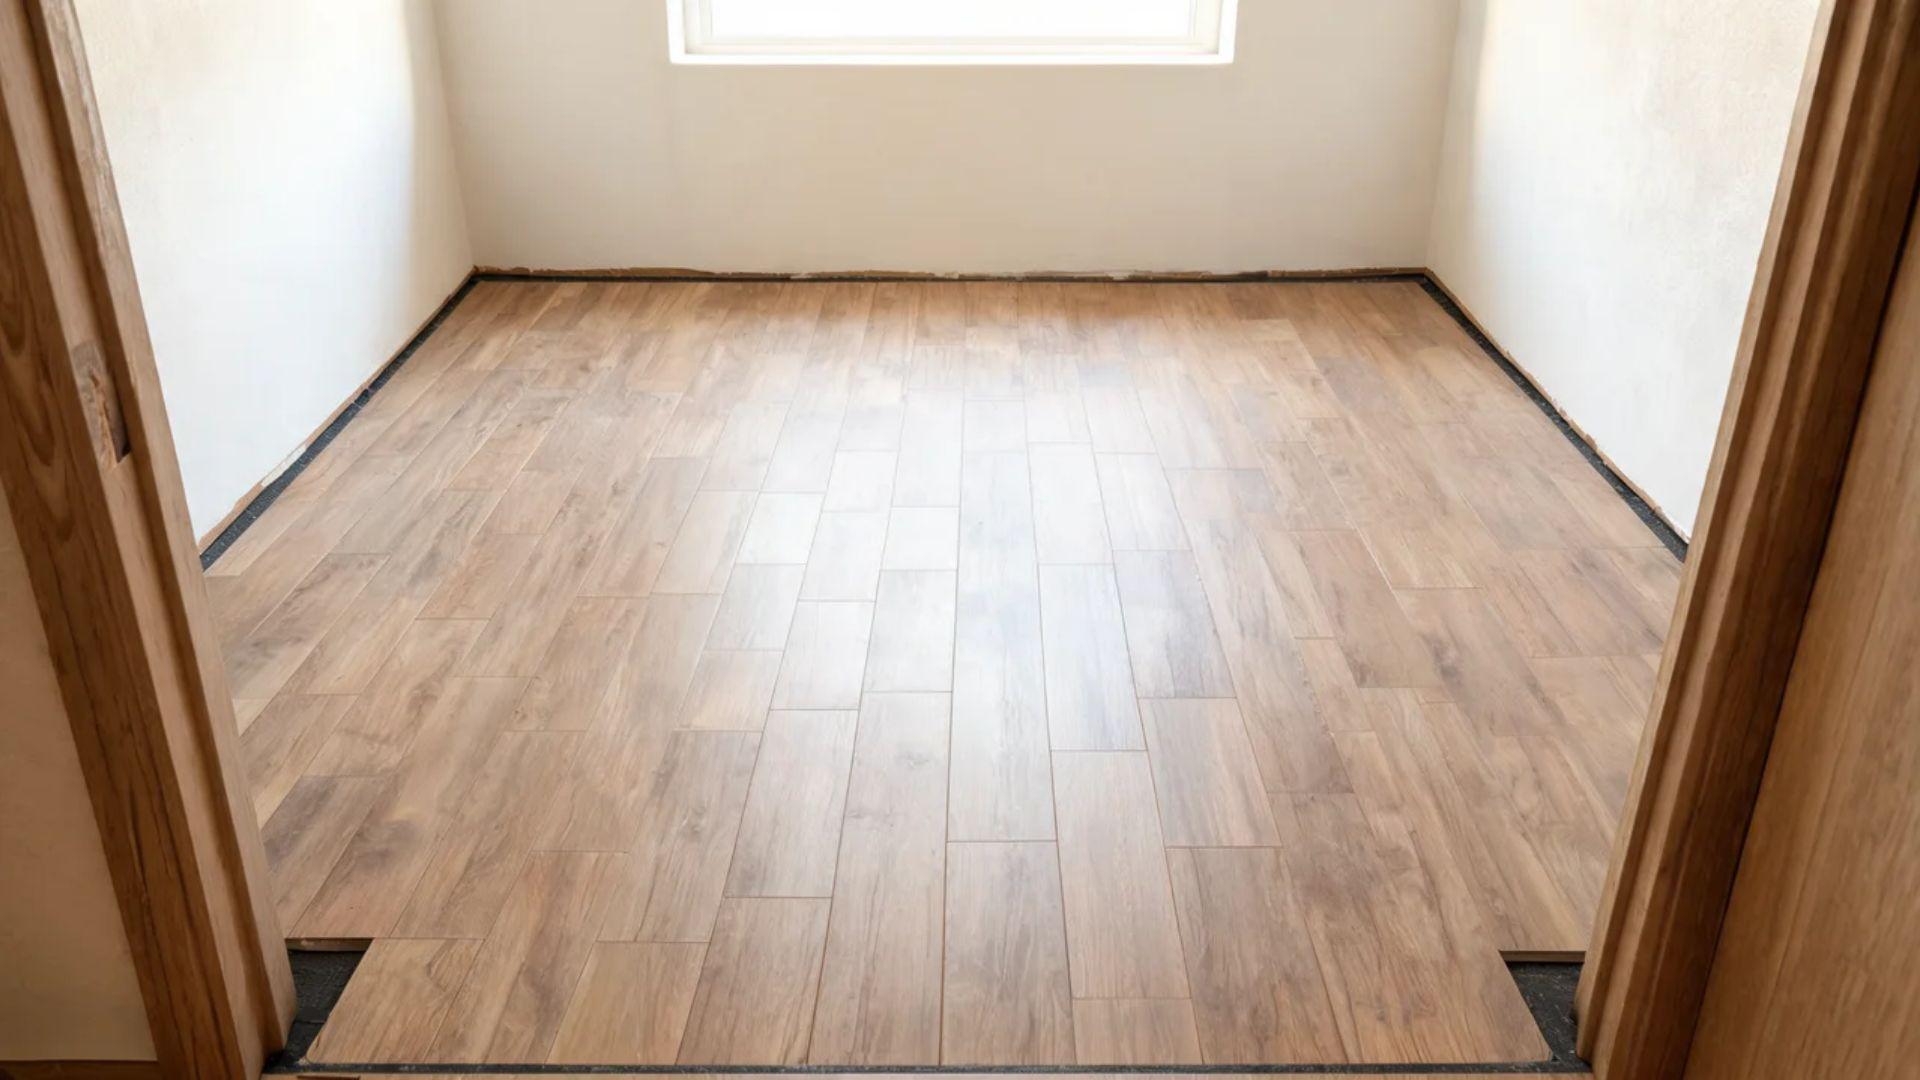
Learning how to lay vinyl plank flooring comes down to four stages: flatten and clean the subfloor, snap a straight starting line, click the planks together row by row with an expansion gap at every wall, and cover that gap with trim that never pins the floor down.
Because click-lock planks float instead of gluing or nailing down, a careful beginner with hand tools can handle the job.
A gap wide enough to slide a pencil into along the far wall rarely starts as a cutting mistake; it shows up last.
Most floors that open up or buckle were decided before the first box came open, in an unchecked subfloor or a first row that followed a crooked wall, and flooring warranties tend to exclude failures caused by poor prep or improper installation.
Read on for the job in the order it happens: planning, the four stages at a glance, then the prep, layout, and locking details that keep rows tight.
What Does It Take to Lay Vinyl Plank Flooring Yourself?
Laying a click-lock vinyl floor yourself takes basic hand tools, a flat and dry subfloor, enough planks plus waste, and the manufacturer’s installation sheet.
Sequence matters far more than speed, so check each stage before you start the next one.
Order 10 to 20 percent more flooring than the room’s square footage to cover cuts and future repairs.
Floating planks can go over concrete, a wood subfloor, or one layer of existing vinyl if it’s flat and clean, but carpet has to come out, and Lowe’s advises against covering laminate.
These steps cover click-lock floating planks; glue-down planks use troweled adhesive and usually start from the room’s center.
Read your product sheet before buying trim, since gap, stagger, and acclimation rules change between product lines, and finding that out halfway across a room costs far more than ten minutes of reading up front.
How to Lay Vinyl Plank Flooring Step by Step
You lay vinyl plank flooring in four stages: prepare a flat subfloor, plan the layout and snap a starting line, lock and cut planks row by row with spacers at every wall, and finish the perimeter with trim and transitions.
The order stays the same for every click-lock product, while the manufacturer sets the exact measurements.
Step 1: Gather Your Tools and Prepare the Subfloor
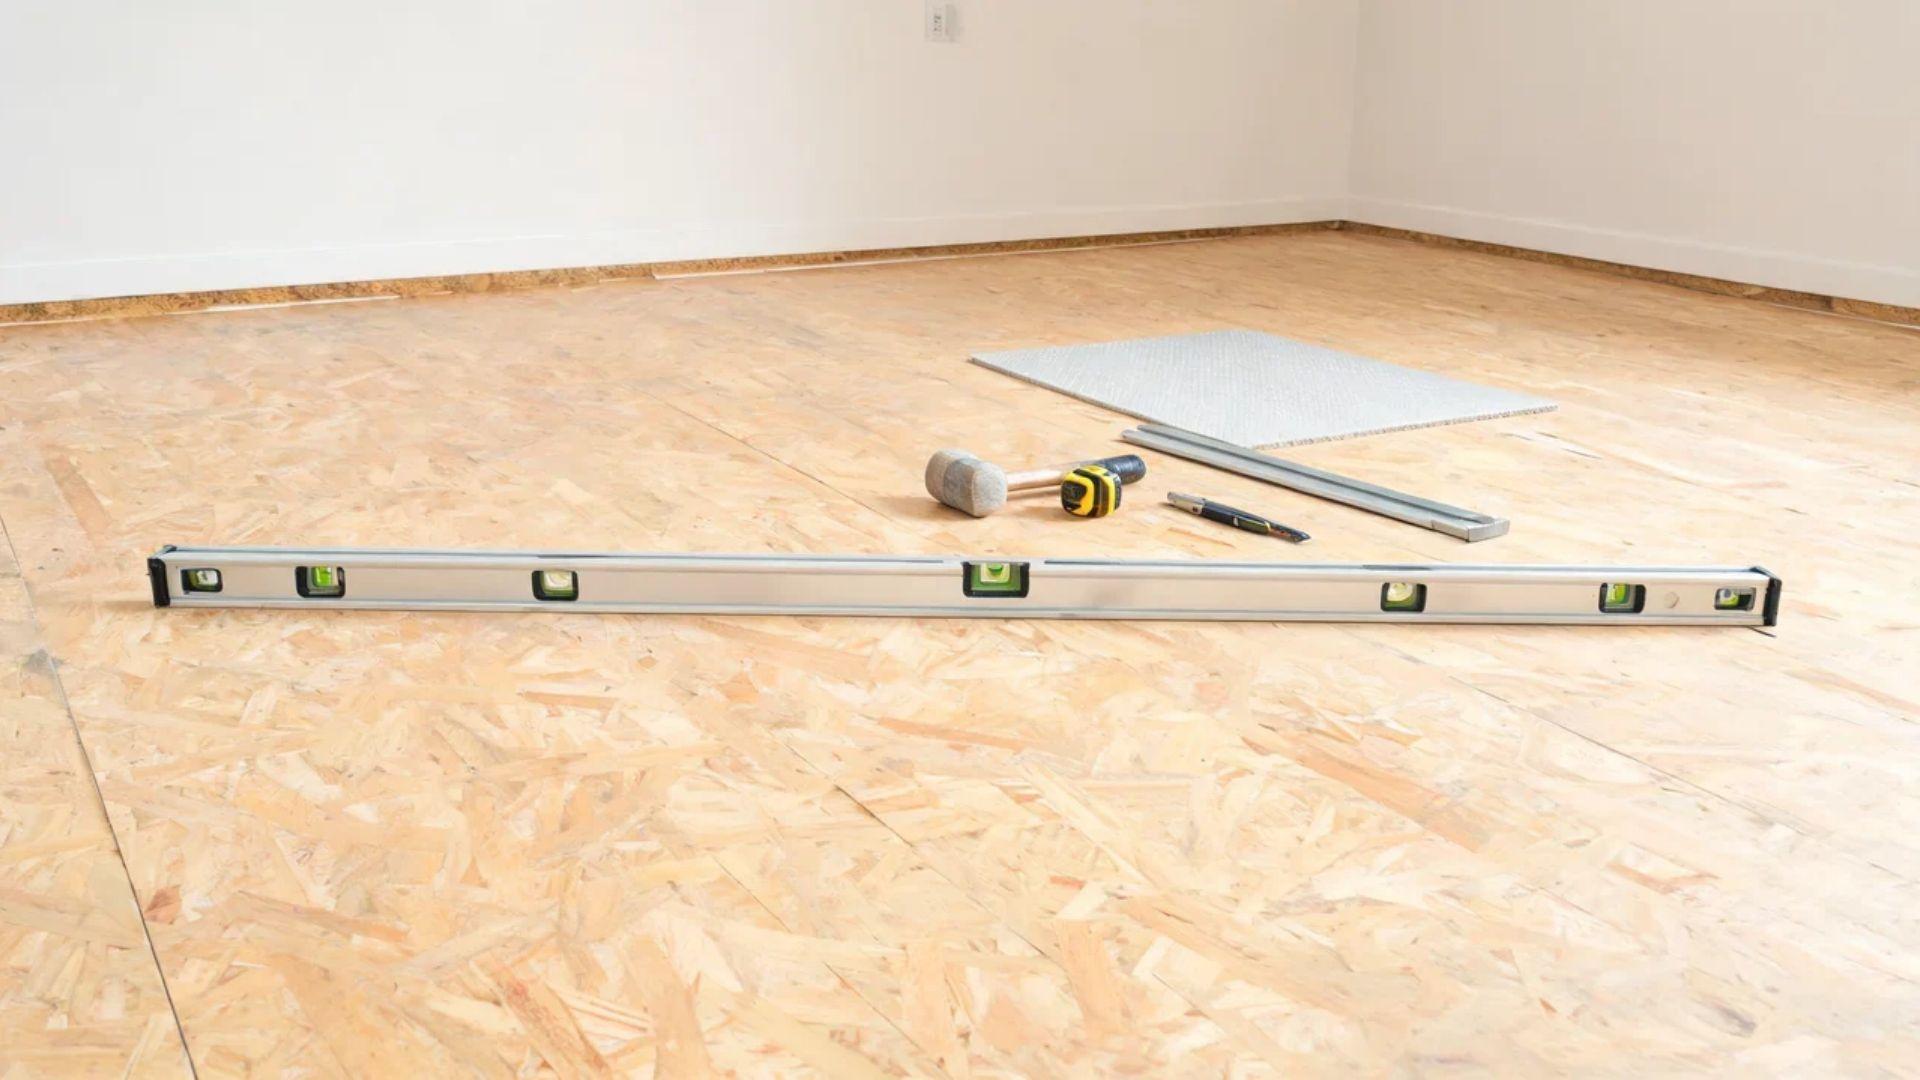
Have these on hand before the first plank goes down:
- Tape measure, pencil, and a level at least 6 feet long
- Utility knife and speed square
- Pry bar, tapping block, pull bar, and rubber mallet
- Spacers sized to your product’s expansion gap
- Chalk line
- Oscillating multi-tool for door jambs and a jigsaw for notches
Clear the room, pry off the baseboards, and strip the floor down to the surface you plan to cover.
If you’re weighing DIY against hiring a crew, check the cost to install vinyl plank flooring before buying or renting tools you’ll use only once.
Step 2: Plan the Layout and Snap a Starting Line
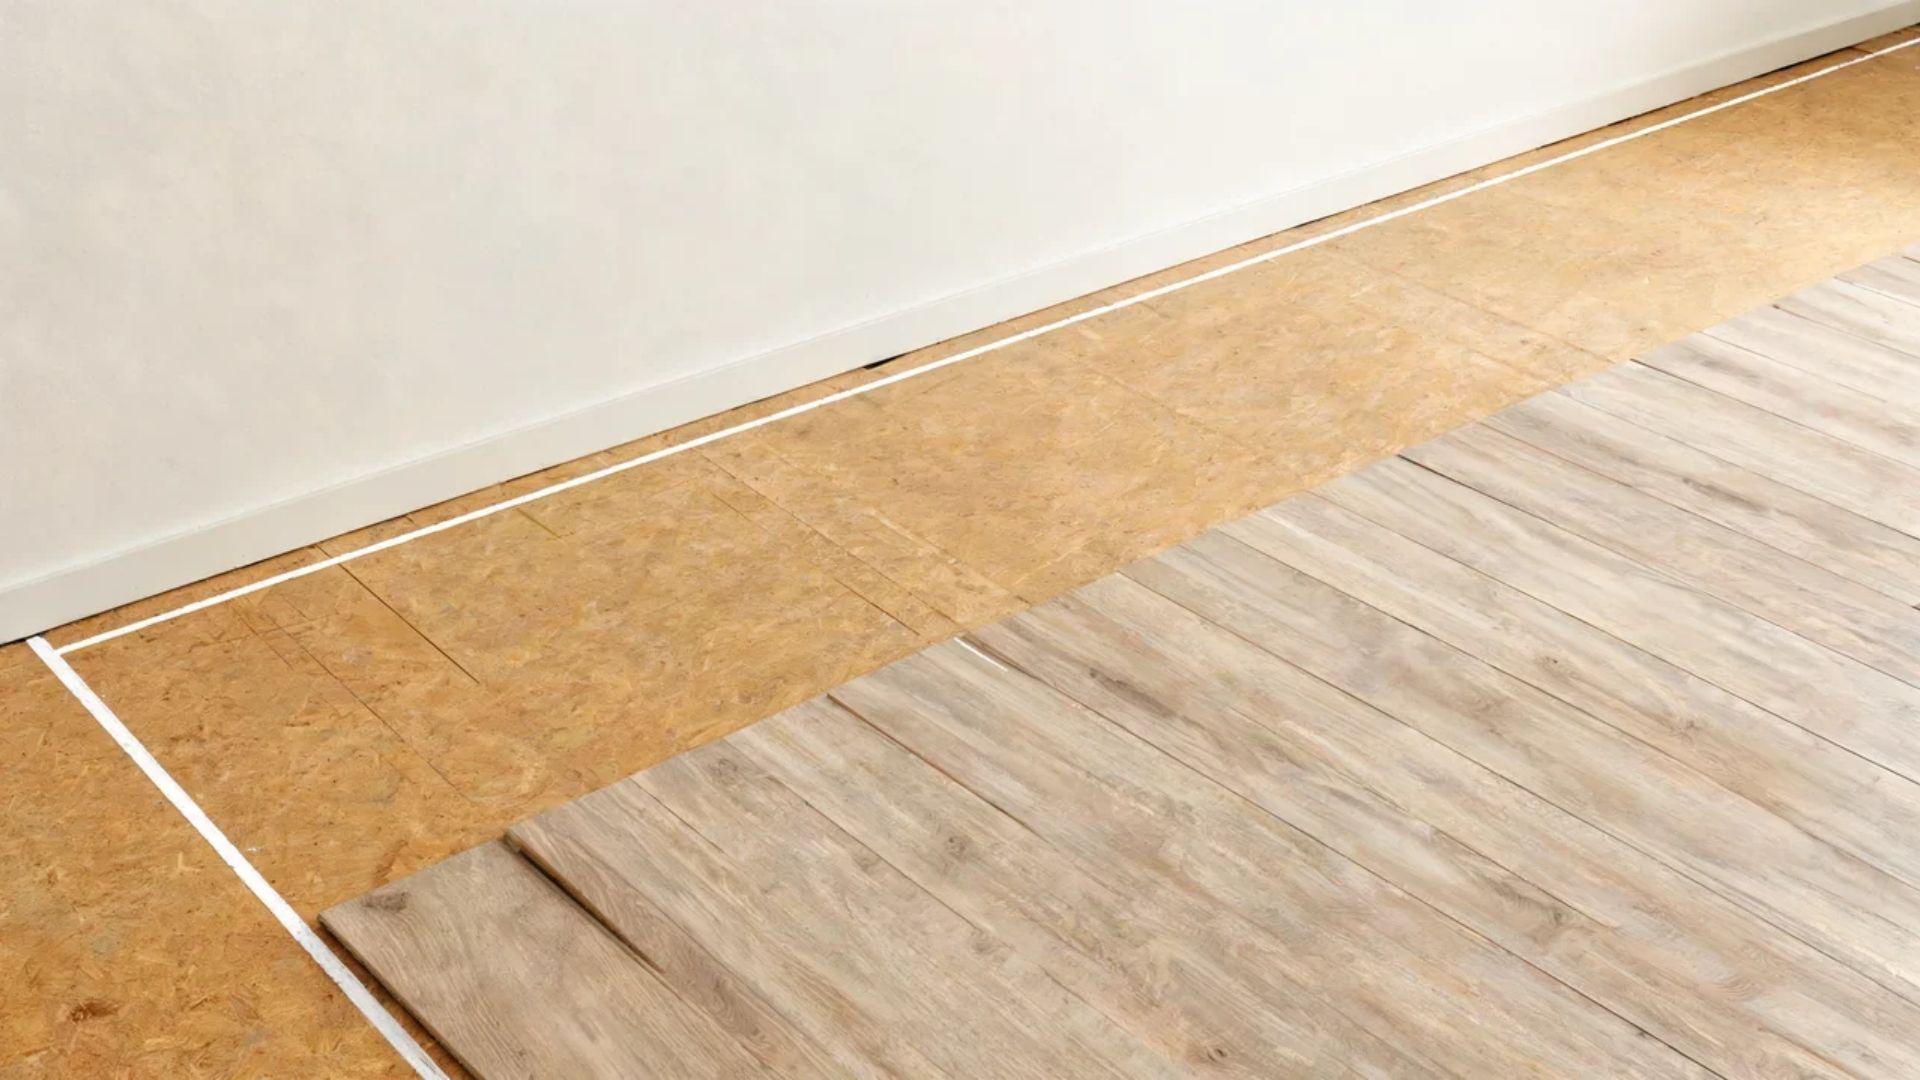
Measure the room, choose your starting wall, and snap a chalk line so every row follows a straight edge instead of an uneven wall.
Step 3: Lock and Cut Planks Row by Row
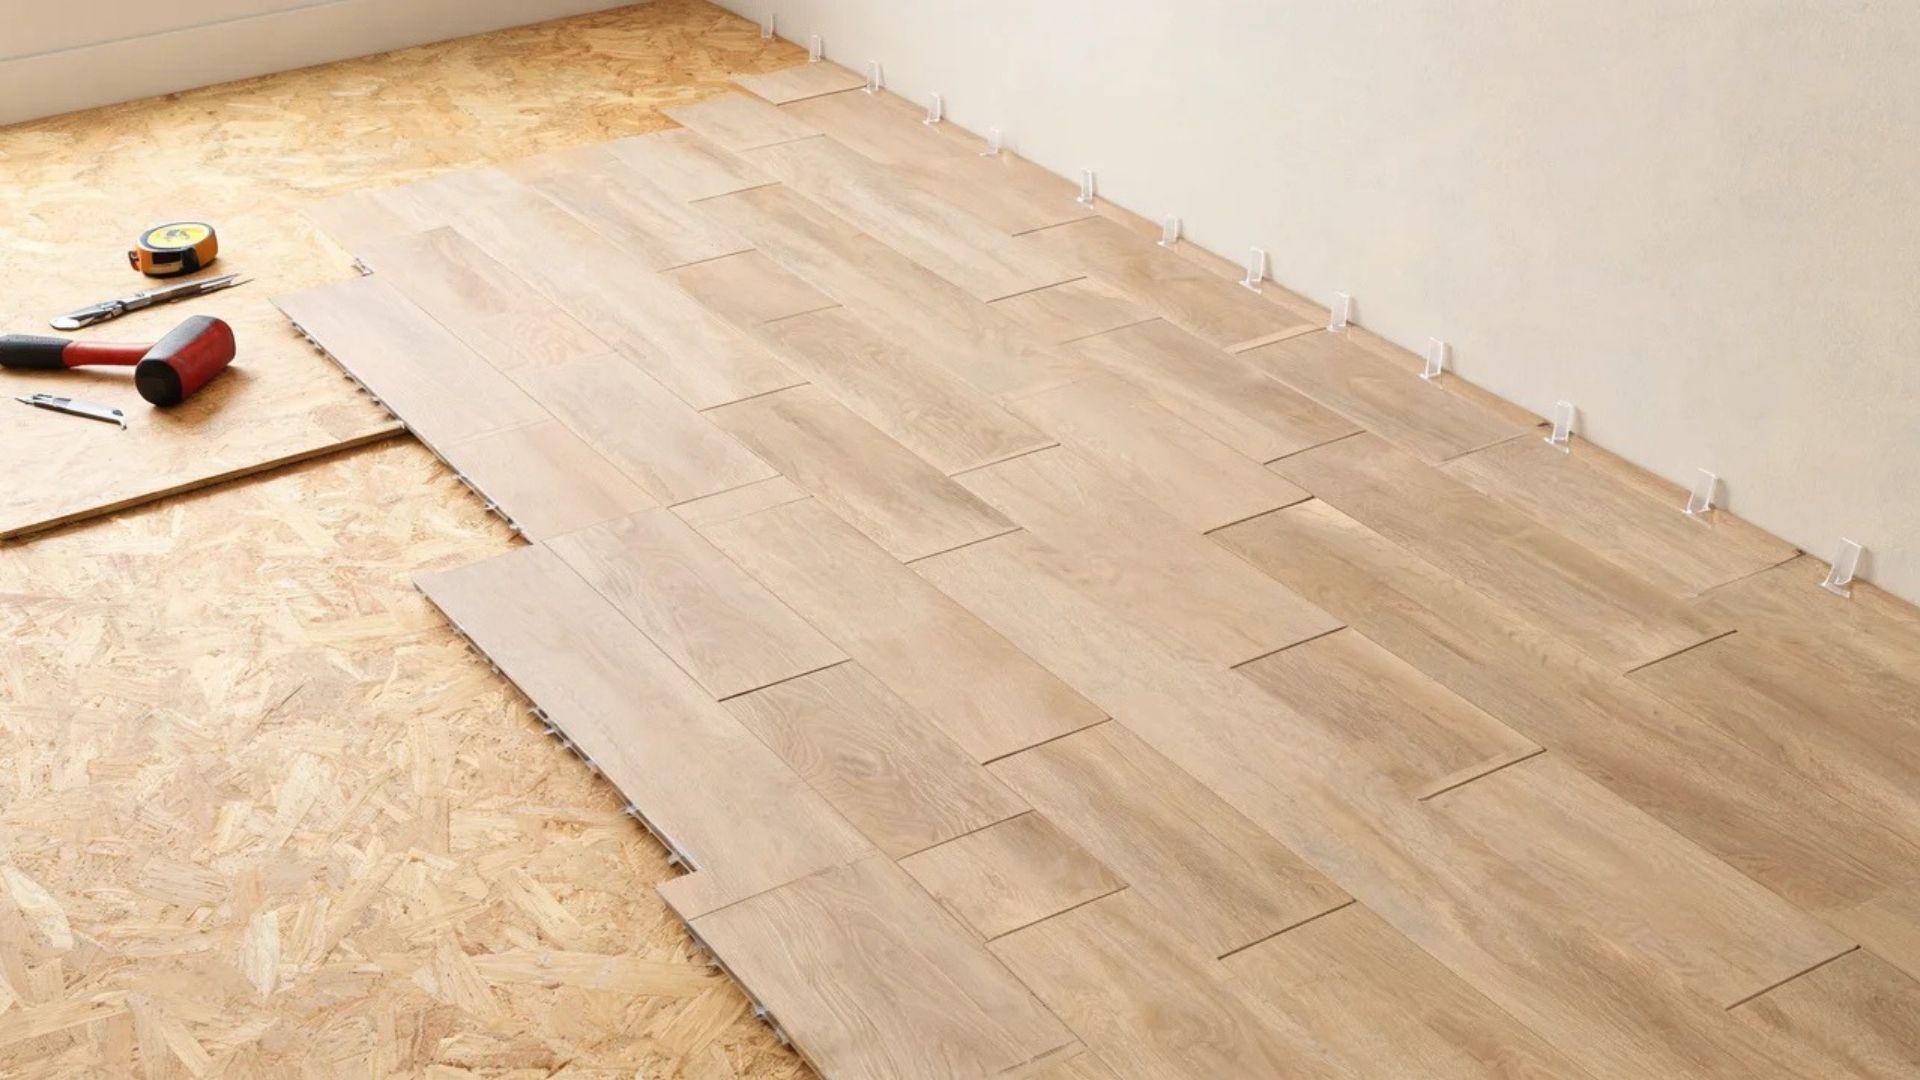
Set spacers along the walls, lock each plank into the last, offset end joints between rows, and cut planks where rows meet walls or doorways.
Step 4: Finish the Perimeter With Trim and Transitions
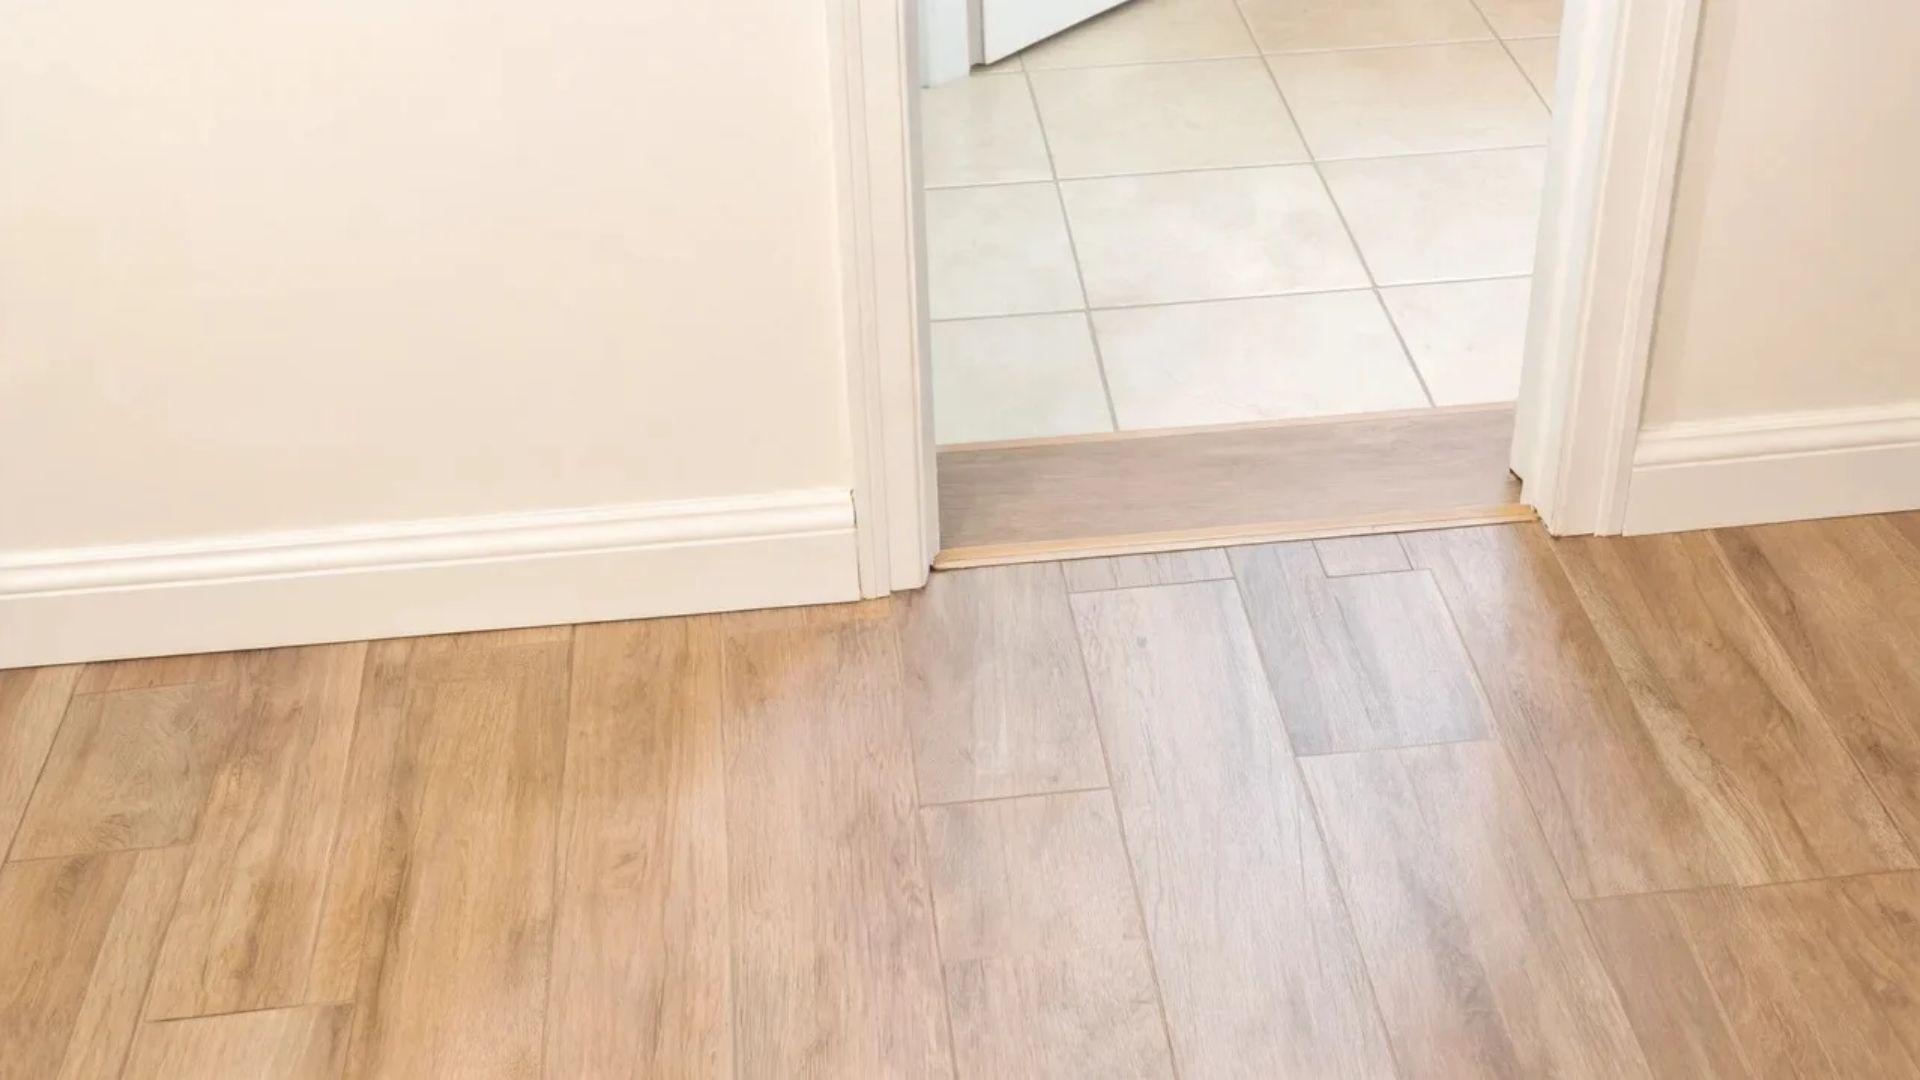
Pull the spacers, reinstall baseboards or quarter round to hide the gap, and add transition strips where the floor meets another surface.
The first of those stages carries the most weight, so subfloor prep comes next.
How to Prepare a Subfloor to Install Vinyl Plank Flooring?
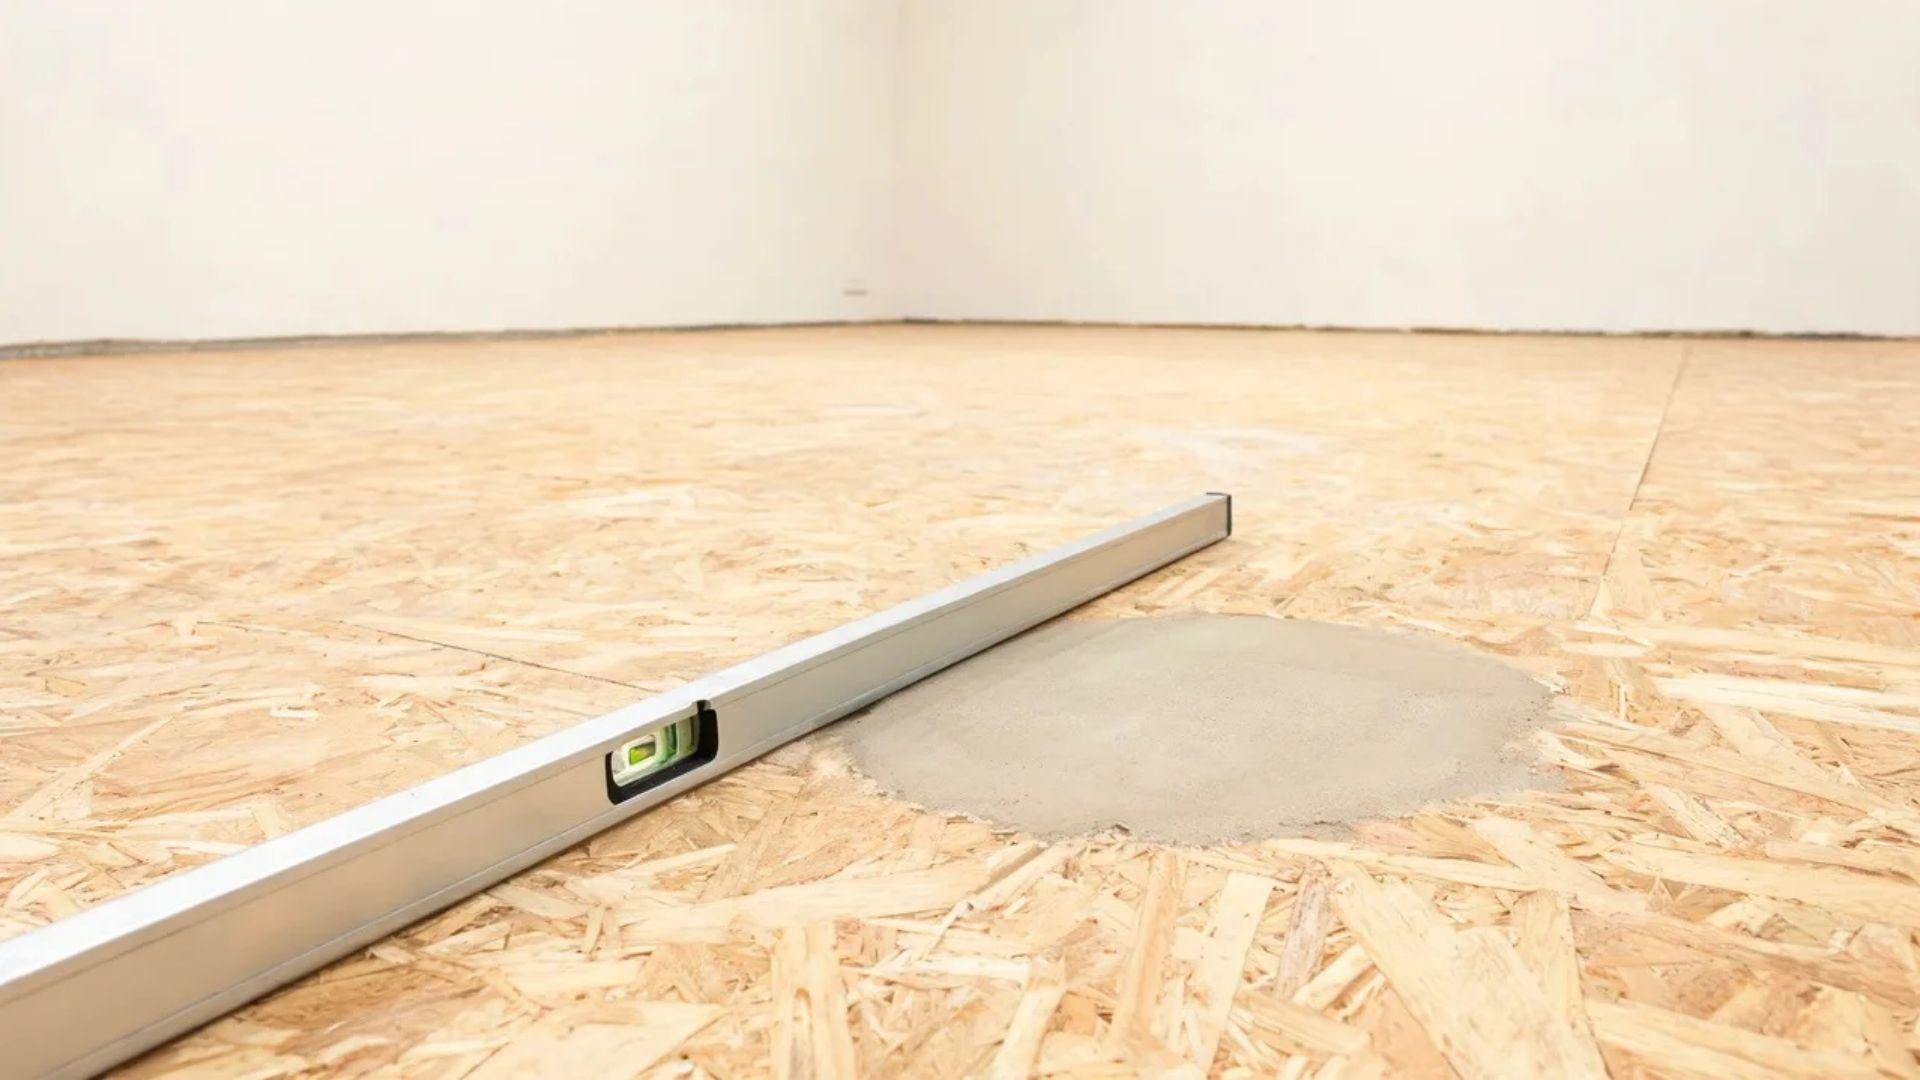
To install vinyl plank flooring that stays locked, start with a subfloor that is clean, dry, and flat to the tolerance on your product sheet.
Click-lock planks bridge dips instead of following them, so every low spot becomes a place where the joints flex under foot traffic and slowly pull apart.
Restoring old furniture teaches the same lesson: a fresh finish can’t hide a racked frame, and a new floor can’t hide a wavy subfloor.
If you’re covering vinyl that went down decades ago, don’t sand or scrape it, because older resilient flooring and some adhesives may contain asbestos.
The Resilient Floor Covering Institute’s recommended work practices for removal explain safer handling.
Finding and Fixing Low and High Spots
- Run a long level across the floor in several directions and mark anywhere a shim slides underneath.
- Compare those gaps with your product sheet. Many rigid-core products allow about 3/16 inch of variation over 10 feet, or 1/8 inch over 6 feet.
- Fill dips with patch or self-leveling compound.
- Sand or grind down high spots, then check again with the level.
Aim for flatness rather than smoothness, since a rough floor can still sit flat while a smooth one with a shallow dip lets joints flex.
Prepping a Concrete Slab or Plywood Subfloor
- Concrete slab: Grind down ridges and old adhesive, then fill low spots with a cement-based patch. ASTM F710, the industry practice for preparing concrete to receive resilient flooring, calls for a surface that is dry, smooth, and structurally sound.
- Plywood or wood subfloor: How to lay vinyl plank flooring on plywood starts with the fasteners. Screw squeaky or shifting panels into the joists, sink raised nail heads, and sand high seams where sheets meet.
Undercutting Door Jambs and Acclimating Planks
- Door jambs: Undercut them instead of notching around them. Rest the multi-tool on a scrap plank as a height guide so the new plank slides underneath with no gap to fill later.
- Acclimation: This depends on the product. Some rigid-core lines need none within a listed temperature range, while others ask for 24 to 48 hours in the room.
With a flat floor underfoot, the next decision is where the first plank goes.
Where Do You Start Laying Your First Row of Vinyl Planks?
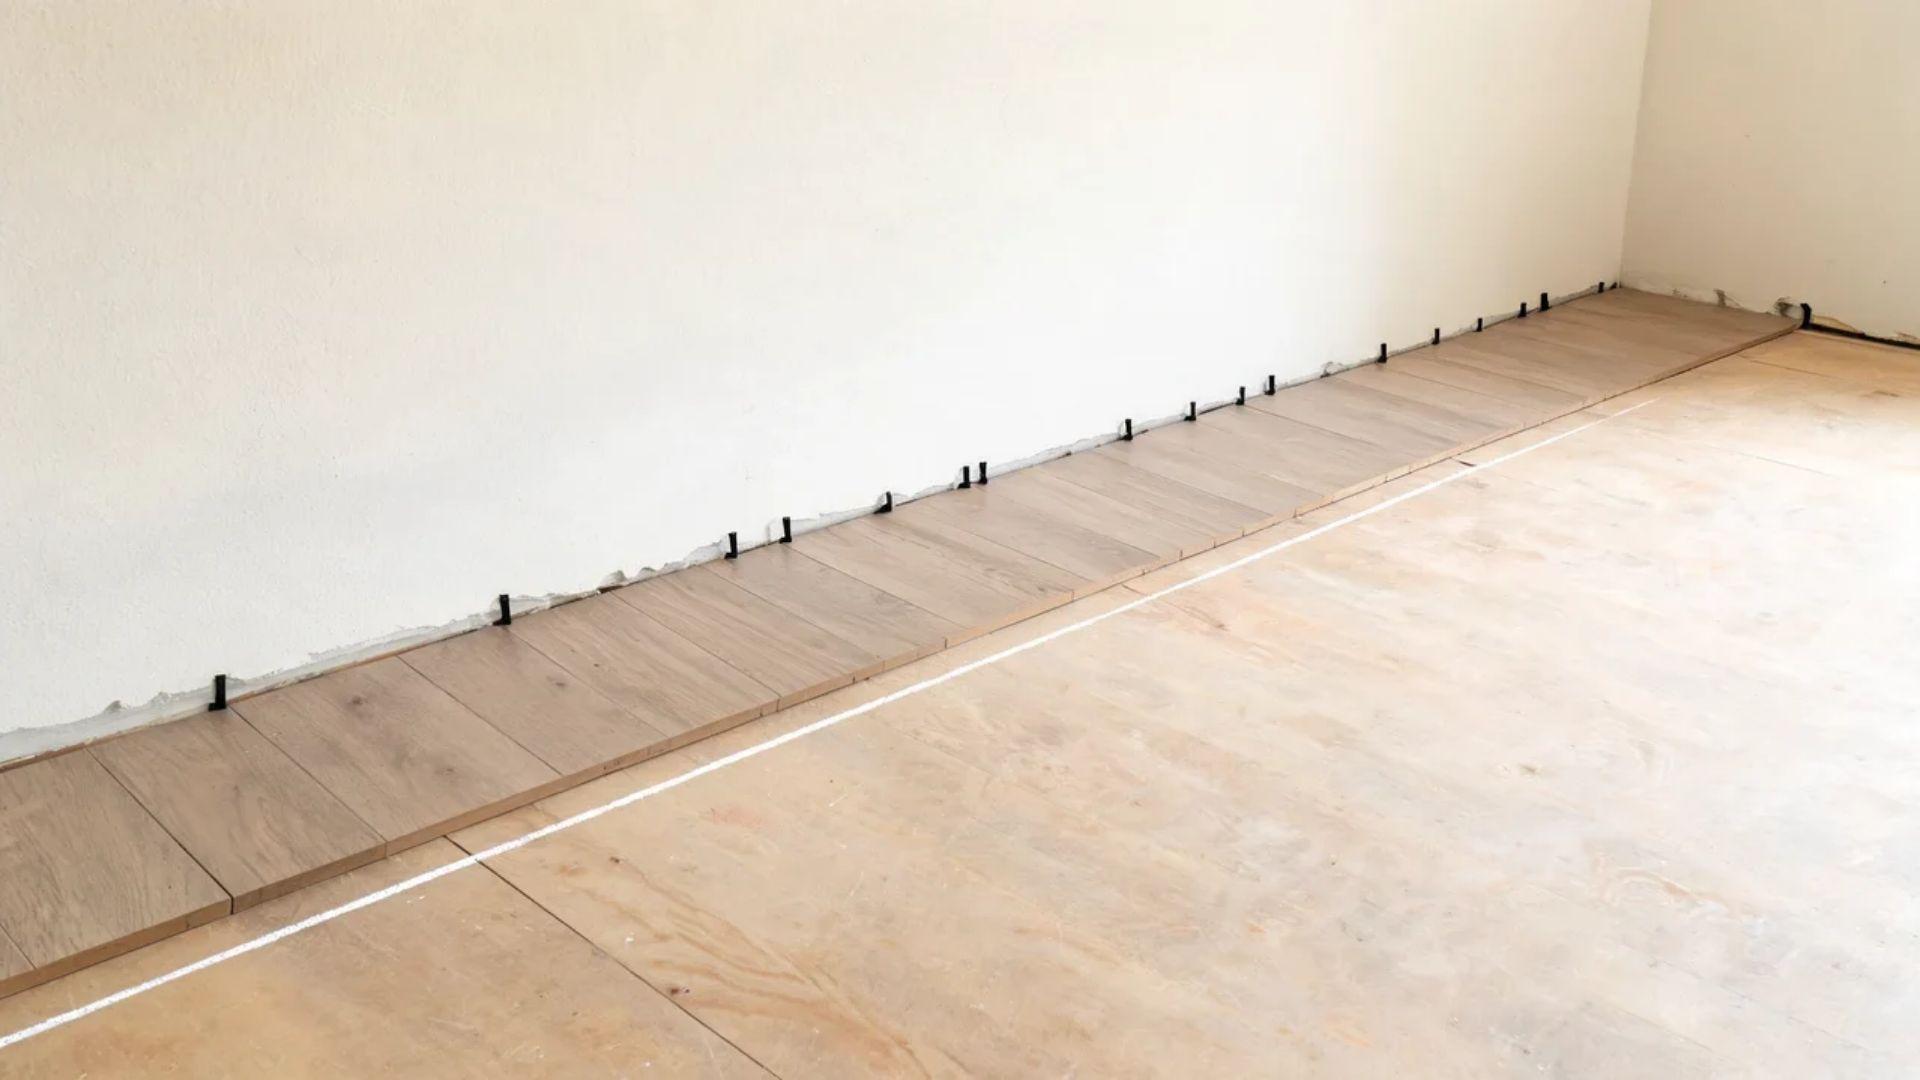
Start along a chalk line near the longest, straightest wall, after checking how wide the final row will be.
Home Depot’s installation guide recommends border rows no narrower than half a plank, so if the layout math leaves a sliver at the far wall, trim the first row to balance both edges.
To run that math, divide the room width by the plank’s face width.
With 6-inch planks and a 2-inch remainder, drop one full row and split the leftover 8 inches, ripping the first and last rows to about 4 inches each.
Walls are rarely straight, so snap the line offset by the plank width plus the expansion gap and scribe the first row to the wall’s real shape.
A crooked first row shows up later as joints that refuse to close.
Where a hallway connects several rooms, run planks down the hall’s length and plan the layout from there, since planks laid across a narrow hall are more likely to buckle.
Then pick a starting corner that keeps you dropping tongues into grooves in one direction.
How to Lock Vinyl Plank Flooring Tight Across the Room
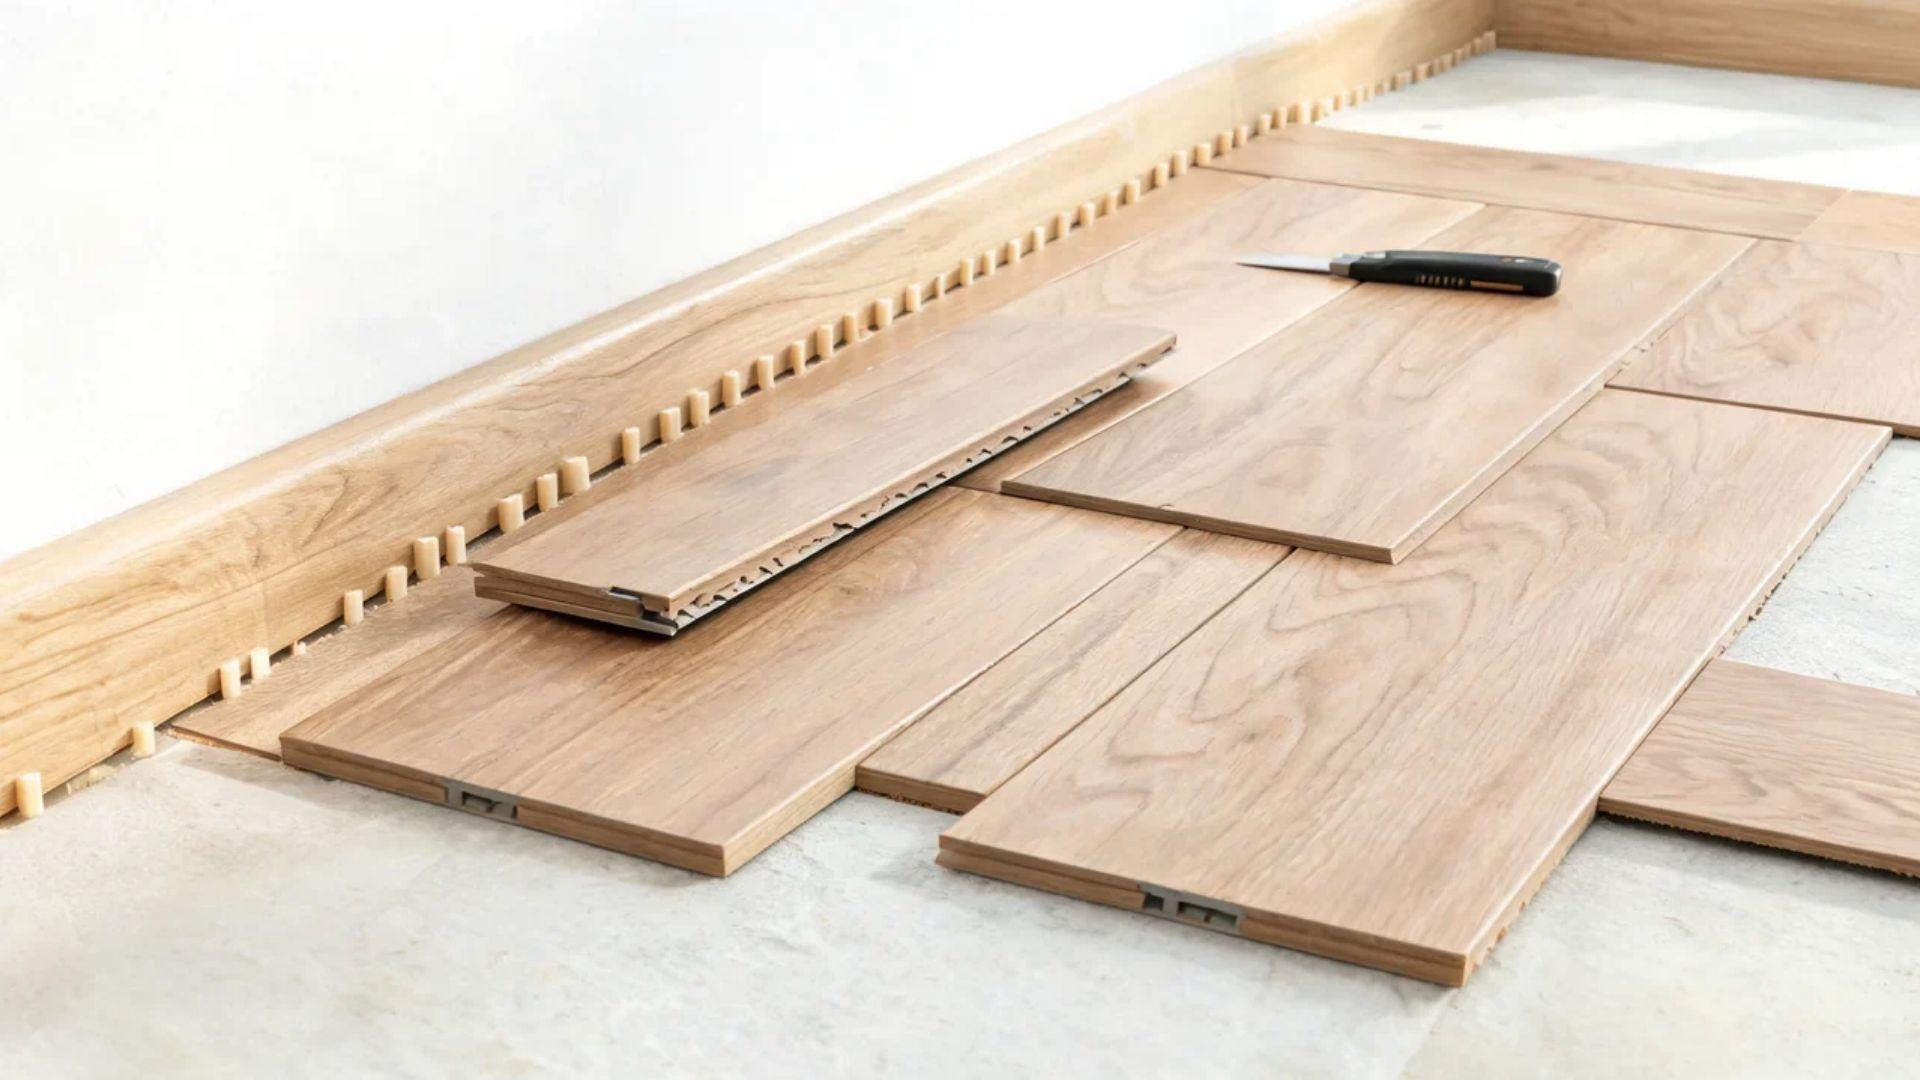
Angle each plank’s long-side tongue into the groove of the previous row, press it flat, then close the short end joint, keeping spacers at every wall and offsetting end joints between rows.
A plank that won’t close usually has debris in the groove or the wrong angle, not too little force.
1. Locking the First Two Rows
Set spacers at the gap your product calls for, commonly 1/4 inch, though some lines require 5/16 or 3/8 inch. Lay the first plank with the specified edge facing the wall.
For the second row, hold each plank at a low angle, seat the long-side tongue, and lower it flat before closing the end joint, using a tapping block only if the manufacturer recommends one.
Some installers assemble the first three to five rows wall to wall, then slide that block against the spacers so the floor won’t creep as they work.
Leave the spacers in until the trim goes on, since the gap gives the vinyl room to expand with temperature.
2. Staggering Seams and Cutting Planks
Offset end joints in neighboring rows by the distance on your product sheet, usually 6 to 8 inches at minimum, so seams never line up across the room.
Pull from several open boxes so color spreads evenly, and start each row with the last row’s offcut whenever it clears the offset.
Score straight cuts with a utility knife along a speed square and snap the plank; use a jigsaw for vents and pipes, and keep every cut edge facing a wall where trim covers it.
3. Fitting the Last Row and Finishing Trim
Measure from the previous row to the wall at both ends, subtract the expansion gap, rip each plank to that width, and draw it tight with a pull bar.
Nail baseboards or quarter round into the wall, never down into the floor, and set transition strips over the gap without fastening through the vinyl.
Even careful first floors can show warning signs, and catching them before the baseboards return saves pulling trim later.
Common Mistakes When Installing Vinyl Plank Flooring
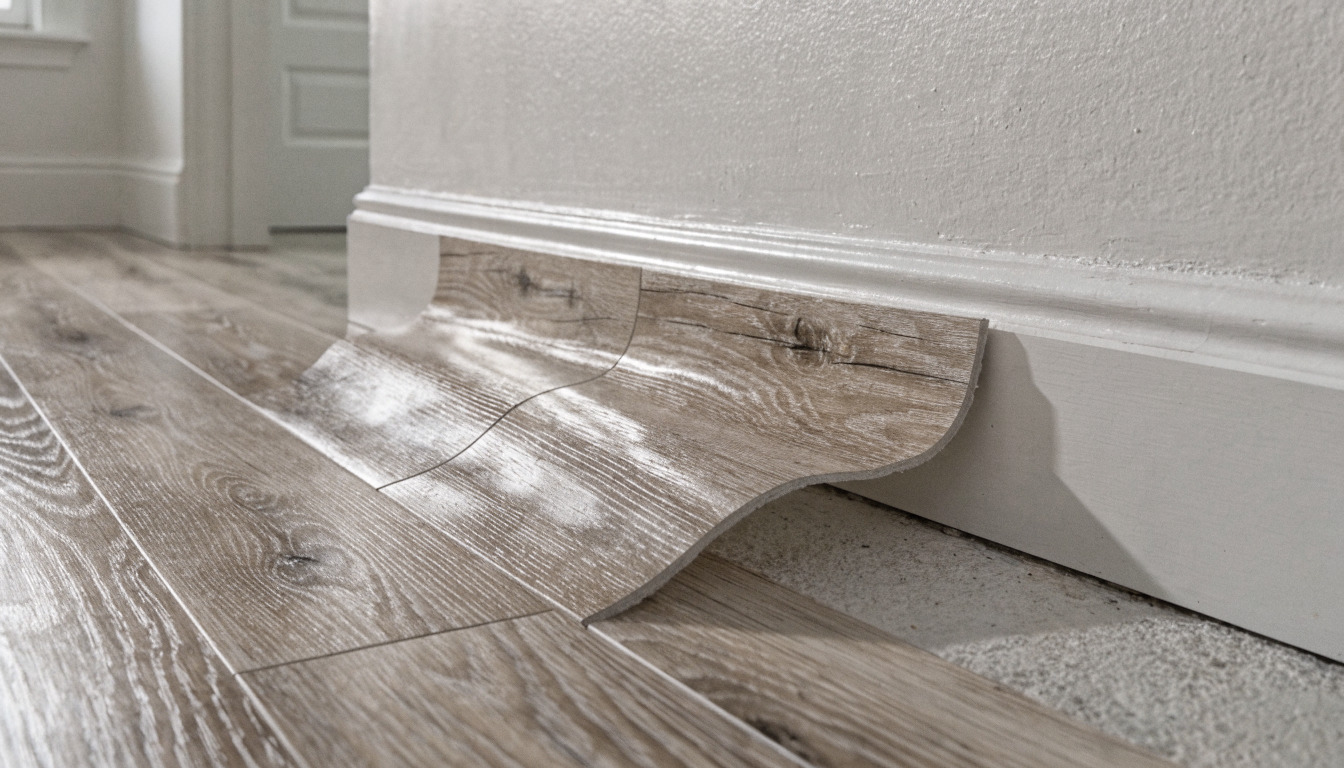
Most problems trace back to a floor that can’t move, a subfloor that wasn’t flat, or a forced joint, and each leaves a distinct symptom.
| What You Notice | Likely Cause | How to Correct It |
| Ridges or lifting near walls, cabinets, or doorways | Trim nailed through the floor, a closed gap at a jamb, or a cabinet or island set on top | Free the edges, restore the gap, and never fasten anything through a floating floor |
| End joints opening weeks after install | Temperature swings outside the product’s range or a dip under the seam | Keep the room within the listed range and patch the dip before relocking |
| A raised edge or peaked seam | Debris in the groove or a locking edge damaged by hammering | Clean the groove and replace a damaged plank rather than reusing it |
| Clicking or a hollow sound underfoot | A low spot or debris trapped under the planks | Lift the rows back to that spot, patch or clean it, and relock |
Before the trim goes back on, walk the floor in socks, listen for clicks, and sight down each row for gaps.
Two Early Decisions Decide How the Floor Turns Out
Once you know how to lay vinyl plank flooring in the right order, the planks themselves are rarely where a floor goes wrong.
The result is set by two early decisions: how flat the subfloor is and where the first row starts, and both are settled before a single plank clicks together.
Give those stages the extra hour, because fixing them later means pulling up finished rows.
Before you open the first box, run a long level across the subfloor, work out the width of your starting row, and snap that chalk line.
Frequently Asked Questions
What Do You Put Down Before Vinyl Plank Flooring?
Underlayment, but only if your planks don’t already have an attached pad. Adding a second pad can make the locking joints flex, so use only the type and thickness the manufacturer approves.
How Do You Lay Vinyl Plank Flooring on Concrete?
Test the slab for moisture first; the ASTM F2170 relative humidity test is the widely used method. If readings exceed the product’s limit, add the vapor barrier film the manufacturer specifies.
Can You Lay Vinyl Plank Flooring in a Bathroom?
Yes, if the product is rated for wet areas. Leave the expansion gap around the tub and toilet flange, then fill it with 100% silicone caulk instead of trim so water can’t reach the subfloor.
Can You Lay Vinyl Plank Flooring Over Tile?
Yes, if the tile is flat, firmly bonded, and free of cracks. Fill grout lines wider than the manufacturer allows with a cement-based patch so they don’t telegraph through thinner planks.