
Building a masonry fireplace is one of the few construction projects where sequence and material choice determine whether the finished structure is safe or just looks safe.
Get either wrong, and the problems don't show up on day one. They show up two winters later, in a cracked firebox or a chimney that smokes every time the wind shifts.
I'll walk you through how masonry fireplace construction actually works, what goes in, why it goes in that order, and what the finished system is really doing when a fire burns cleanly.
What Is Masonry Fireplace Construction?
A masonry fireplace is a site-built structure made from fire-resistant brick, refractory mortar, and concrete masonry units standing on its own foundation and built entirely in place, one course at a time. It stands on its own foundation and is built entirely in place, one course at a time.
That last part matters more than it sounds. A masonry fireplace doesn't sit on your home's floor framing.
It carries its own weight on a dedicated concrete footing poured independently of everything else. The house can settle around it; the fireplace doesn't move with it.
This is what separates it from a prefabricated or modular kit. A prefab unit arrives as factory-made components you assemble on site.
A masonry fireplace is built from scratch, material by material, with every joint, every course, and every dimension decided in the field.
That distinction changes everything about how it's constructed. The material requirements are stricter. The code obligations are more involved. And the margin for error is essentially zero.
I've seen people assume you can fix a poorly built firebox later, swap the damper, reline the flue, adjust the opening. You can't. Once the chimney goes up above a bad firebox, the bad firebox stays. The sequence and the materials have to be right the first time.
How a Masonry Fireplace Is Built: Step by Step
Masonry fireplace construction follows a fixed sequence. Each stage must be complete and structurally sound before the next begins, because nothing above grade can correct an error made below it.
Here's how the build unfolds from the ground up.
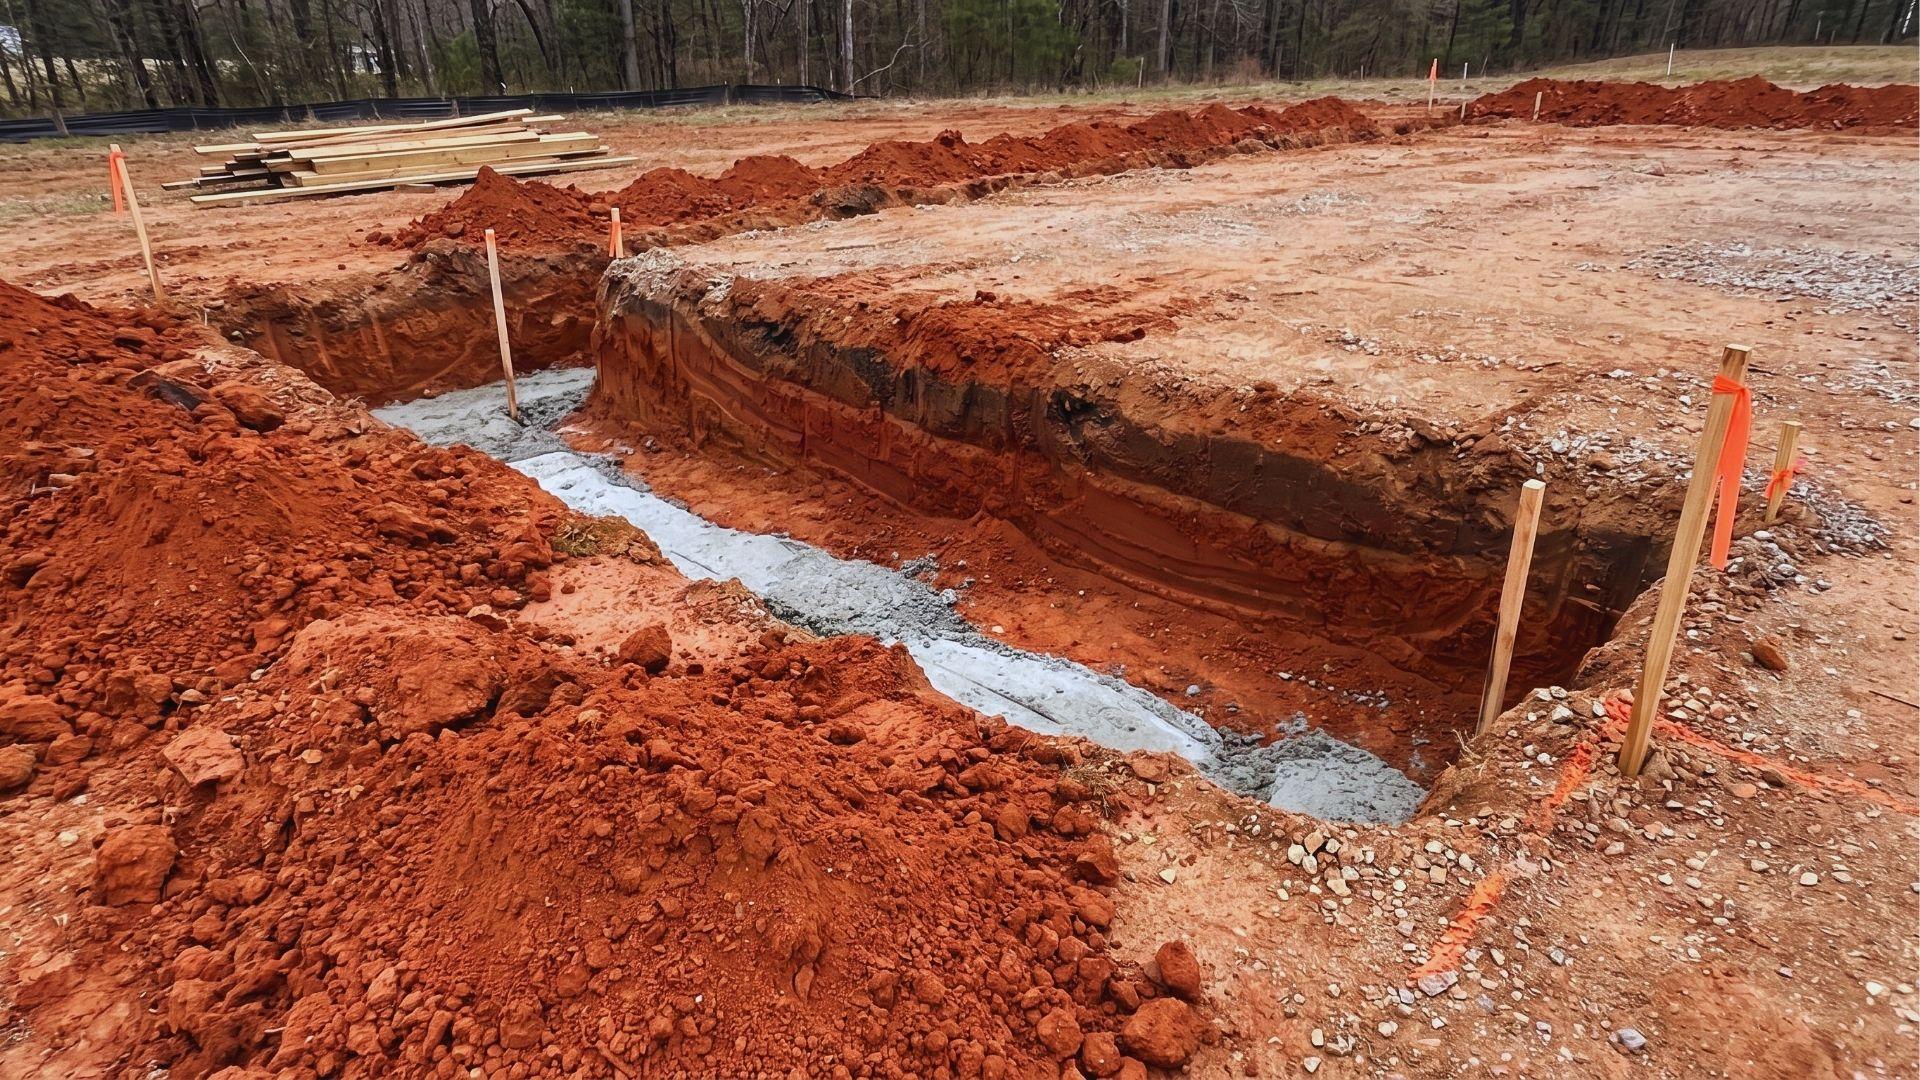
Step 1: Pour the Concrete Footing
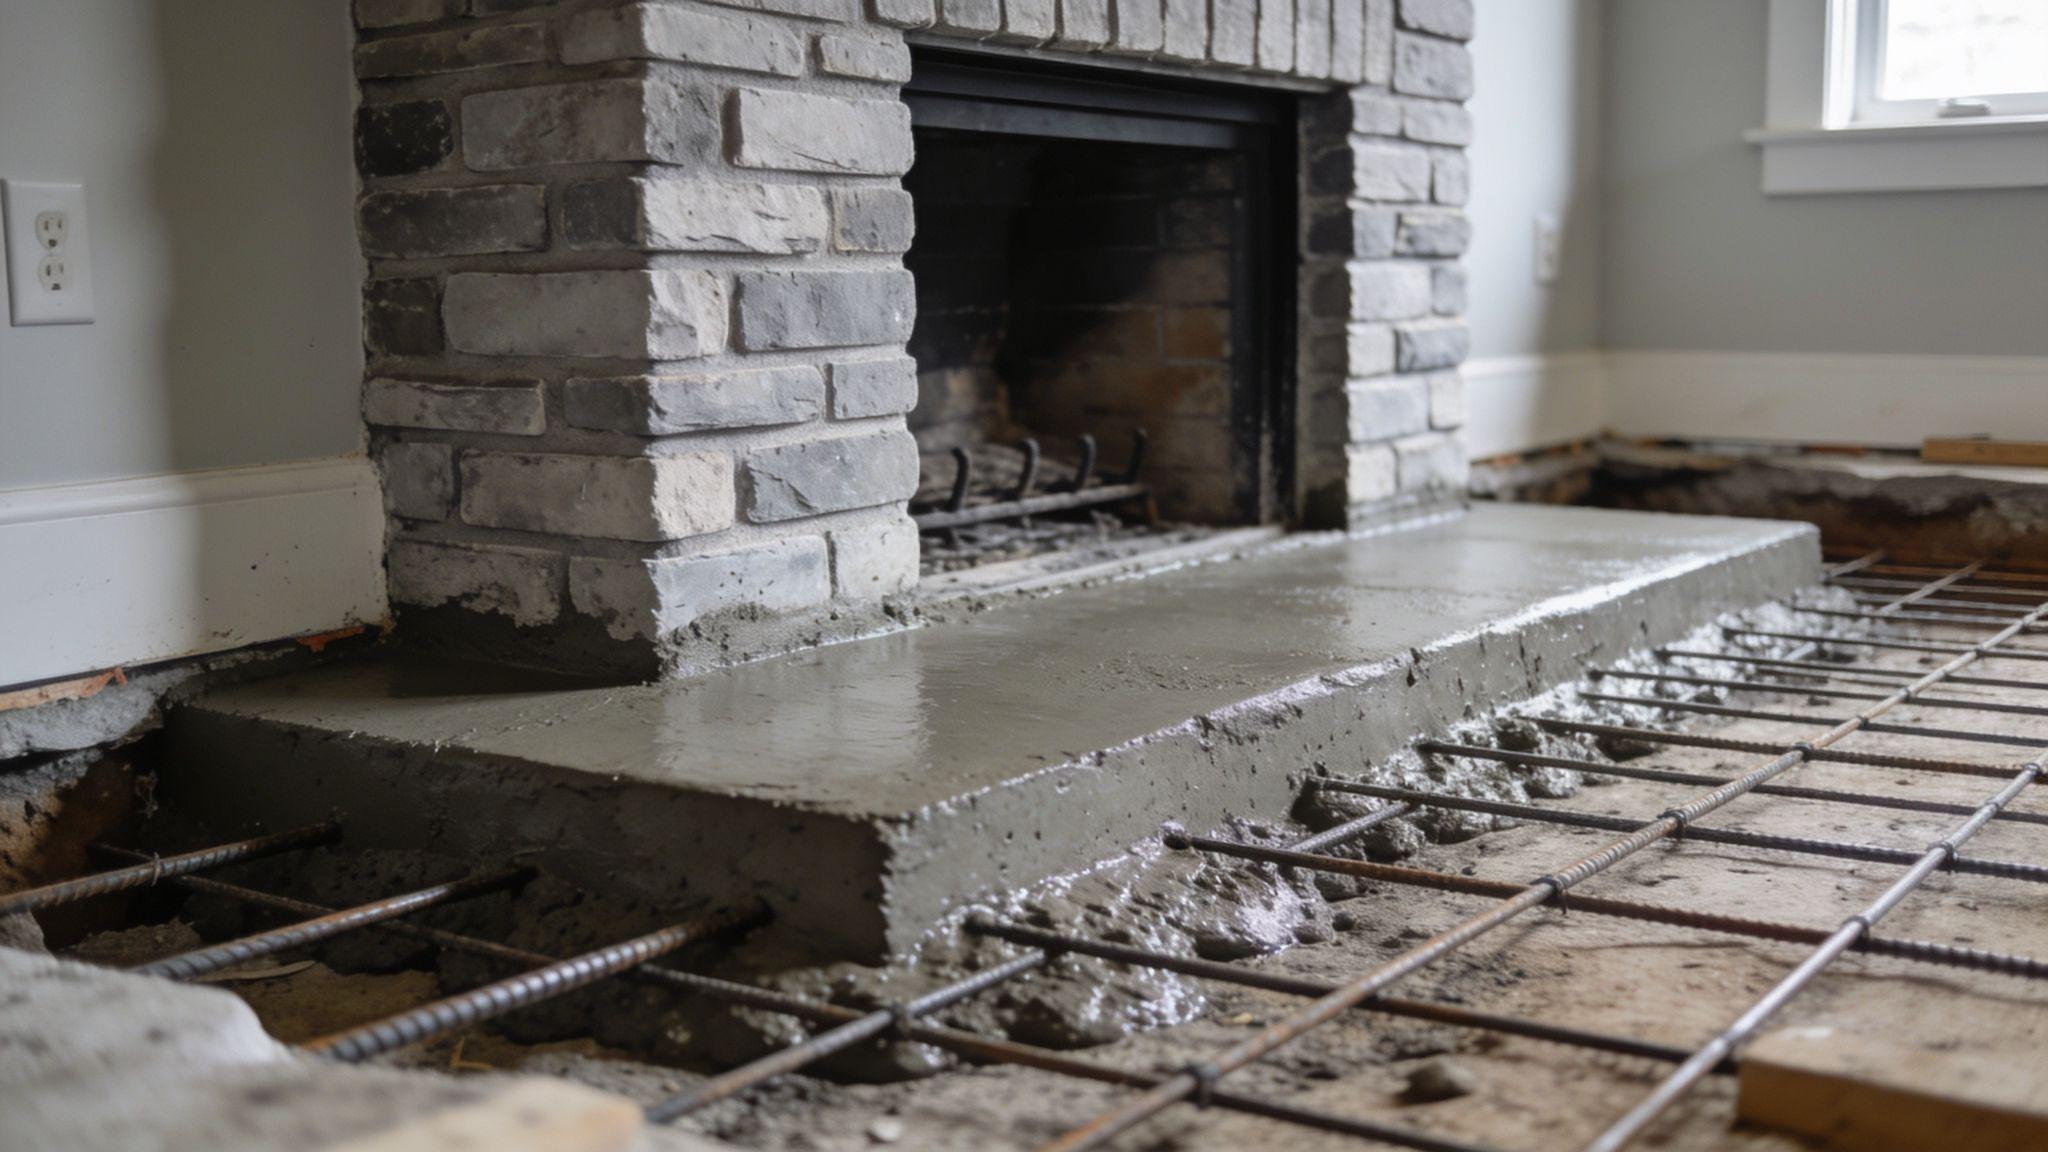
The footing is a reinforced concrete pad that extends 6 inches beyond the fireplace structure on every side. It bears the full weight of the fireplace and chimney independently of the home's floor framing.
How deep it goes depends on your local frost line, not a universal standard. Your building department will specify the minimum depth for your area. Get that number before you pour.
Step 2: Lay the Hearth Slab
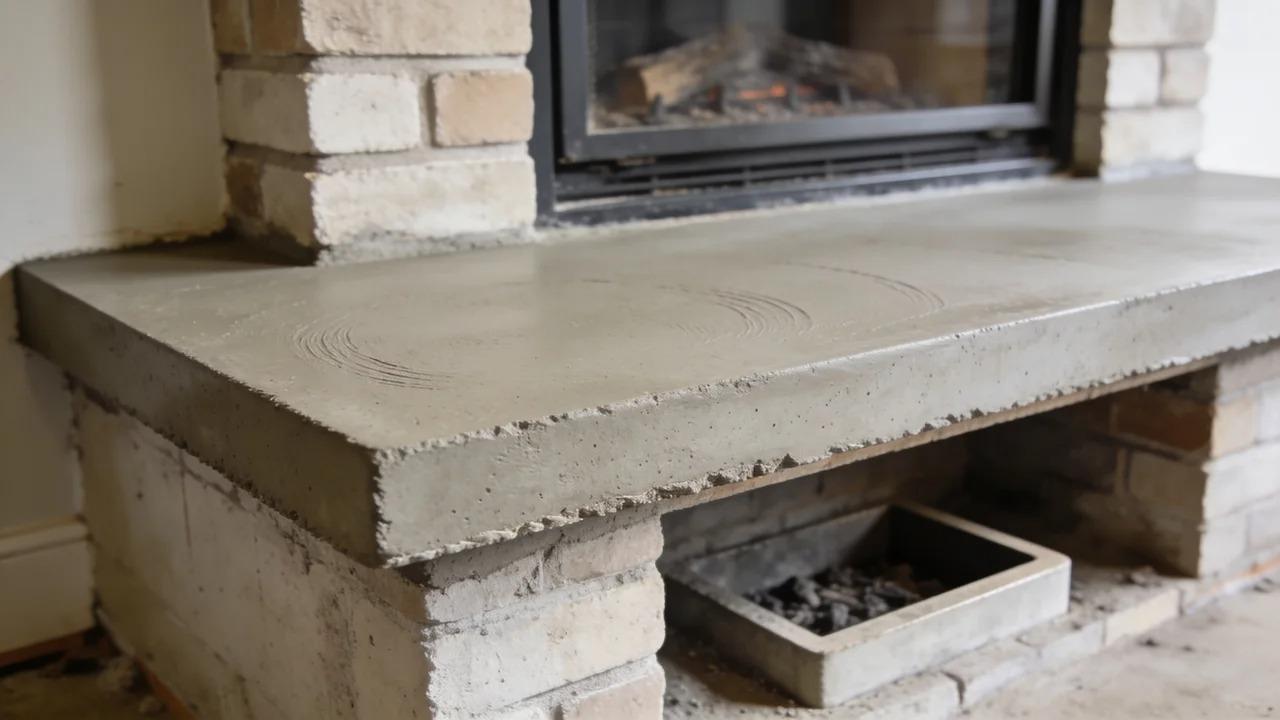
Once the footing cures, a non-combustible concrete slab is poured above the foundation wall. This becomes the structural floor of the firebox and the base for the finished hearth surface.
Space is left in the slab for the ash dump or an outside combustion air vent. The slab must fully cure before any brickwork begins above it. Starting too early is a common mistake, and a costly one.
Step 3: Build the Firebox with Firebrick
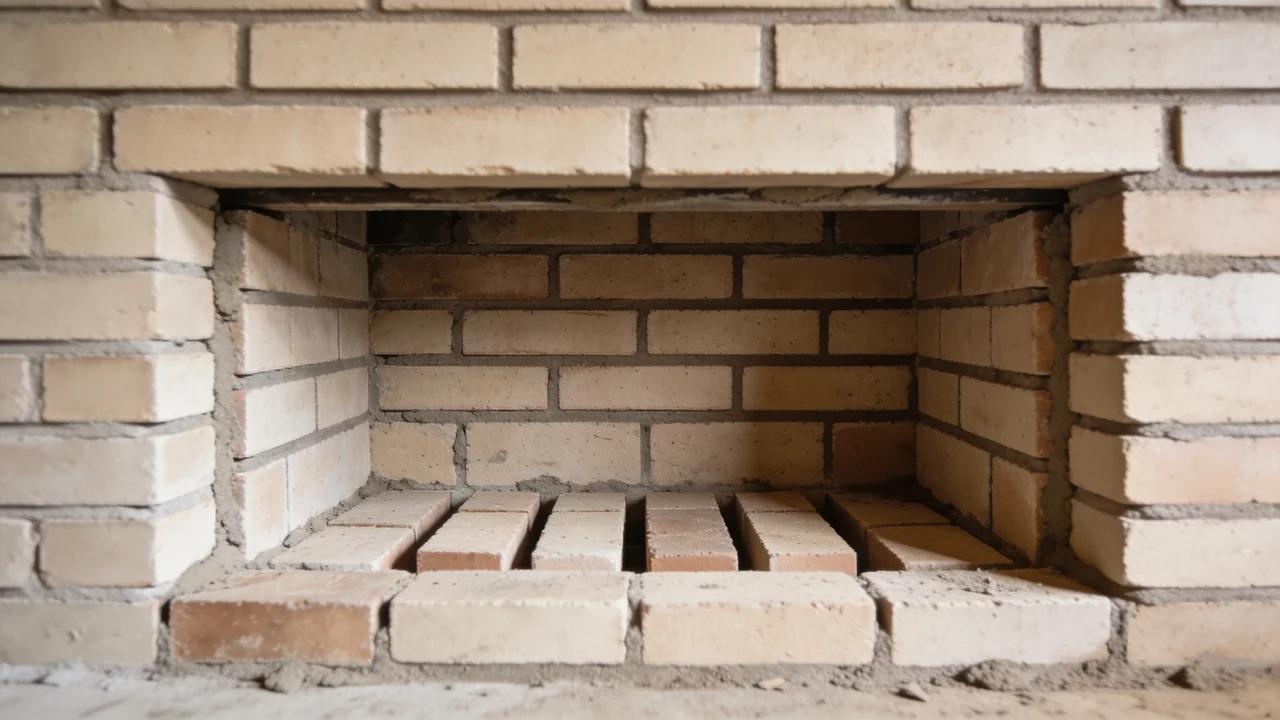
The inner fire chamber is built from firebrick laid in a running bond pattern, set in refractory mortar. Mortar joints must stay under ¼ inch throughout.
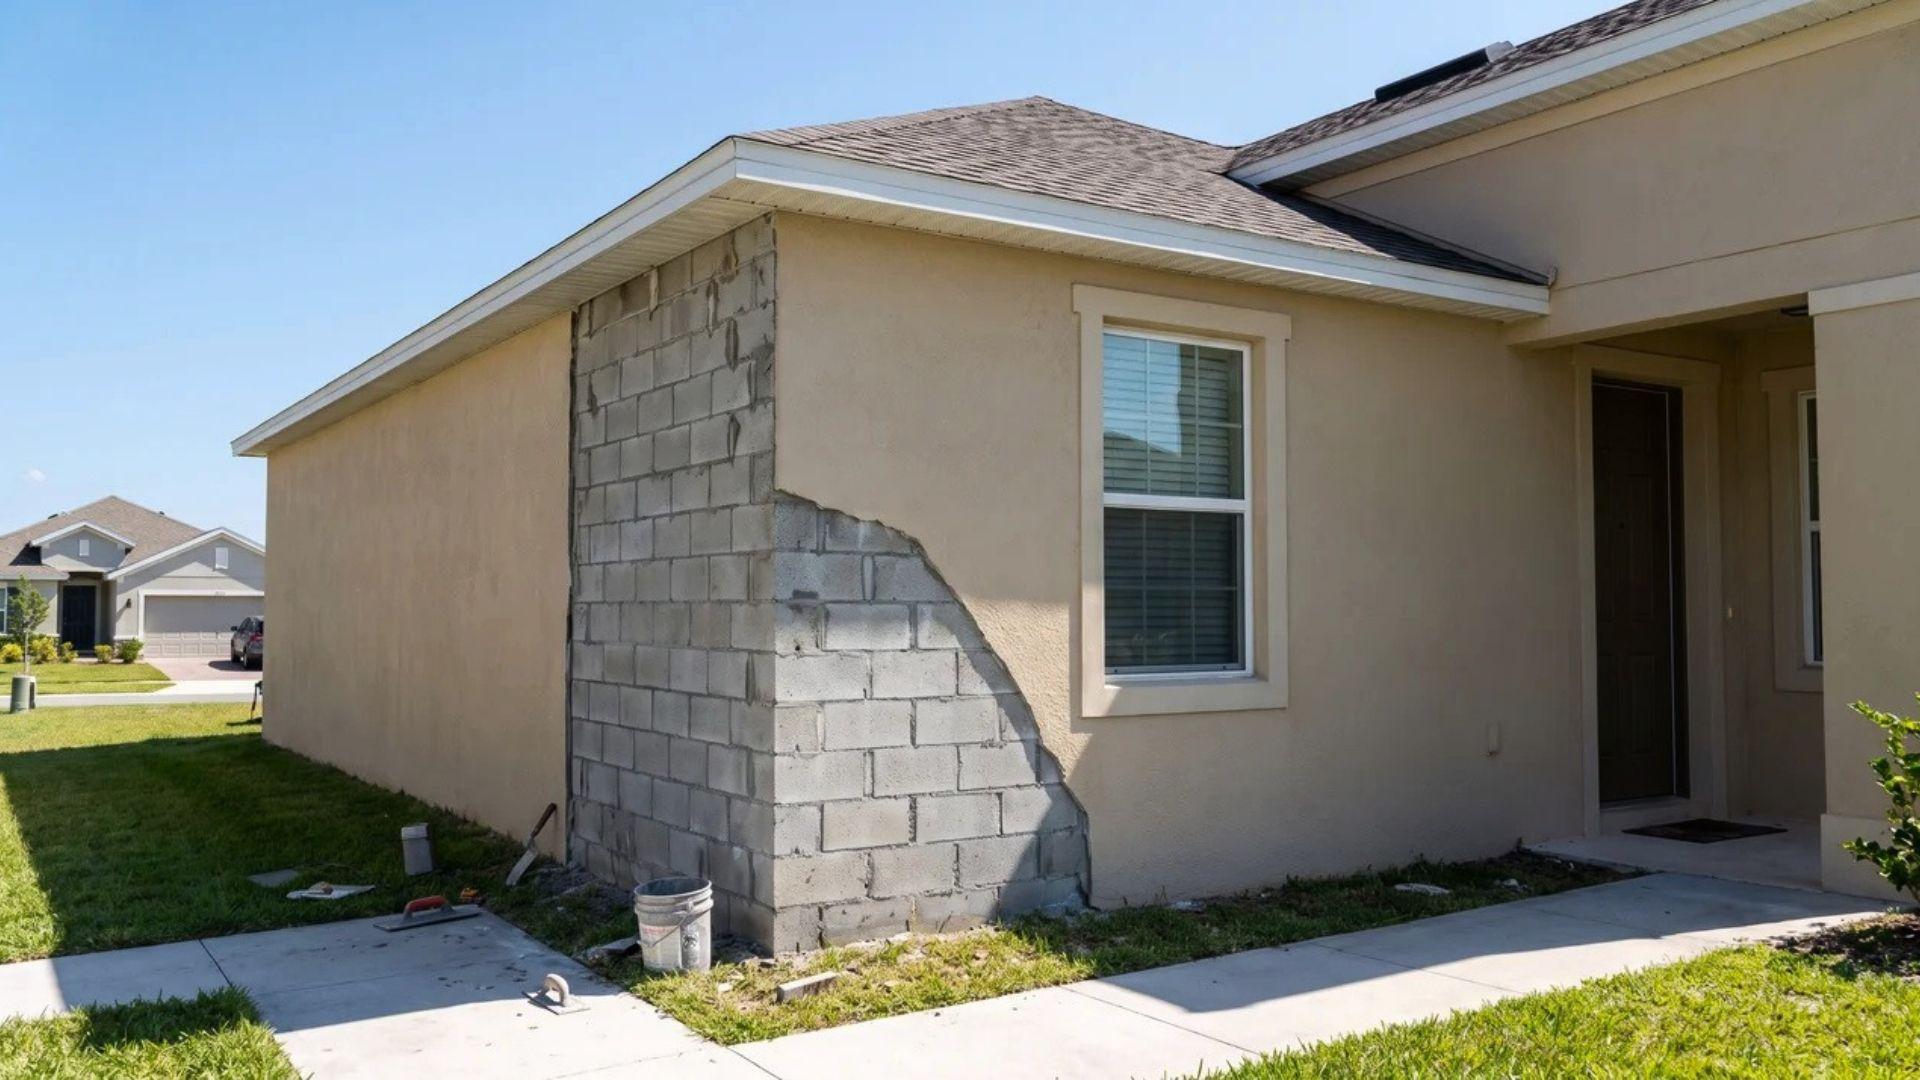
This is where material substitution errors happen most often. Standard brick and standard mortar look the same going in. They don't behave the same under heat.
The difference shows up later in cracks, failed joints, and a firebox that can't hold a fire safely.
Step 4: Form the Smoke Chamber and Install the Damper
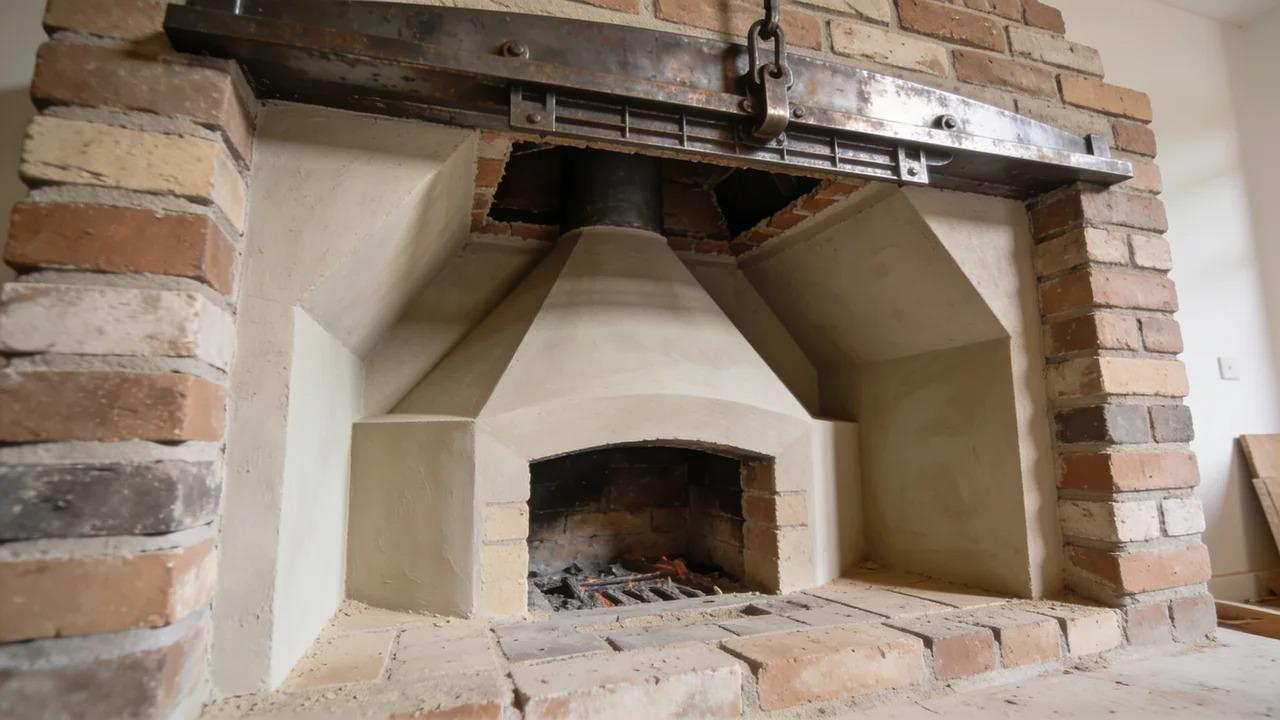
Above the firebox opening, the walls begin to taper inward. That taper forms the smoke chamber, the cavity that funnels combustion gases up into the flue.
An iron damper is installed just above the firebox opening, at the base of the smoke chamber. Once the chamber is shaped, its interior is coated with a smooth mortar layer called pargeting.
This isn't decorative, it's functional, and skipping it causes problems with draft.
Step 5: Build the Chimney and Install the Flue Liner

The chimney rises straight up from the smoke chamber and passes through the roof.
Inside it, a code-compliant flue liner runs the full height. Liner options include clay tile, terracotta, or UL-listed Class A metal.
The chimney is capped at the top with a spark arrestor. Termination height is governed by code specifically the 3-2-10 rule.
Step 6: Set Clearances and Firestopping

Every piece of combustible framing near the masonry shell wood headers, floor joists, subfloor sheathing must be separated from it by a code-specified gap.
That gap gets filled with noncombustible firestopping material. Not left open. Not packed with fiberglass batt.
The hearth extension in front of the firebox opening must also be noncombustible and sized to match the firebox opening.
Why the Materials Inside a Firebox Are Non-Negotiable
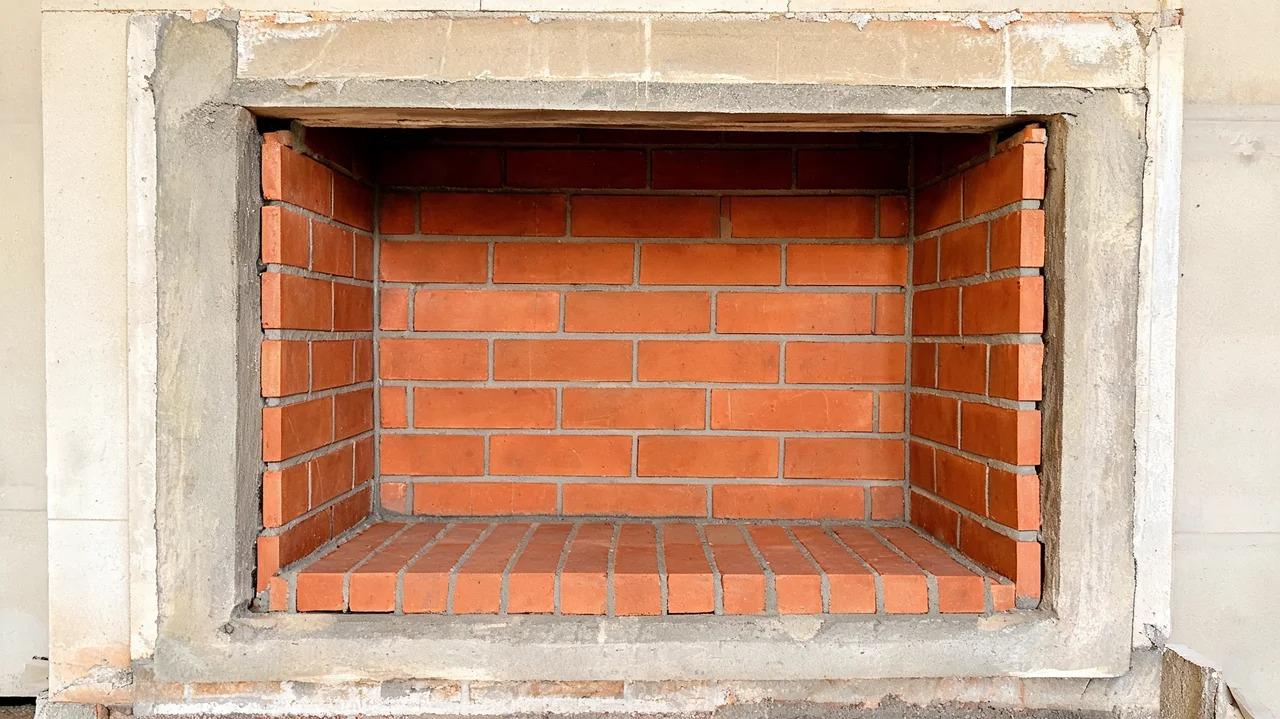
Firebrick and refractory mortar are not premium upgrades. They are the minimum viable materials for a firebox that will survive repeated heating and cooling cycles without cracking apart at the joints.
The reason comes down to how materials behave under heat and standard brick behaves badly.
Firebrick has a higher silica content than standard brick. That composition allows it to expand under extreme heat without losing structural integrity.
Standard brick expands too, but at a different rate and in a less controlled way.
After a few fire cycles, that difference shows up as cracks at the mortar joints. No surface cracks structural ones.
Refractory mortar is chemically different from standard mortar. It's formulated to bond with firebrick and flex slightly as temperatures rise and fall. Standard mortar is rigid.
When you mix the two in one course, firebrick set in standard mortar, for example, expands and contracts at different rates. The joint fails.
It doesn't matter how thin or precise the joint was. The chemistry is wrong.
The running bond pattern addresses the same problem from a structural angle. By offsetting each course so joints don't align vertically, thermal stress spreads across the wall rather than concentrating at a single line.
Stacked joints give stress a straight path through the wall. Running bonds break that path up.
I've seen firebox walls that looked perfect on the day they were built right brick, wrong mortar. Within two seasons, the joints were opening up. By season three, the firebox needed to be rebuilt from scratch.
There's no halfway here. The right materials, used correctly, last decades. The wrong ones fail on a schedule.
How the Smoke Chamber and Damper Control Draft

The smoke chamber is the tapered masonry space above the firebox that accelerates combustion gases into the flue. Its geometry, not chimney height alone, determines whether the fireplace draws cleanly or pushes smoke back into the room.
Here's what's actually happening when a fire burns well.
Hot combustion gases rise from the firebox and enter the smoke chamber. The chamber's walls angle inward, compressing that rising column of gas. As the column compresses, it speeds up and that acceleration carries it through the damper throat and into the flue above.
When the taper is too shallow, that compression doesn't happen properly. The gas column expands instead of accelerating.
It slows, cools, and loses the pressure it needs to keep rising. At a certain point, it reverses and smoke comes back into the room.
The damper is the other variable most people underestimate. It's not just an open-or-closed valve. Its throat area has to be proportioned to the firebox opening. If the throat is too small, it creates back-pressure.
That pressure works against the draft, and no amount of chimney height above it will fix the problem. The restriction is at the bottom of the system.
Pargeting is where I've seen the most corners cut. It's the smooth mortar coat applied to the inside of the smoke chamber walls.
Its job is to create a clean, unobstructed surface for the gas column to travel along. Rough masonry inside the chamber creates turbulence.
That turbulence breaks up the gas column and reduces draft even when the taper angle and damper sizing are exactly right.
Skipping pargeting is common on rushed jobs. The fireplace looks complete. It often even draws adequately at first. But it never performs as well as it should, and the problem gets worse as the rough surfaces collect creosote over time.
How the Chimney Flue Works and What Keeps It Safe
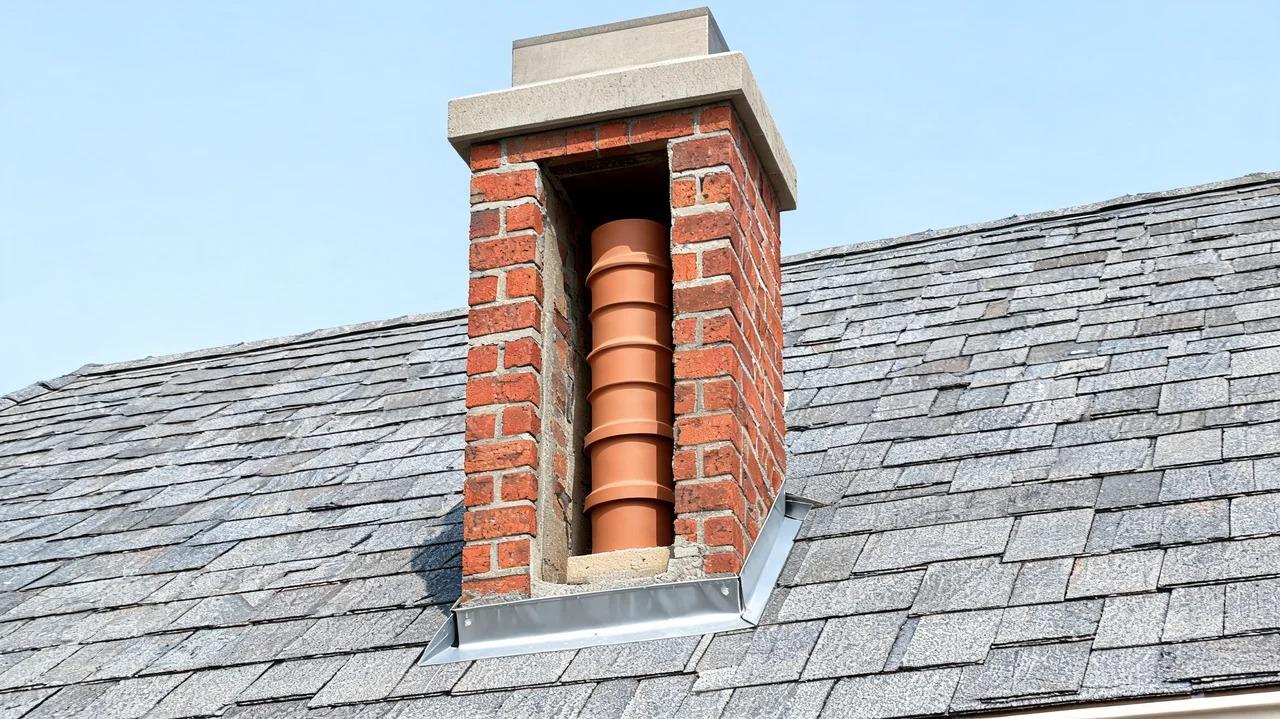
The chimney flue requires a code-compliant liner clay tile, terracotta, or UL-listed Class A metal set inside a masonry wall with at least 4 inches of solid masonry on all sides.
The liner and the chimney wall look like one system. They're not. They do separate jobs, and they must be free to move independently.
The flue liner takes the punishment. Every fire sends acidic condensate and thermal shock through it. Clay tile and terracotta absorb that without transferring it outward.
UL-listed Class A metal handles the same load with a different material profile.
What all three have in common is that they're designed for this the masonry wall around them is not.
The masonry chimney wall provides structure. It holds the liner in place, carries the load of the chimney, and keeps the heat inside the system away from combustible framing nearby.
The 4-inch minimum thickness isn't arbitrary; thinner walls transfer too much heat to whatever is adjacent to them.
Because the liner and the wall expand at different rates under heat, they must not be bonded rigidly together.
A rigid bond between two materials with different expansion rates creates stress at the bond point. Over time, that stress fractures either the liner or the surrounding masonry.
Termination height is the last piece. A chimney that ends too close to the roof ridge sits in a wind shadow. Wind rolls over the ridge and pushes back down into the flue that's downdraft.
The 3-2-10 rule sets the minimum heights to keep the termination point above that wind effect.
Getting this wrong means a fireplace that smokes in certain wind conditions regardless of how well everything below it was built.
Final Verdict
Masonry fireplace construction looks straightforward from the outside brick, mortar, chimney but it sits within a broader set of masonry construction types, each with its own structural rules and material requirements.
But once you understand what's actually happening inside that structure, you realise how much precision goes into making it work safely for decades.
The thing folks don't consider is that every stage of the build either sets up the next one or compromises it. There's no fixing the bottom once the top is done.
If you're planning a build, get a licensed masonry contractor involved early. The best time to ask questions is before the footing is poured, not after.
Frequently Asked Questions
What chimneys are not required to be of masonry construction?
Factory-built metal chimneys listed to UL 103 or UL 127 are permitted alternatives in most residential codes. These are used with prefabricated fireplaces and certain appliances where a full masonry chimney isn't structurally feasible.
How long does it take to build a masonry fireplace?
A site-built masonry fireplace typically takes one to three weeks depending on size and complexity. The concrete footing and hearth slab both need adequate cure time before work continues above them.
How much does it cost to build a masonry fireplace?
Costs vary widely by region, size, and site conditions. Get at least two quotes from licensed masonry contractors and confirm each includes footing work, liner installation, and code inspections.
Can a masonry fireplace be built outdoors?
Yes. Outdoor masonry fireplaces follow the same construction principles but require additional weatherproofing considerations. The footing, mortar joints, and chimney cap must all be specified for exposure to rain, frost, and temperature swings.