Inground pool construction looks straightforward from the outside. Dig a hole, build a structure, fill it with water.
What actually happens between permit application and the first swim is a lot more sequenced and consequential than most homeowners expect.
Every phase has a fixed order and an inspection that gates the next one. Skipping ahead does not save time. It creates rework that costs more than the time you thought you saved.
Knowing what each phase involves puts you in a better position to plan, budget, and work with a contractor.
Let’s get into it.
Understanding Inground Pool Construction?
Inground pool construction is the process of permanently installing a below-grade swimming pool using one of three structural methods vinyl-liner, fiberglass, or gunite/concrete through a fixed sequence of phases that must be completed and inspected in order.
It is not a single trade job. Excavation, structural assembly, plumbing, electrical, and finishing each involve different contractors, different materials, and different inspection requirements.
The pool type you choose before breaking ground determines the construction method used in every phase that follows.
Vinyl-liner, fiberglass, and gunite do not share the same excavation profile, the same assembly process, or the same finishing sequence. Picking one locks you into a path.
The process also runs permit-first and inspection-last. Both are legally required. There is no shortcut around either end.
Inground Pool Construction Process
Building an inground pool is not a single job. It is a sequence of phases where each one depends on the one before it passes inspection.
Get ahead of yourself and you are not saving time. You are setting up rework that costs more to fix than the time you gained.
Here is how the process works from start to finish.
Step 1: Planning, Design, and Permits
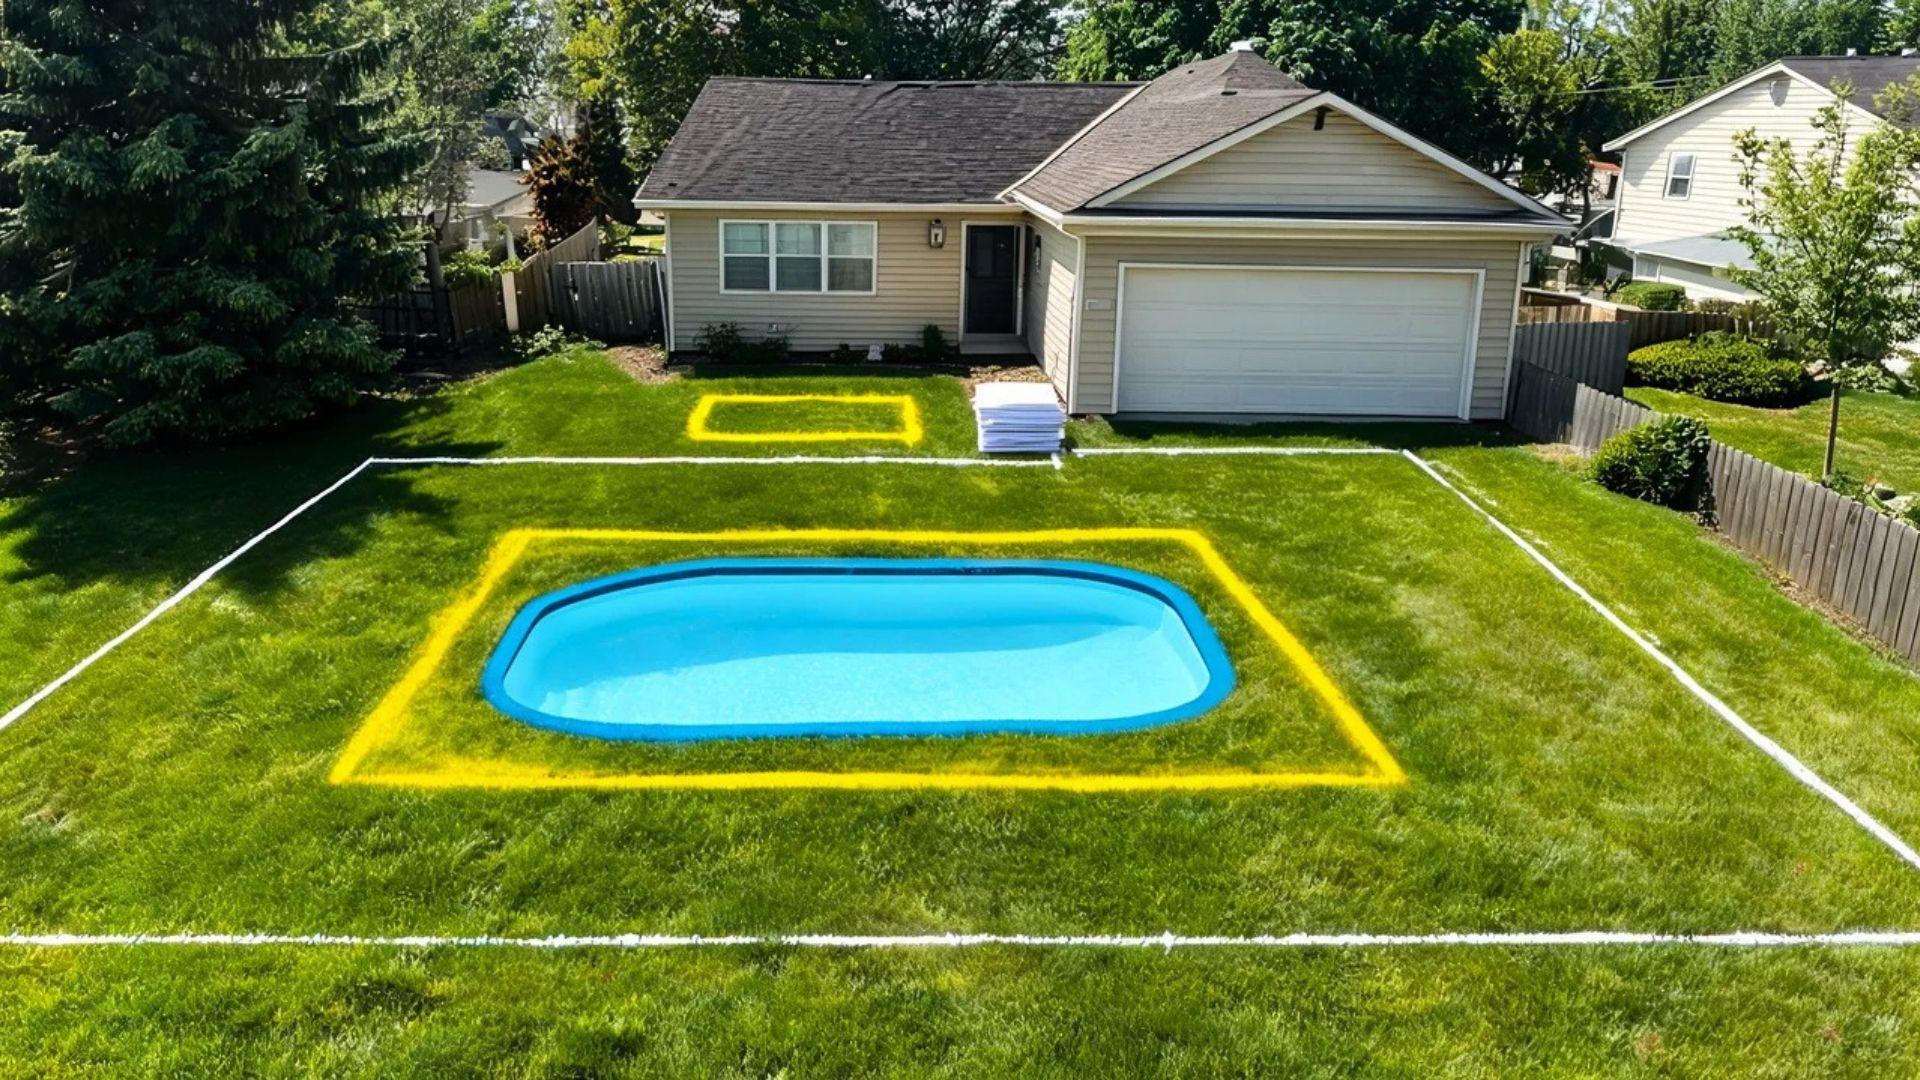
Before any excavation begins, pool type must be selected and a building permit secured. If you haven’t thought through site preparation yet, that’s worth a look before you even call a contractor.
The pool type determines the excavation method, inspection sequence, and finishing process used in every step that follows.
Vinyl-liner, fiberglass, and gunite each need a different excavation profile. The choice cannot be reversed once digging starts.
Permit approval runs 3 to 8 weeks in most jurisdictions. The project clock starts at application, not at the dig. Zoning setbacks and utility clearances also need to be confirmed before the design is locked.
Step 2: Excavation and Site Grading
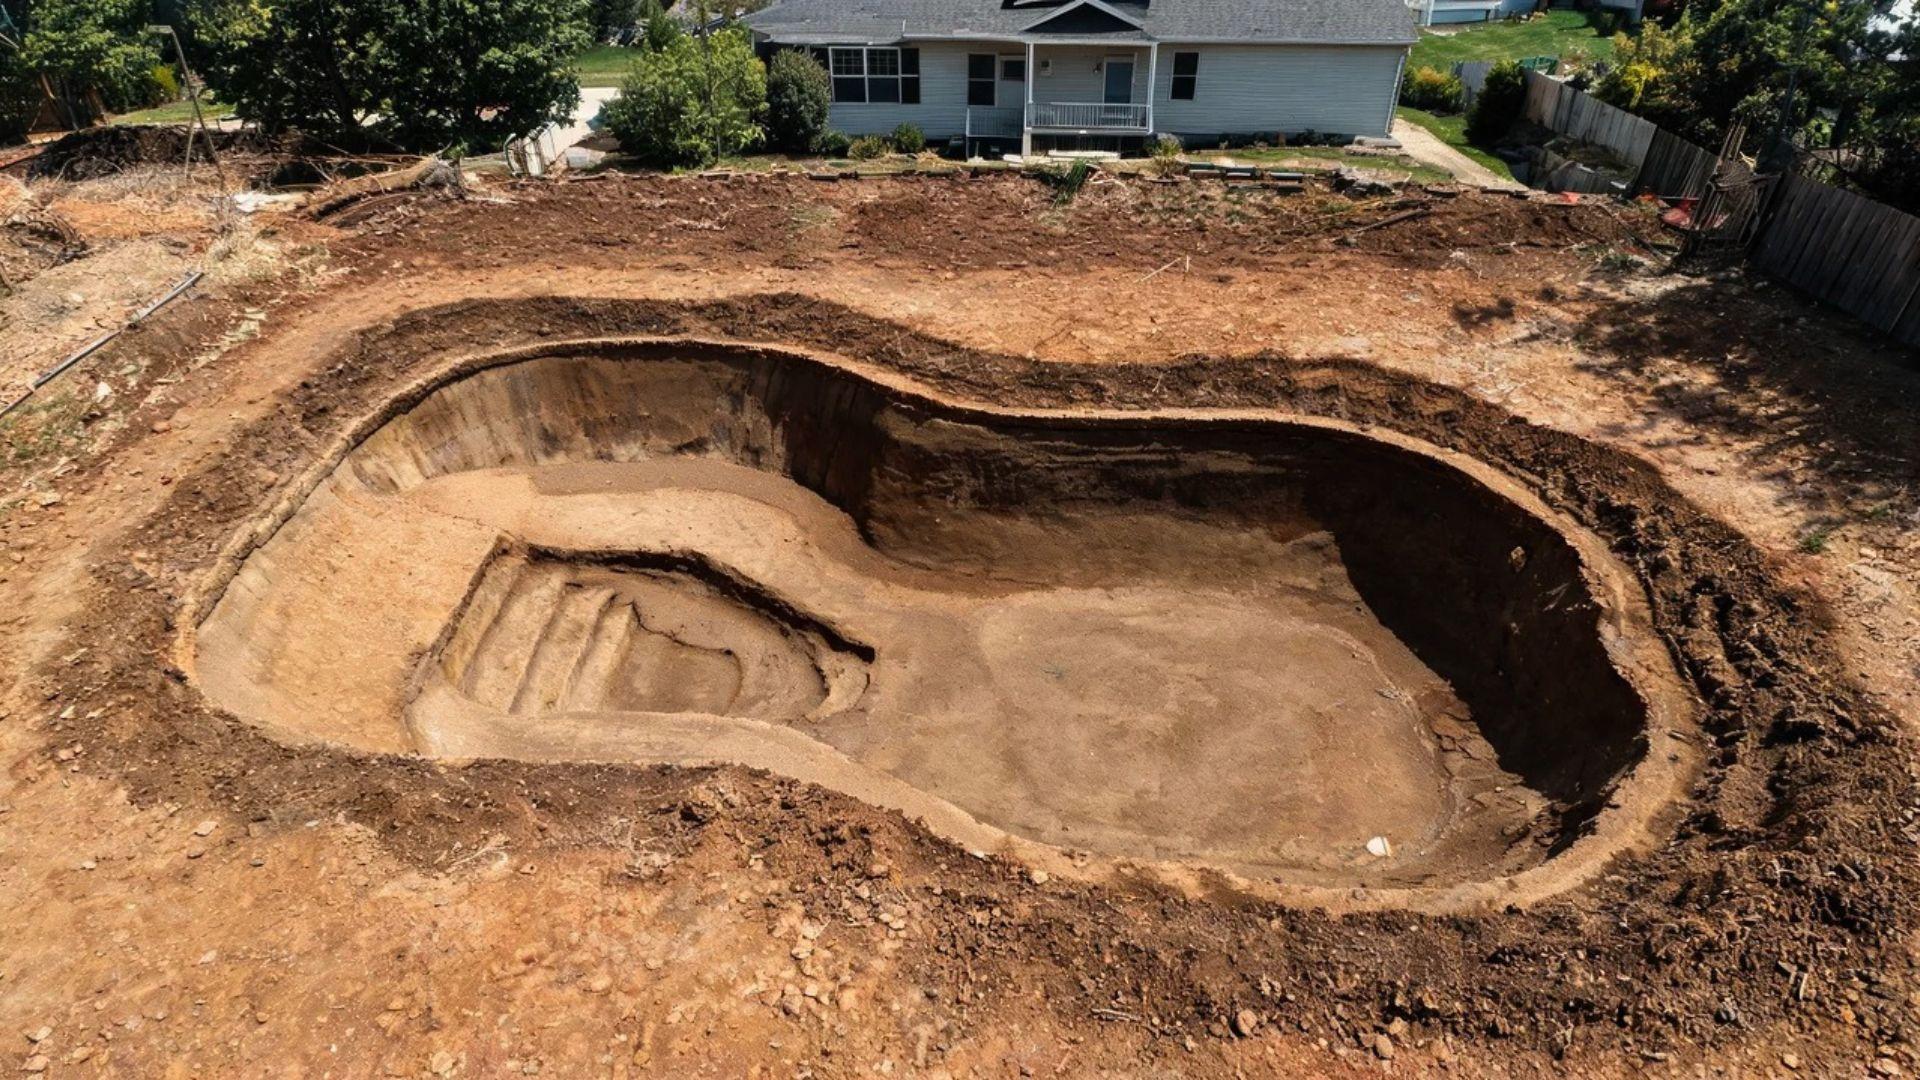
Excavation involves cutting the hole slightly larger than the pool’s finished footprint and grading the floor to exact engineered slopes. That precision determines whether every structural phase that follows seats correctly.
The dig boundary has to extend beyond the finished pool dimensions. It needs room for wall assembly, plumbing rough-in, and backfill. Marking to the finished dimension instead of the dig dimension is the most common layout error at this stage.
Floor slopes across the shallow end, transition zone, and deep end must match the engineered specs exactly. Fiberglass shells have zero tolerance for unlevel bearing surfaces.
Any deviation causes permanent cracking under water load.
Step 3: Structural Assembly
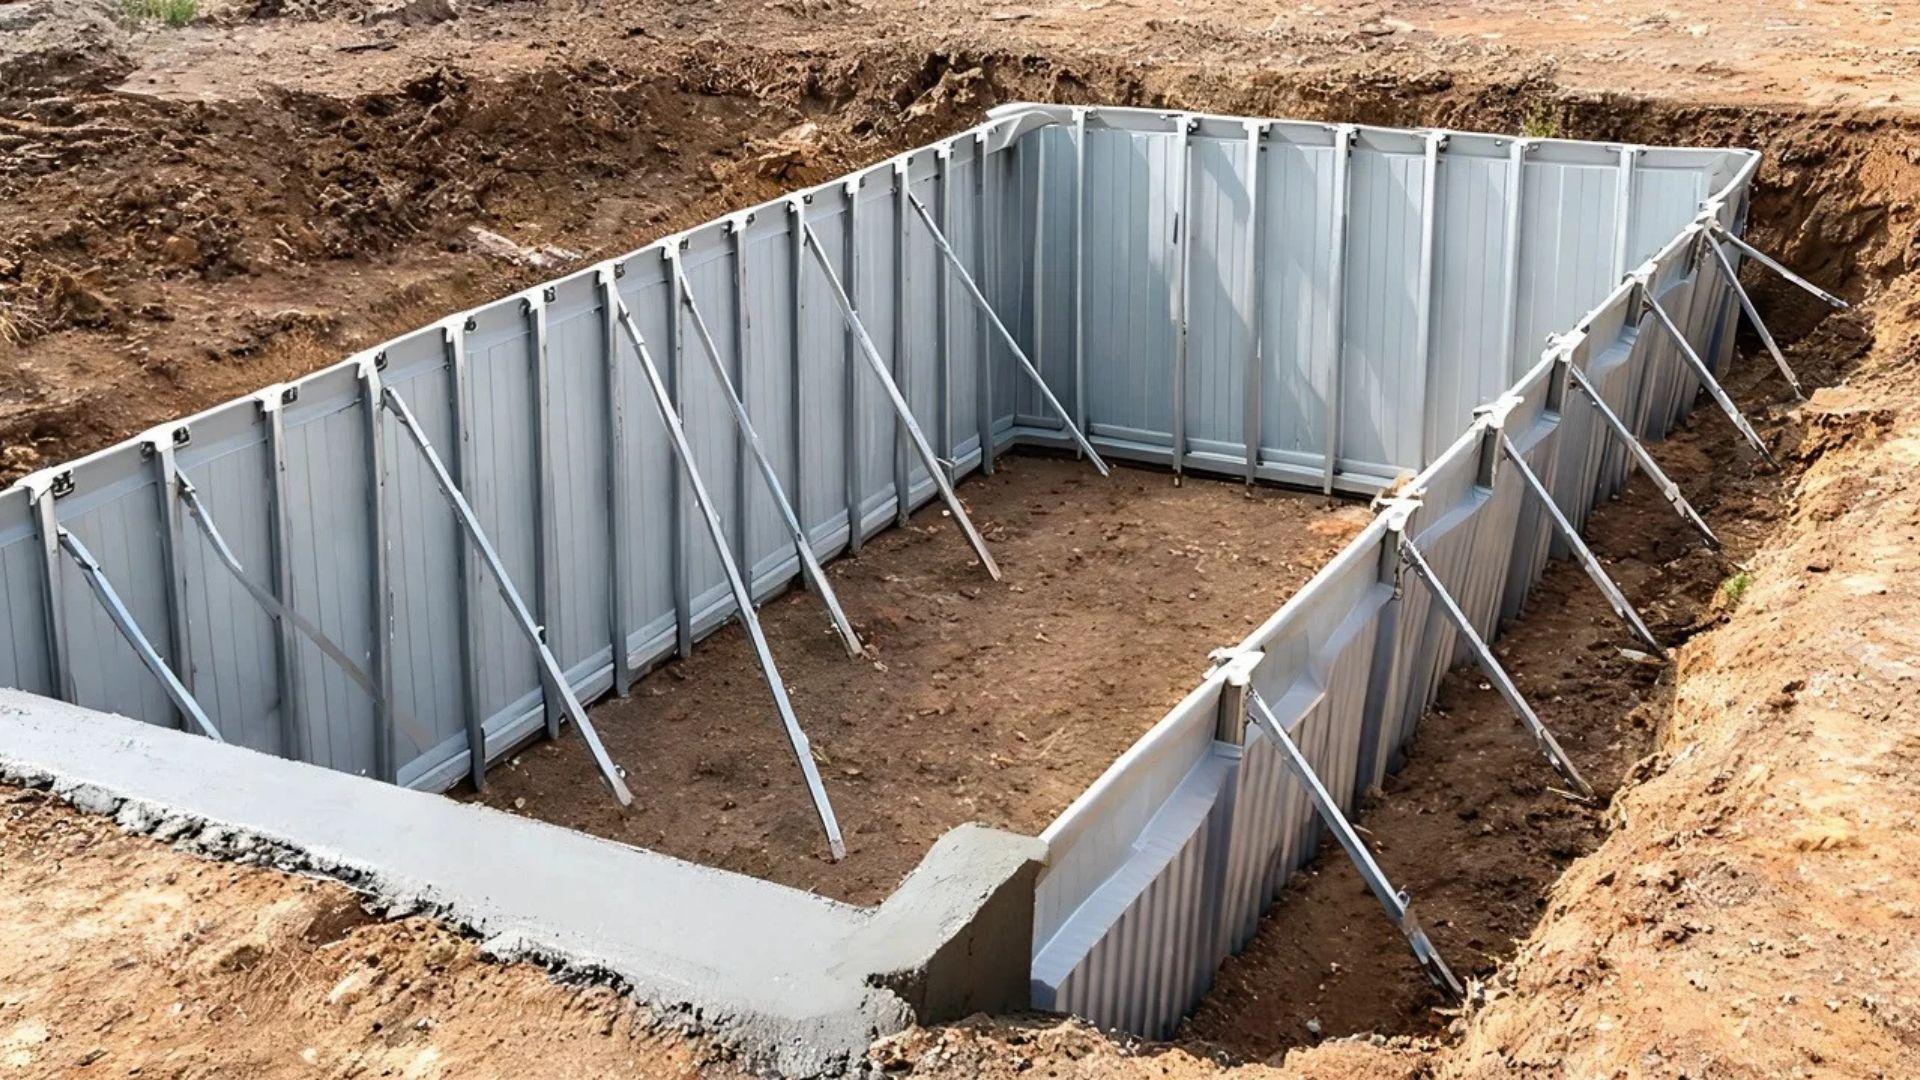
Structural assembly follows a completely different process by pool type. Vinyl-liner panels get locked with a concrete collar, gunite gets sprayed over an inspected rebar grid, and fiberglass is lowered as a pre-formed unit.
Each has a mandatory inspection checkpoint before the next step begins.
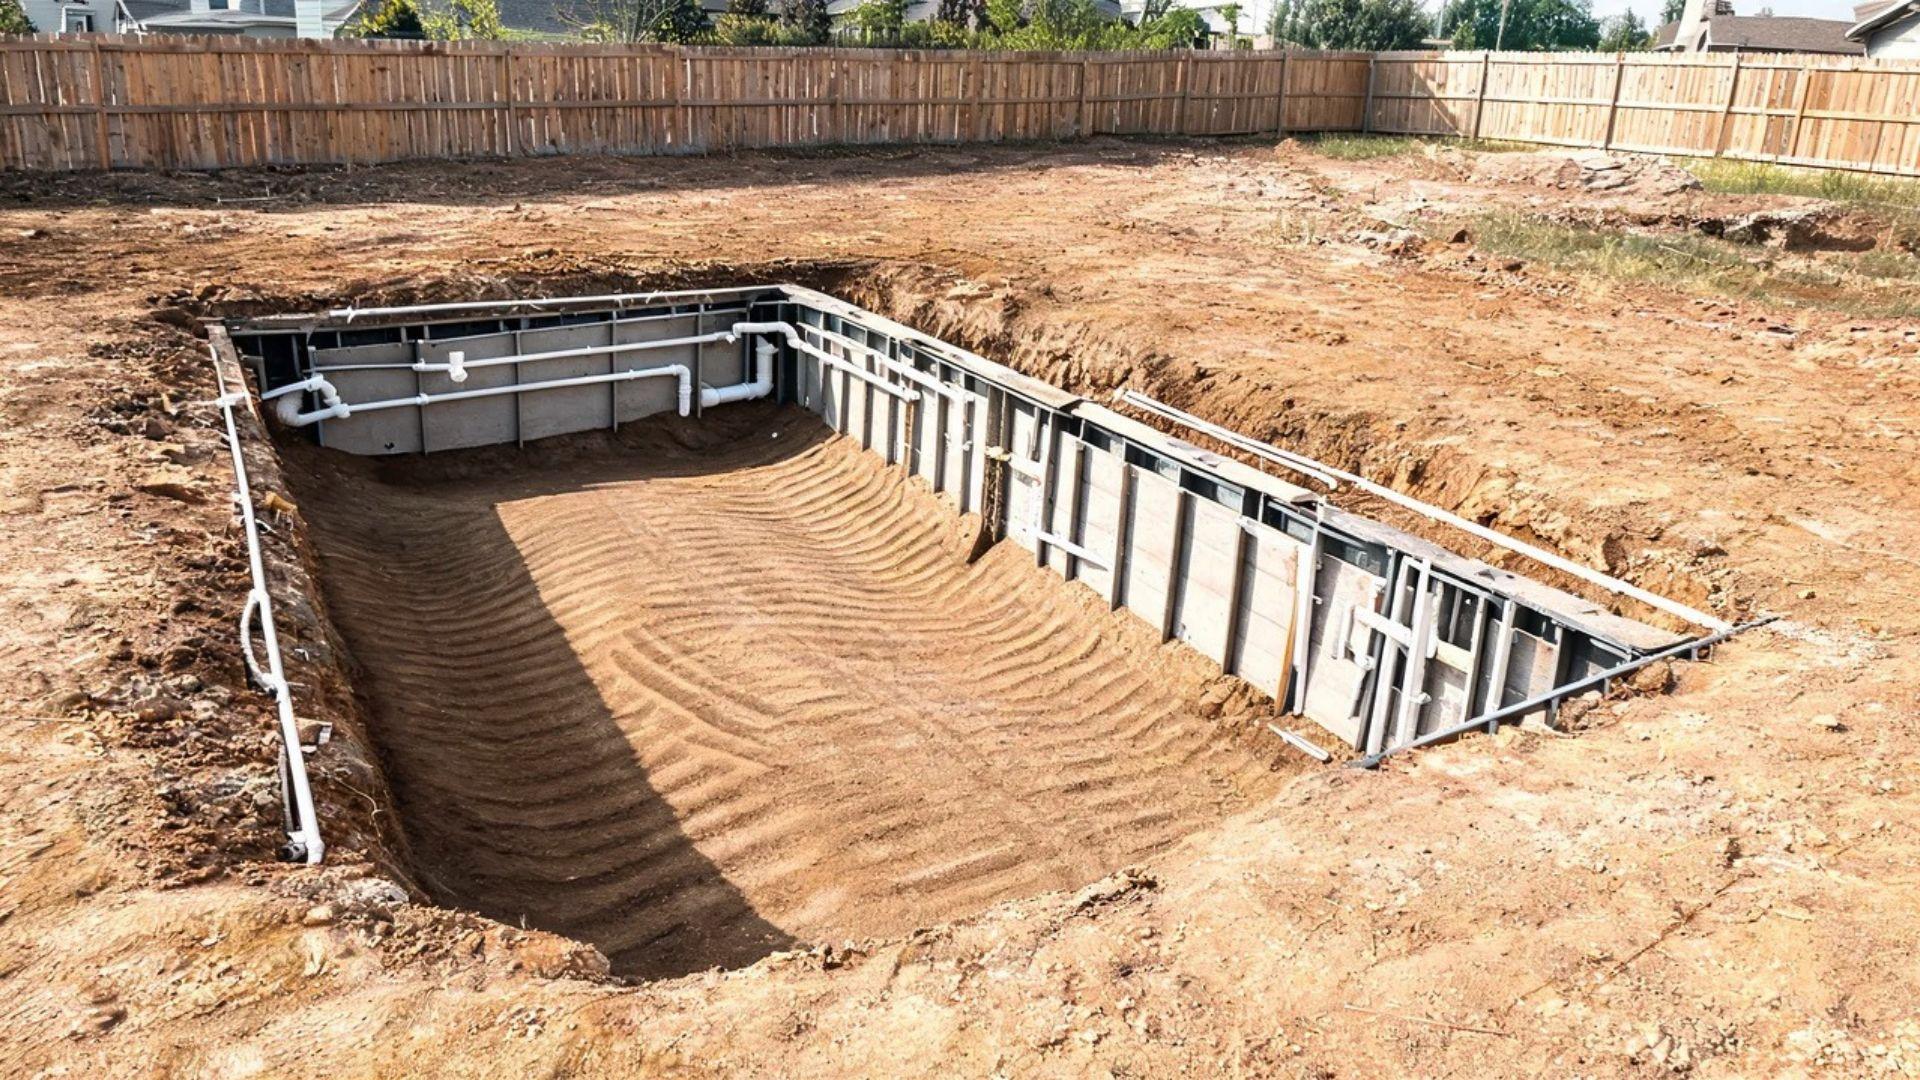
For vinyl-liner pools, wall panels are assembled and braced inside the excavation. A concrete collar is then poured around the exterior base to lock them permanently in place.
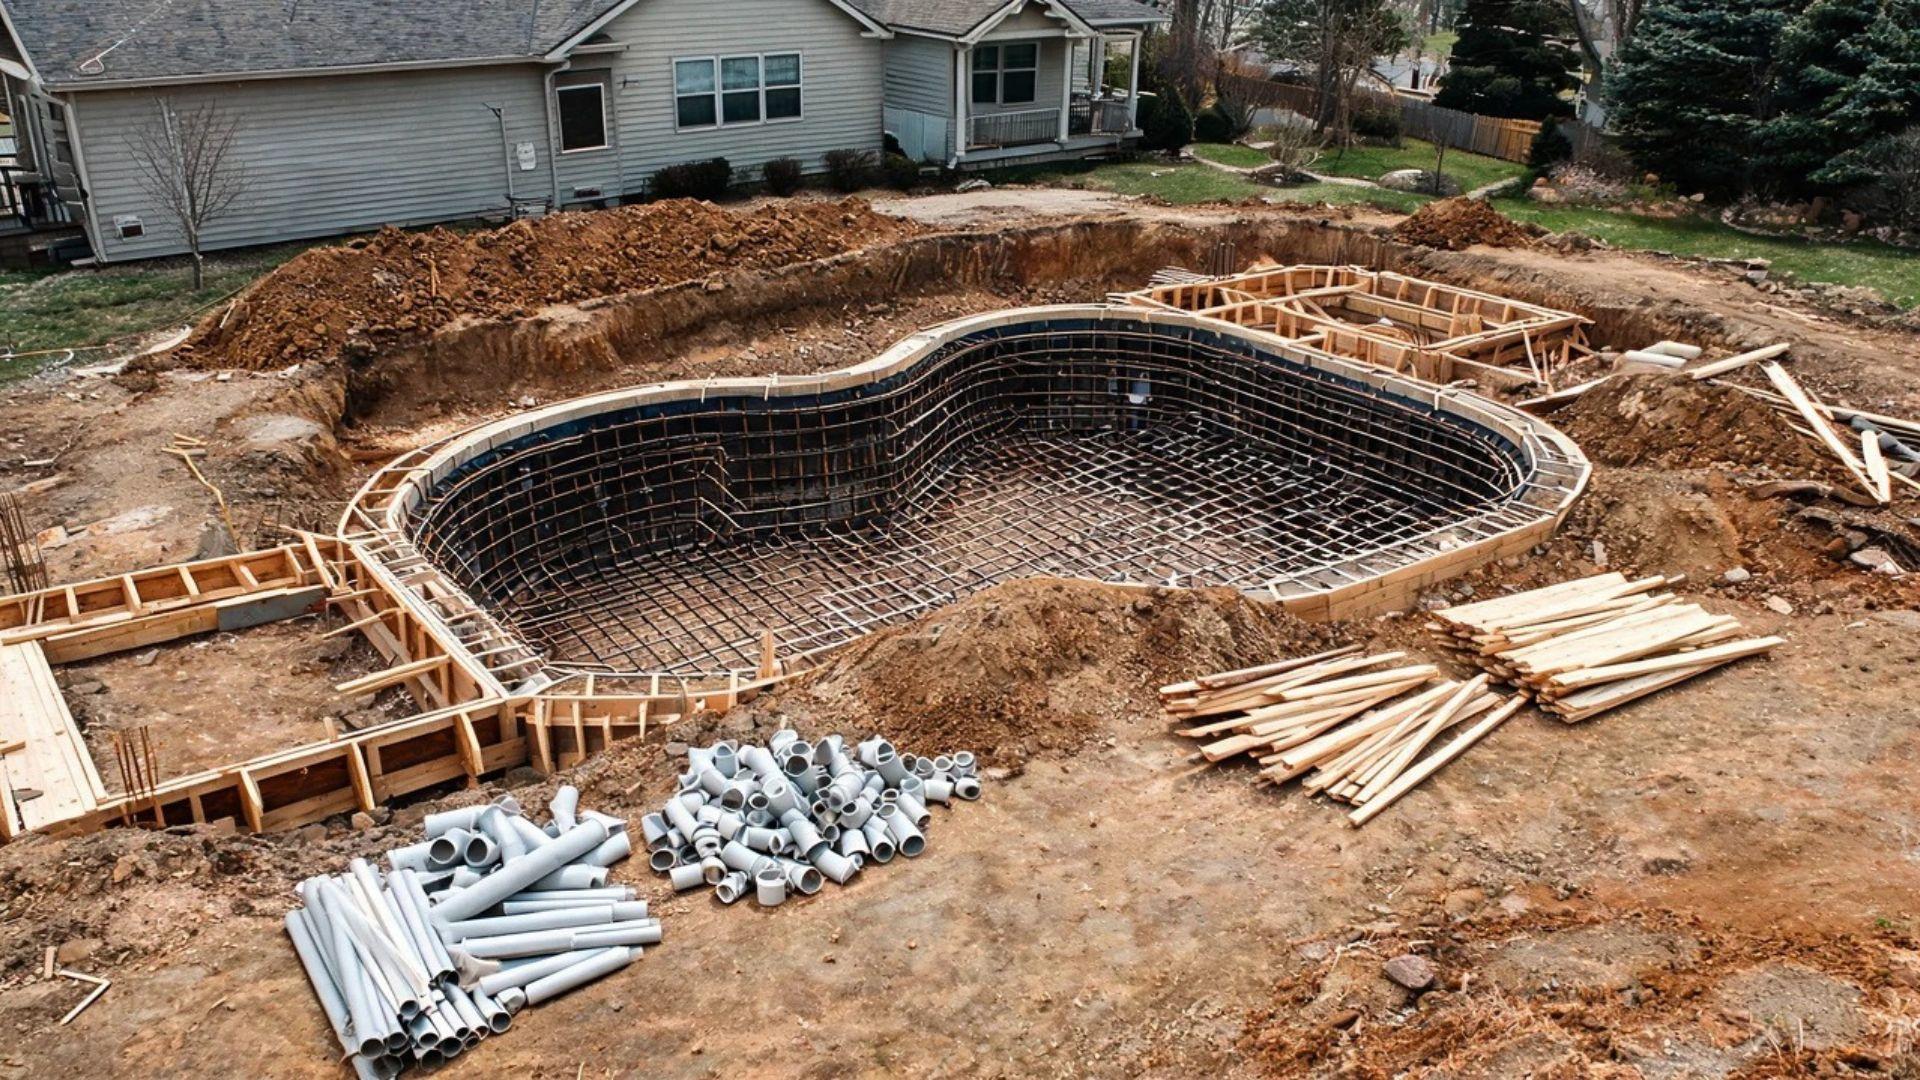
For gunite pools, a rebar grid is tied across the floor and walls first. It must pass municipal inspection before any concrete is sprayed. Applying gunite over uninspected rebar cannot be corrected without demolishing the shell.
For fiberglass pools, the shell must be backfilled and water-filled at the same time. Backfilling ahead of the interior water level causes the shell to bow inward permanently.
Step 4: Plumbing and Electrical Bonding
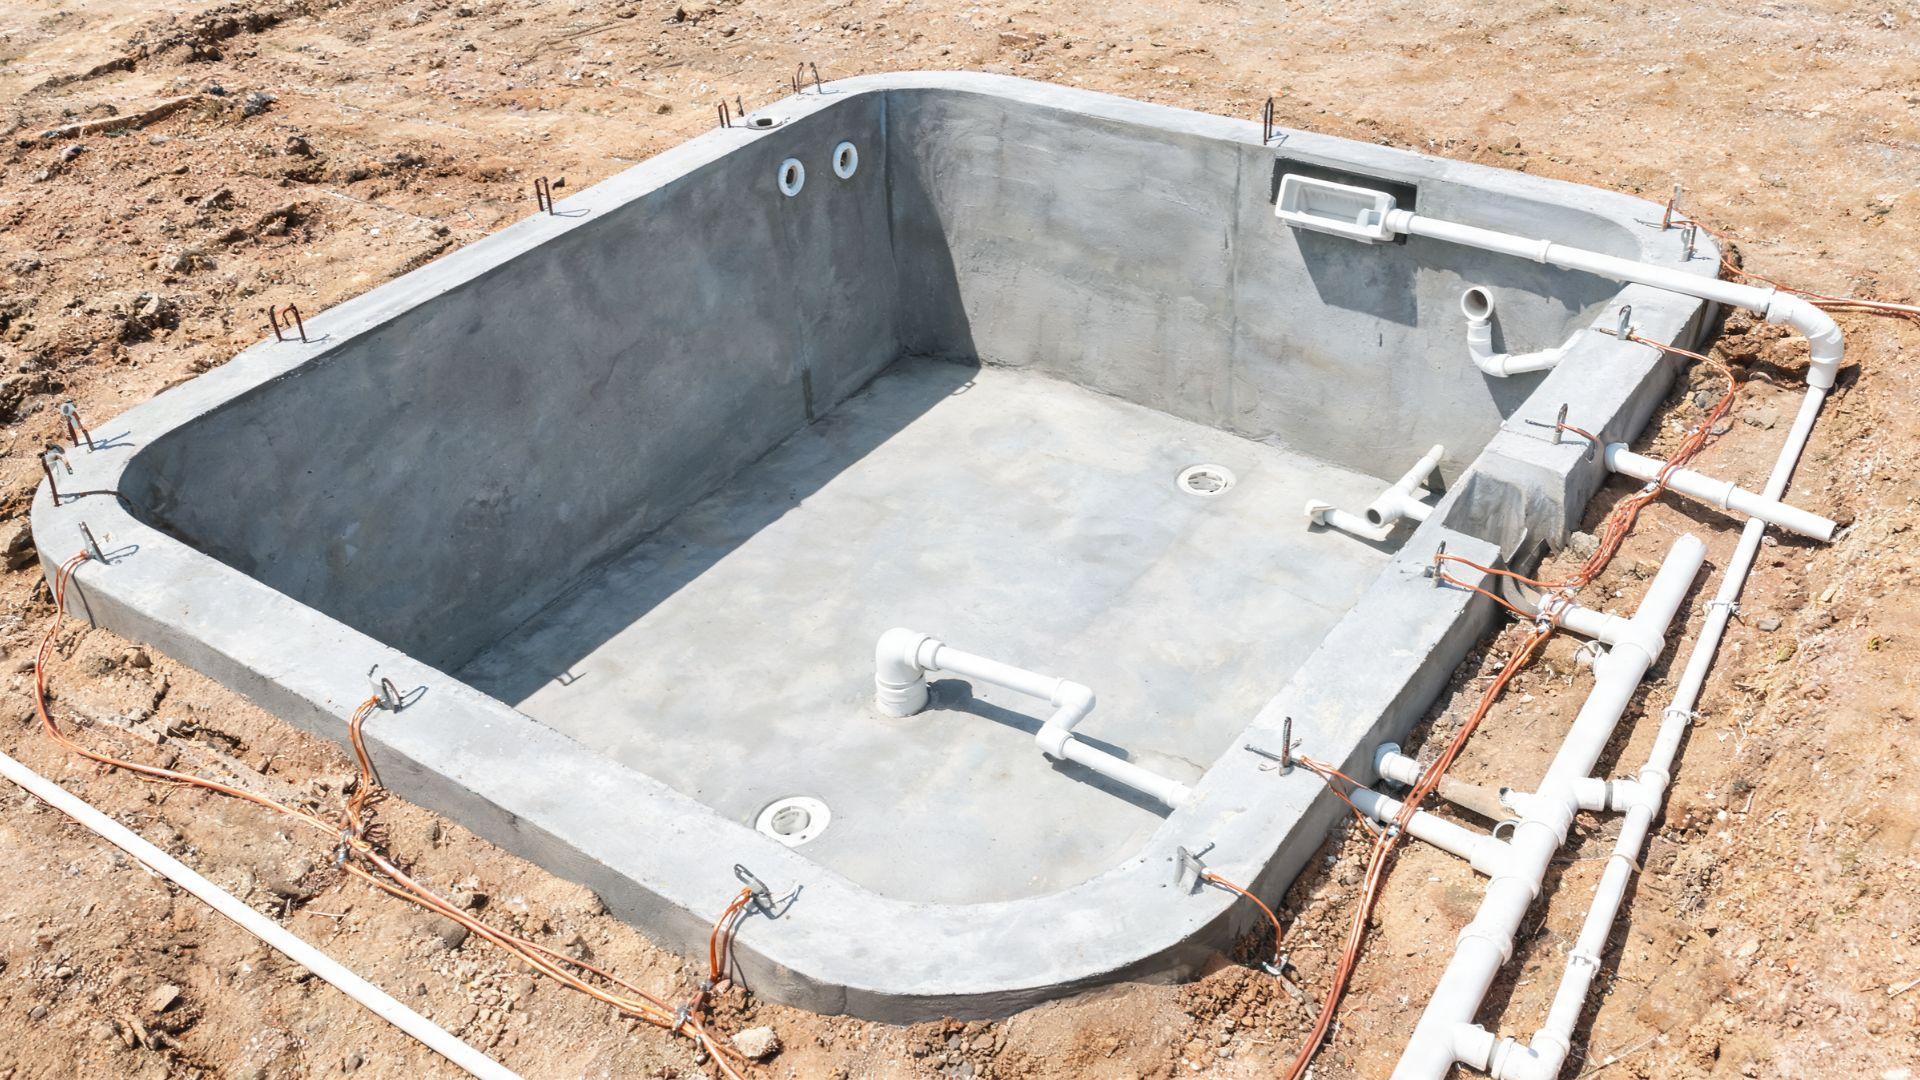
After structural assembly, all plumbing and electrical bonding must be installed and pass inspection before any backfill or surface work begins. Failures discovered after the deck is poured require demolishing the surrounding finished area to reach them.
Main drains, skimmers, return jets, and PVC lines are roughed in and pressure-tested during this phase. All of it must pass inspection before backfill or deck work starts.
Electrical bonding is not the same as grounding. Grounding sends fault current to earth. Bonding equalizes voltage across every water-contacting metal surface so no two points carry a different charge. It is a code requirement, not an optional upgrade.
A single missing connection breaks continuity and fails the inspection.
Step 5: Finishing, Coping, and Decking
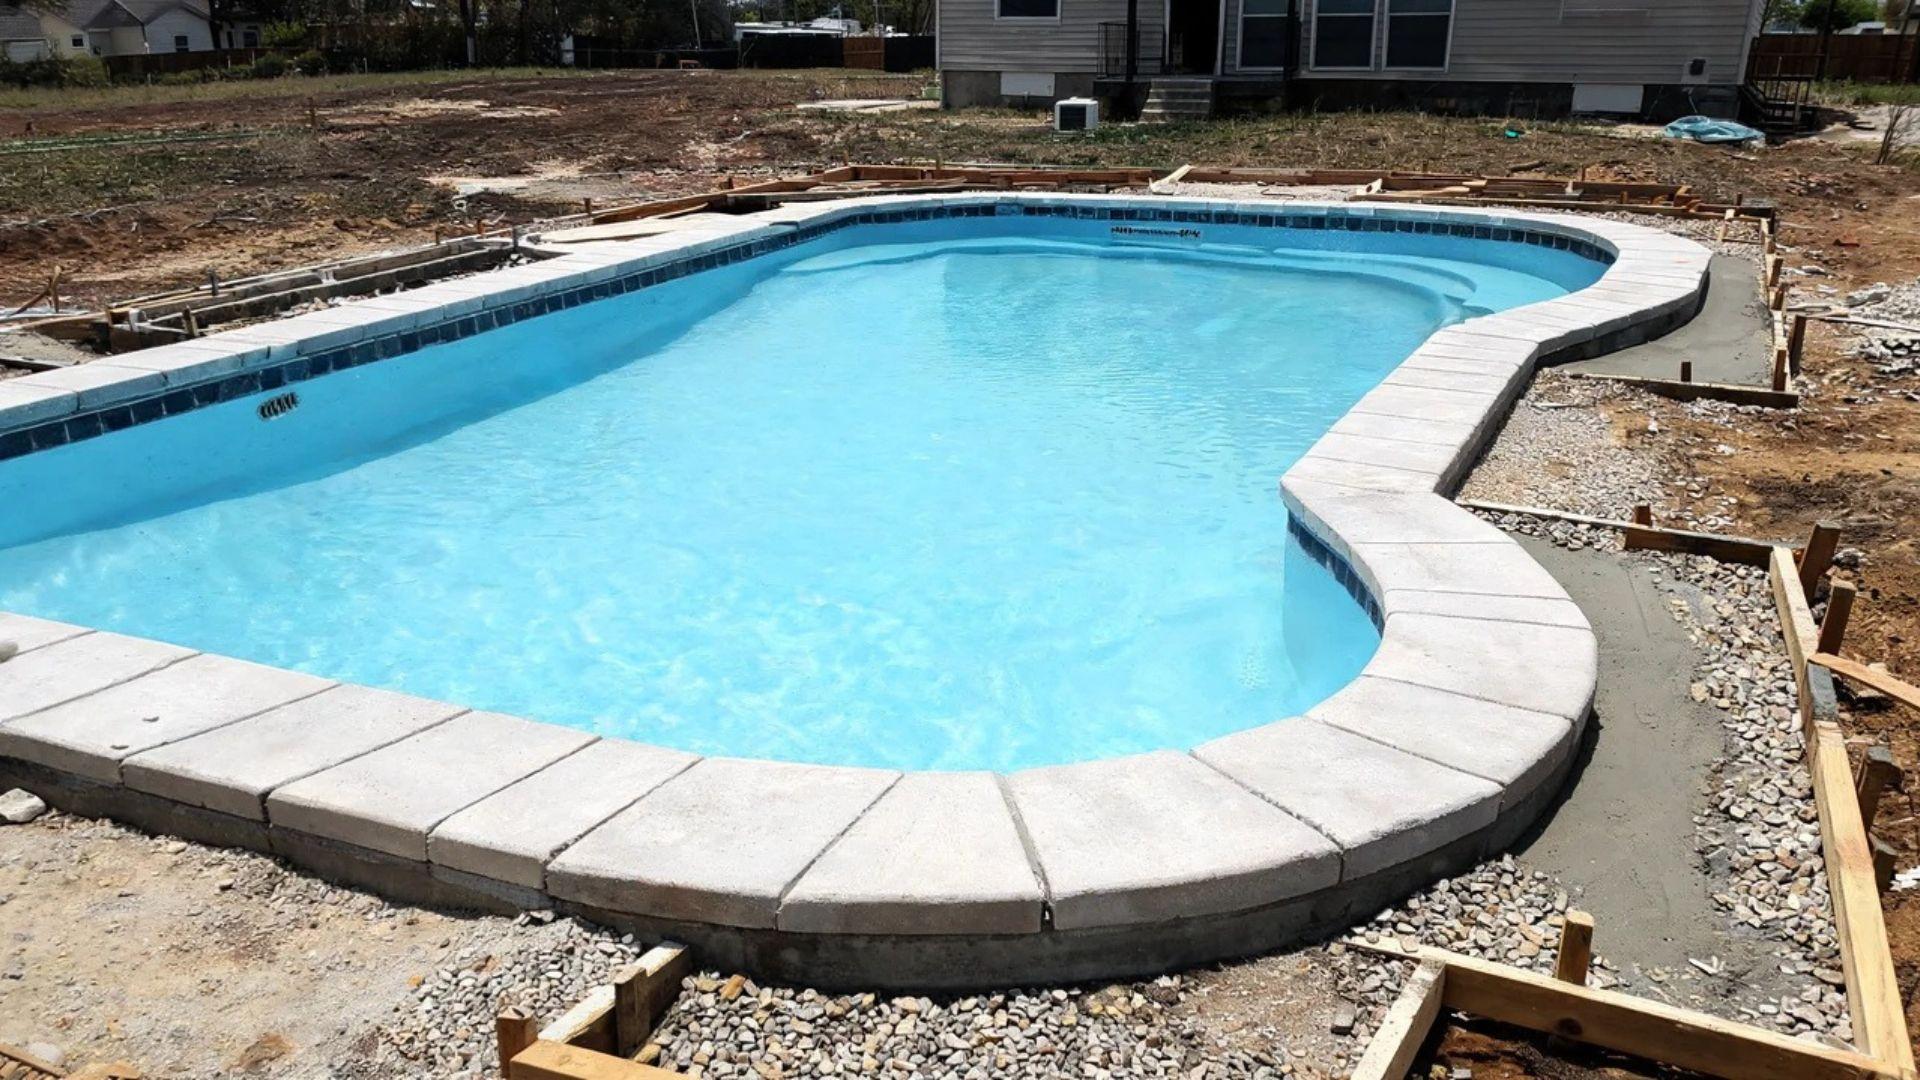
Pool finishing covers the interior surface, coping at the pool’s edge, and the surrounding deck. Fill timing is tied directly to which interior surface was applied.
For gunite pools, plaster is troweled over the cured shell. Water filling must begin within 24 hours. Delayed filling causes dry-shrink cracking that requires full replastering before the pool can be used.
For vinyl-liner pools, the liner is set wrinkle-free before any water goes in. Water weight locks it into the final position against the wall track. Wrinkle correction is not possible once filling begins.
Coping is installed before the deck pour and must be set level. An out-of-level coping creates deck drainage problems that cannot be corrected without removing and resetting it.
Vinyl-Liner vs. Fiberglass vs. Gunite: Which Pool Type Should You Choose?
The pool type you pick before construction starts will follow you for decades. It affects what you pay upfront, how long the build takes, and what you spend maintaining it over time.
Site conditions matter just as much as preference here. What works on one property may not be an option on another.
Here is how the three types compare.
| Factor | Vinyl-Liner | Fiberglass | Gunite |
| Upfront Cost | Lowest | Mid-range | Highest |
| Active Build Time | 2-4 weeks | 2-4 weeks | 8-12 weeks |
| Liner/Surface Replacement | Every 7-12 years | Rarely needed | Replaster every 10-15 years |
| Design Flexibility | Moderate | Limited to pre-made shapes | Fully custom |
| Lifespan | 20-30 years (with liner replacements) | 25-50 years | 50+ years |
| Site Constraint Sensitivity | Low | High | Low |
The table shows the initial cost difference clearly. What it does not show is how that gap closes over time.
A vinyl-liner pool costs less to build. But liner replacements add up. Over 20 years, the total cost difference between vinyl and fiberglass narrows significantly.
Gunite costs the most upfront. In return, you get full design flexibility and the longest lifespan of any pool type. If the budget allows and the project is long-term, gunite holds its value better than the other two.
Fiberglass builds fast. The constraint is the site itself. Bedrock, high water tables, or tight access can eliminate it as an option entirely.
Do not make this decision on the upfront price alone. Run the numbers over 20 years before you commit.
How Long Does Inground Pool Construction Take?
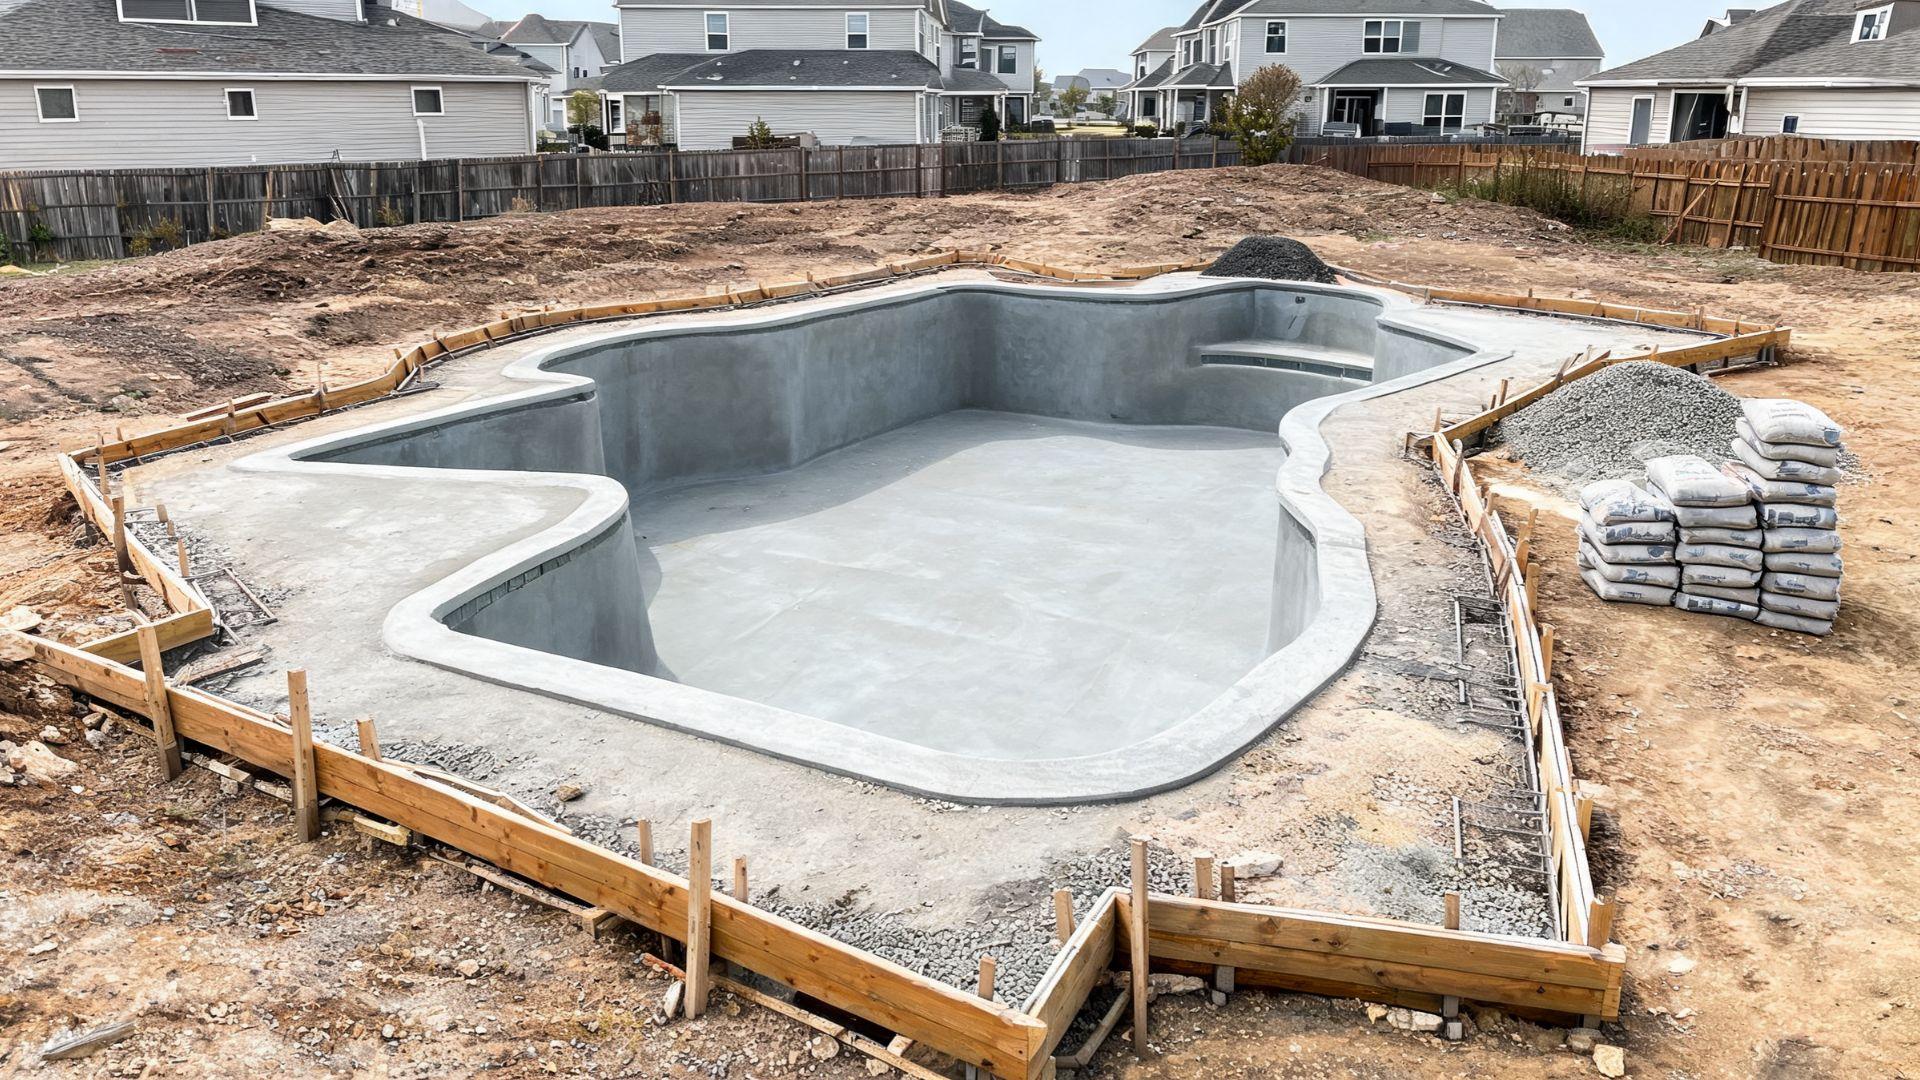
A realistic inground pool construction timeline runs 16 to 26 weeks for concrete pools and 10 to 16 weeks for fiberglass from permit application to completion.
The 8 to 12 weeks commonly cited online excludes the permit approval window that comes before any physical work begins.
That distinction matters more than most buyers realize. Permit approval alone runs 3 to 8 weeks in most jurisdictions. The dig does not start until that clears.
Counting construction time from the first day of digging gives you an incomplete picture of how long the project actually takes.
Realistic totals from permit application to swim-ready break down like this. Fiberglass pools run 10 to 16 weeks. Vinyl-liner pools run 12 to 18 weeks.
Gunite and concrete pools run 16 to 26 weeks, because the shell needs curing time before finishing phases can begin.
Weather delays, inspection backlogs, and material lead times push those numbers further. None of those are in the contractor’s control.
Experienced contractors build buffers into their contracts for exactly that reason. If a quote promises a fixed finish date with no buffer, treat that as a warning sign.
What Does Inground Pool Construction Cost?
Inground pool construction costs vary by pool type, site conditions, and region. Gunite pools carry the highest upfront cost.
Fiberglass carries the lowest active build cost. Vinyl-liner pools fall between them on installation but carry recurring liner replacement expenses over time.
Here is a realistic cost range by pool type based on current contractor data.
| Pool Type | Average Installation Cost | Surface Replacement Cost | Replacement Frequency |
| Vinyl-Liner | $25,000 – $65,000 | $3,000 – $7,500 per liner | Every 7-12 years |
| Fiberglass | $45,000 – $100,000 | Rarely needed | 25+ years |
| Gunite/Concrete | $50,000 – $120,000 | $10,000 – $20,000 per resurface | Every 10-15 years |
These ranges reflect national averages from verified contractor project data. Regional labor rates, site conditions, and pool size all move the number in either direction.
The pool type is only part of the cost picture. Several line items do not scale down with pool size and catch first-time buyers off guard.
Permit fees, inspection fees, excavation complexity, and decking all fall into that category. A smaller pool does not mean a smaller permit fee. A straightforward site does not guarantee straightforward excavation costs.
Get at least three local contractor quotes against a finalized design and if you’re not sure what to look for, we’ve got a full breakdown on choosing the right contractor that covers exactly what to ask before you sign anything.
Make sure each quote covers the same scope before you compare them. That is the only number you can actually build a budget around.
Final Verdict
Inground pool construction is one of those projects where the decisions made early matter more than the work done later.
Get the pool type right, understand why each phase has to clear before the next one begins, and you walk into the process with a level of clarity most homeowners simply don’t have.
The contractor builds the pool. But knowing what should happen, when, and why means nothing catches you off guard.
Now go get those quotes and make it happen.
Frequently Asked Questions
What is the cheapest type of inground pool to build?
Vinyl-liner pools carry the lowest upfront installation cost of the three types. Liner replacement every 7-12 years adds recurring expense that narrows that cost gap significantly over time.
Do you need a permit to build an inground pool?
Yes, in virtually all U.S. jurisdictions a building permit is required before excavation begins. Starting without one risks stop-work orders, fines, and mandatory removal of completed work.
Can an inground pool be built on any type of soil?
Not every site supports every pool type. Rocky ground or high water tables can eliminate fiberglass as an option and significantly increase excavation costs for any pool type.
How soon can you swim after an inground pool is built?
Gunite pools require at least 28 days of plaster curing before swimming. Fiberglass and vinyl-liner pools are typically swim-ready within days of filling once water chemistry is balanced.