Clearing land sounds straightforward until you’re standing on a half-acre of dense brush with no clear starting point.
The reality is that most projects go sideways not during the clearing itself, but in the decisions made before and after it.
Get the sequence right, and the job moves faster than you’d expect. Get it wrong, and you’re paying to fix mistakes that were avoidable from day one.
I’ll walk you through how to clear land the right way, from the first site assessment to the final grade.
What Is Land Clearing and How to Clear Land the Right Way
Land clearing is the process of removing trees, brush, stumps, and debris from a plot of land to make it usable.
That could mean prepping a site for a house, opening up pasture for farming, or reclaiming an overgrown yard.
The end use matters more than most people expect. It determines how completely the ground needs to be cleared and which method makes sense.
A half-acre lot with light brush is a manageable weekend project. A densely wooded acre being prepped for a foundation is a weeks-long job that usually needs professional equipment.
Here’s the distinction that trips people up most: clearing for a structure requires complete root removal. Clearing for pasture or lawn does not.
Miss that, and you’ll choose the wrong method before you’ve even started.
Step-by-Step Guide to Clearing Land
Clearing land follows a fixed sequence. Permits before equipment. Debris before grading. Erosion control before you walk away.
Each step below tells you what to do and what goes wrong if you skip it.
Step 1: Assess the Property and Set Boundaries
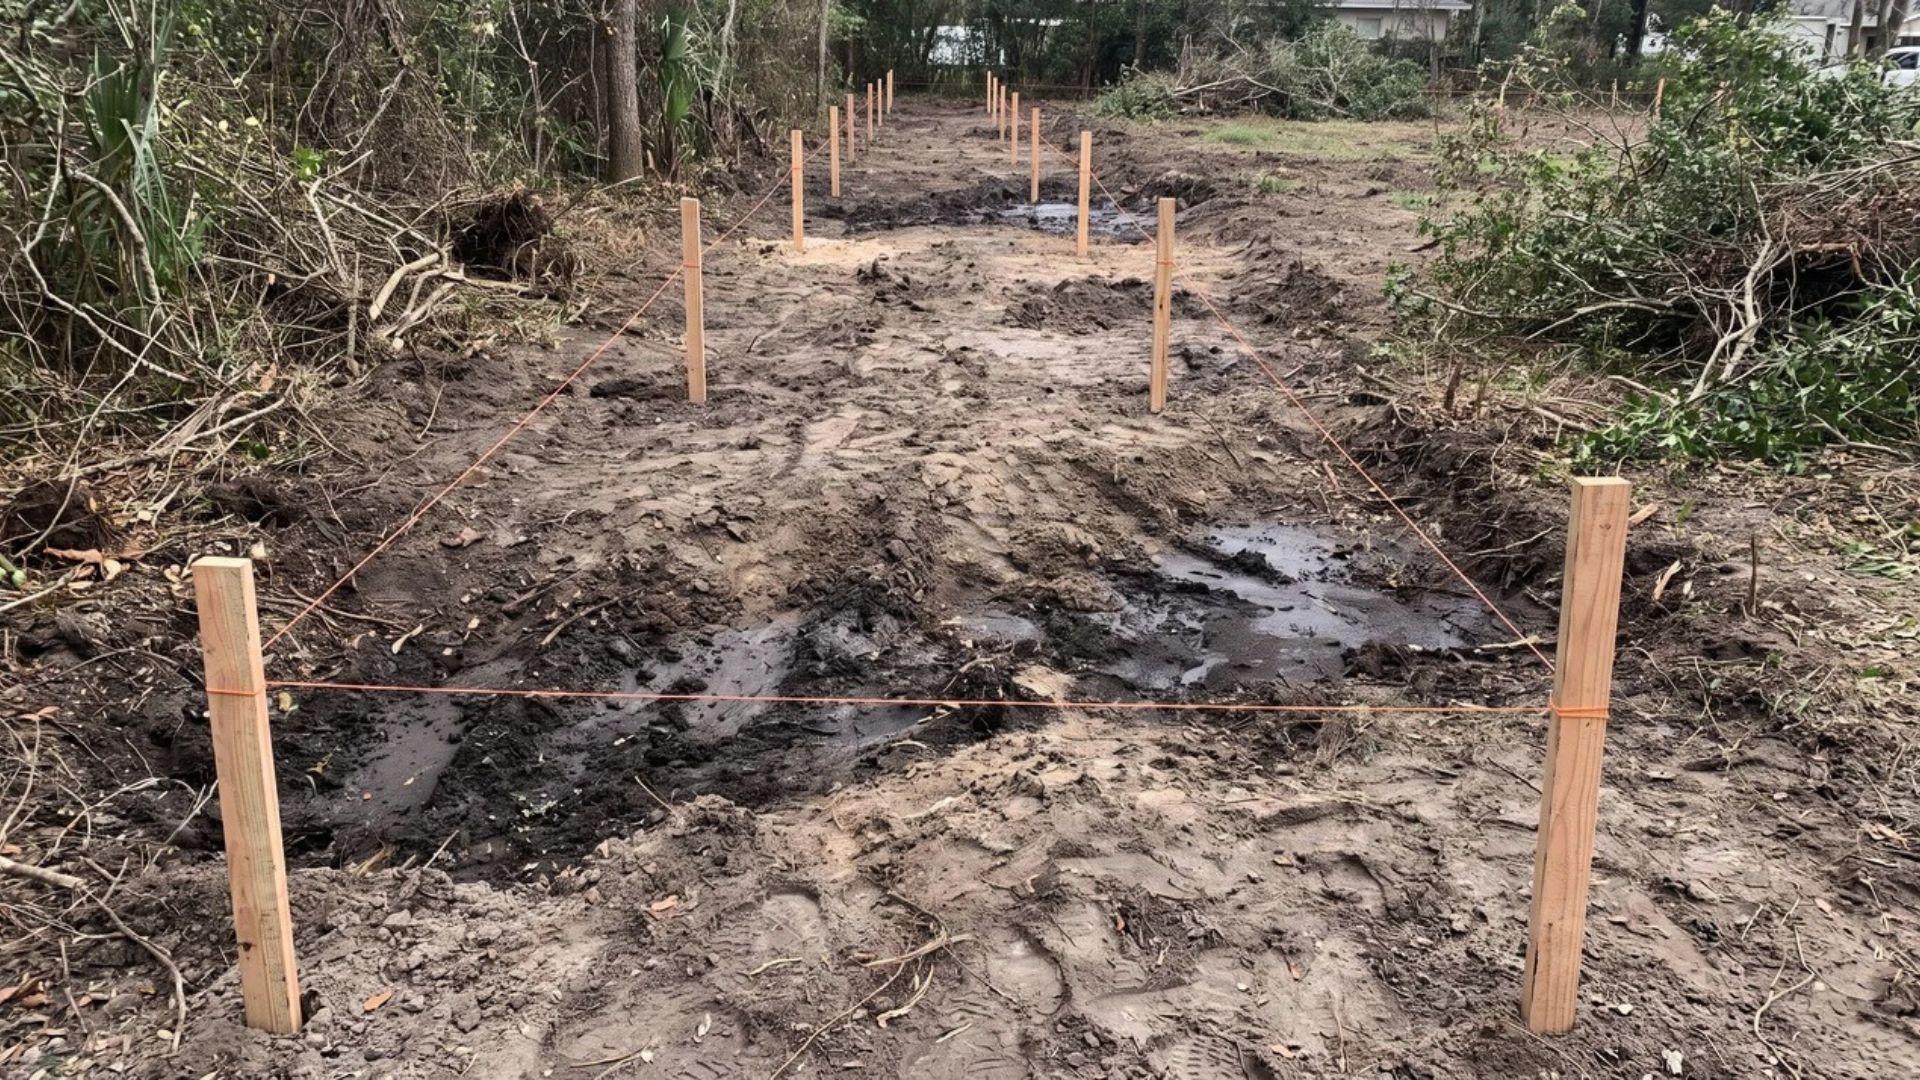
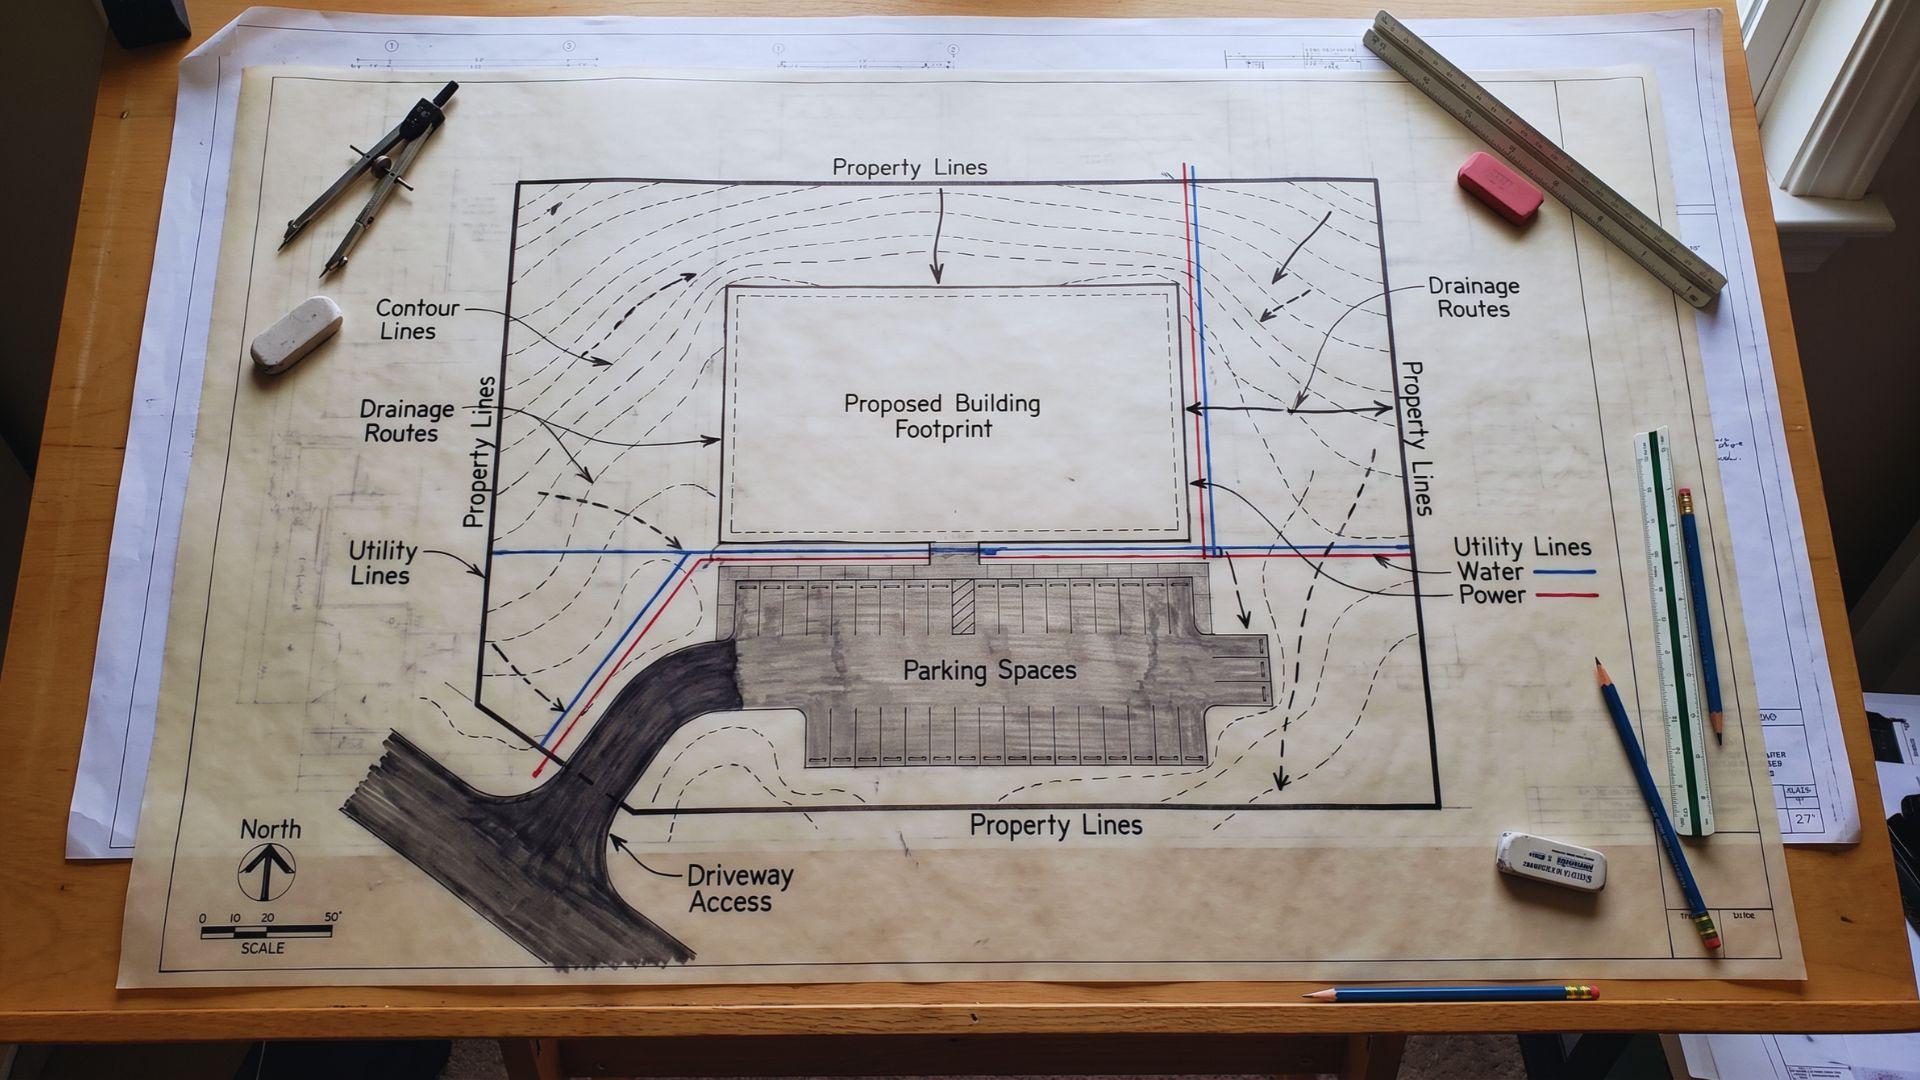
Walk the full boundary before anything else if you haven’t already. Knowing how to measure land for construction gives you the precise dimensions you need before any equipment arrives.
This isn’t optional preparation; it’s the step that determines every decision that follows.
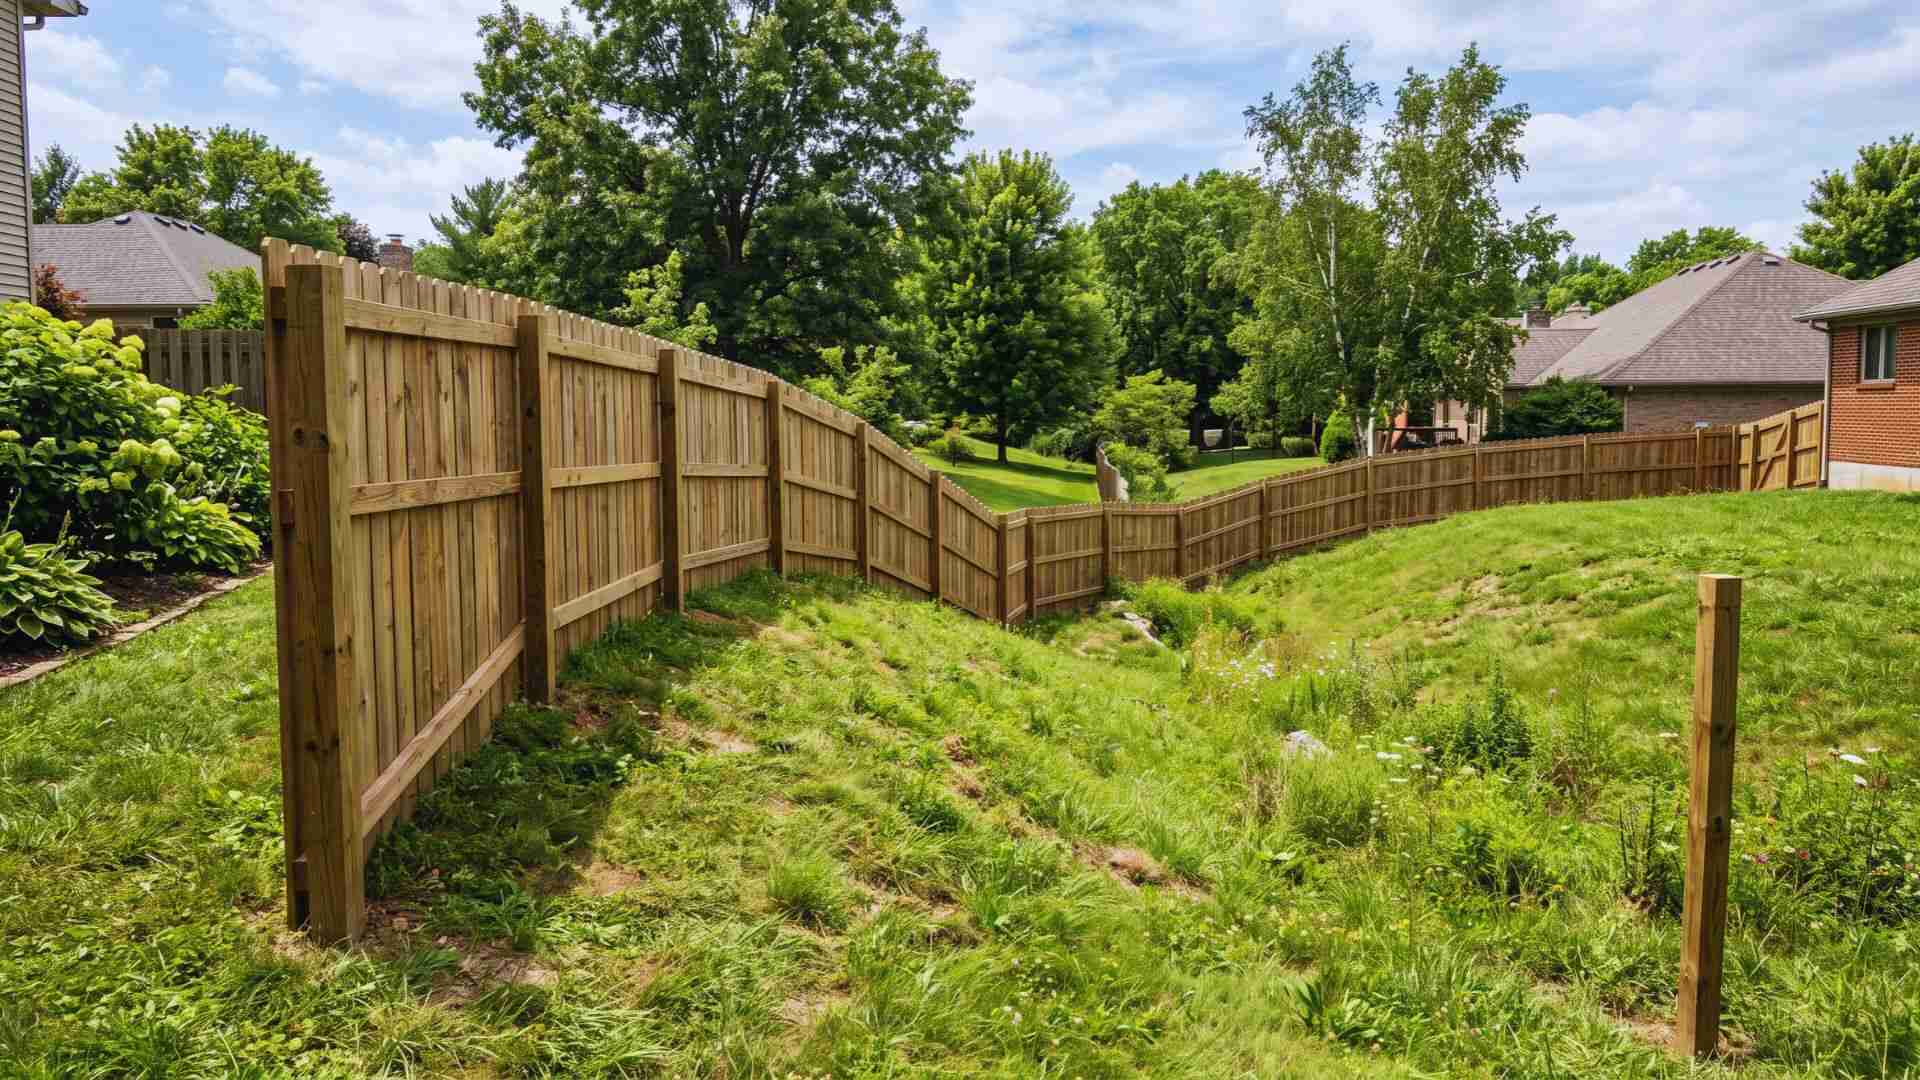
Note the topography. Identify which way the land slopes and where water naturally drains. Look for drainage channels, low spots, and any signs of standing water after rain.
Check for wetland buffers or protected trees. Both can restrict what equipment you’re allowed to bring in and where.
Then look at the soil. Dig down six to twelve inches in a few spots. Clay soil with dense root mats behaves completely differently under heavy equipment than sandy loam.
If roots run deep, surface clearing won’t be enough; you’ll need grubbing, not just mulching.
Skipping this step doesn’t save time. It sends you back to it later, after you’ve already made the wrong call.
Step 2: Secure the Required Permits
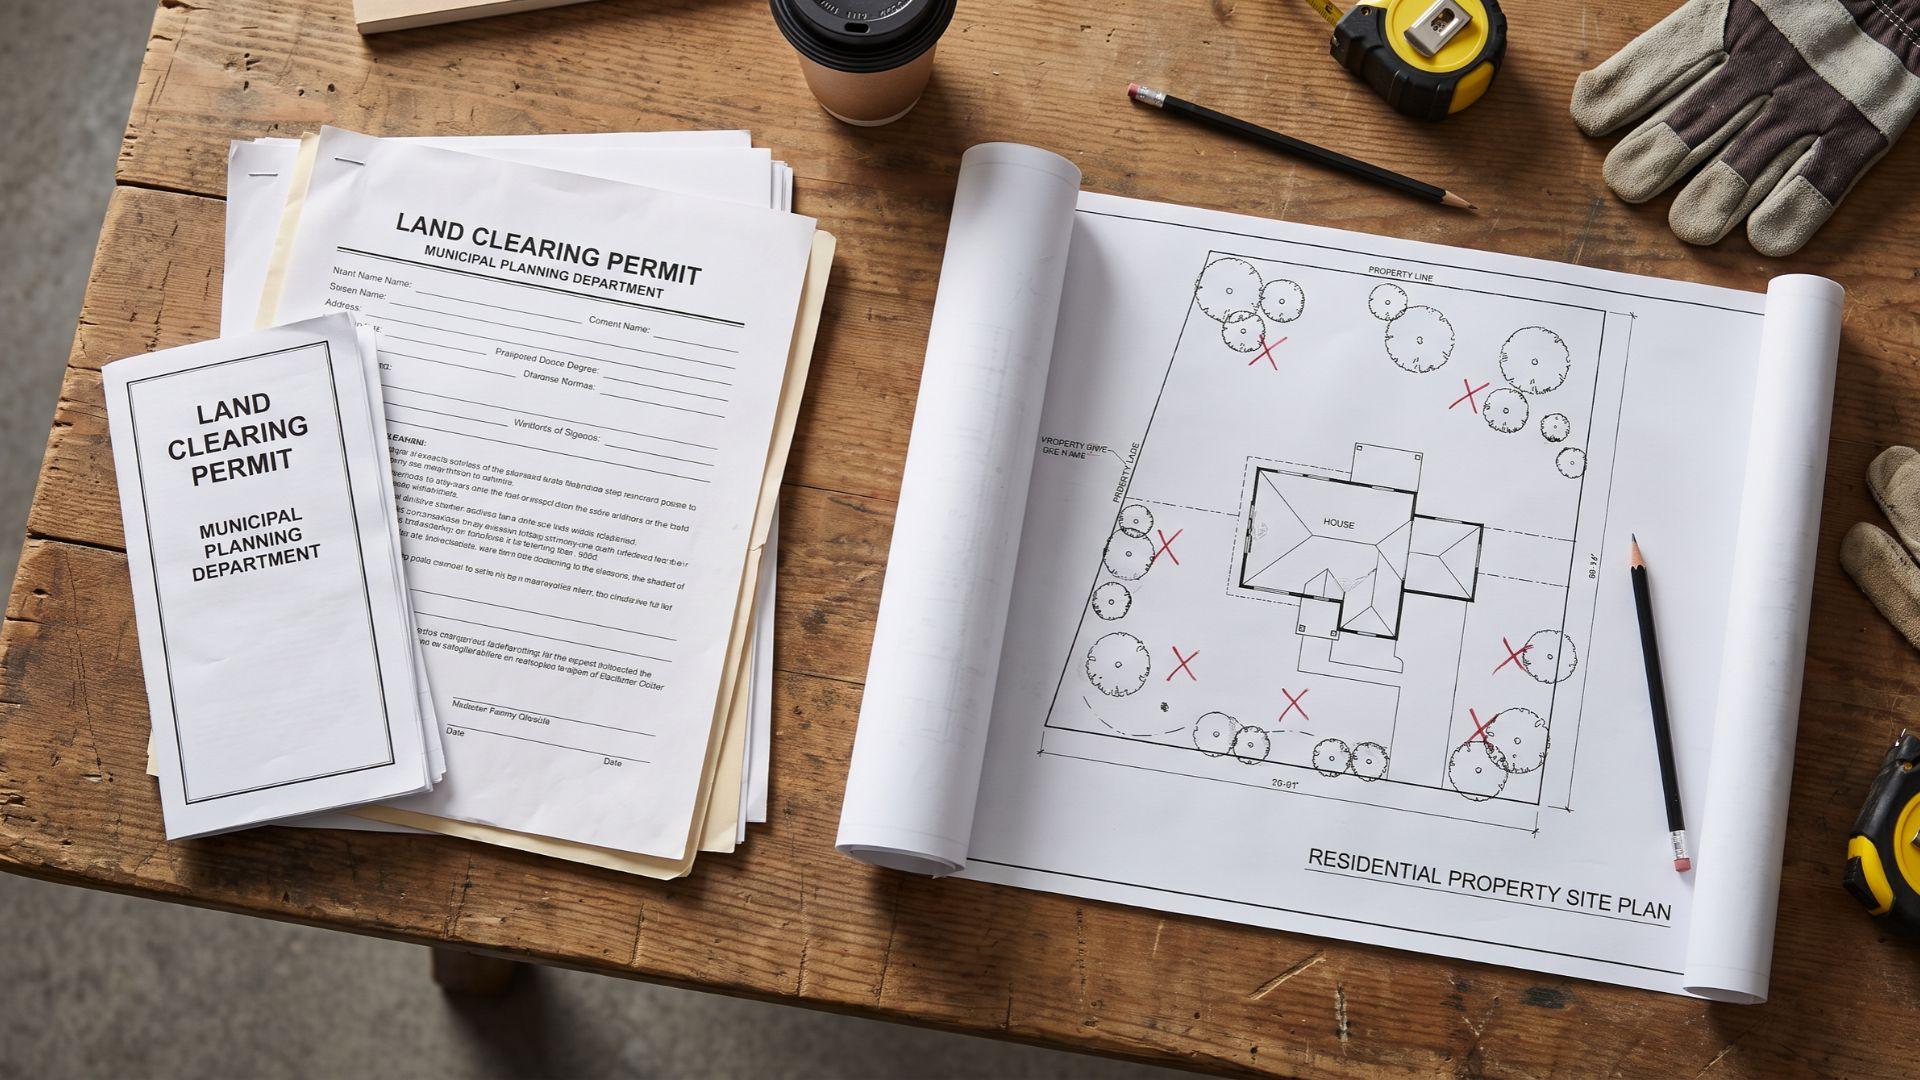
Folks assume permits are only needed for big commercial jobs. They’re not.
Grading permits, tree removal permits, and burning permits are commonly required on residential lots too. The exact rules depend on your municipality, lot size, and proximity to protected land or waterways.
Processing time varies. Some permits come back in a week. Others take three to four weeks. Plan for the longer end.
What happens if you skip this step? Fines are the minimum consequence. Some jurisdictions require you to restore the land to its original condition at your expense before they’ll let you restart legally.
Call your local planning or zoning department before any equipment touches the ground. It’s one conversation that prevents a much worse one later.
Step 3: Choose the Right Clearing Method for Your Land
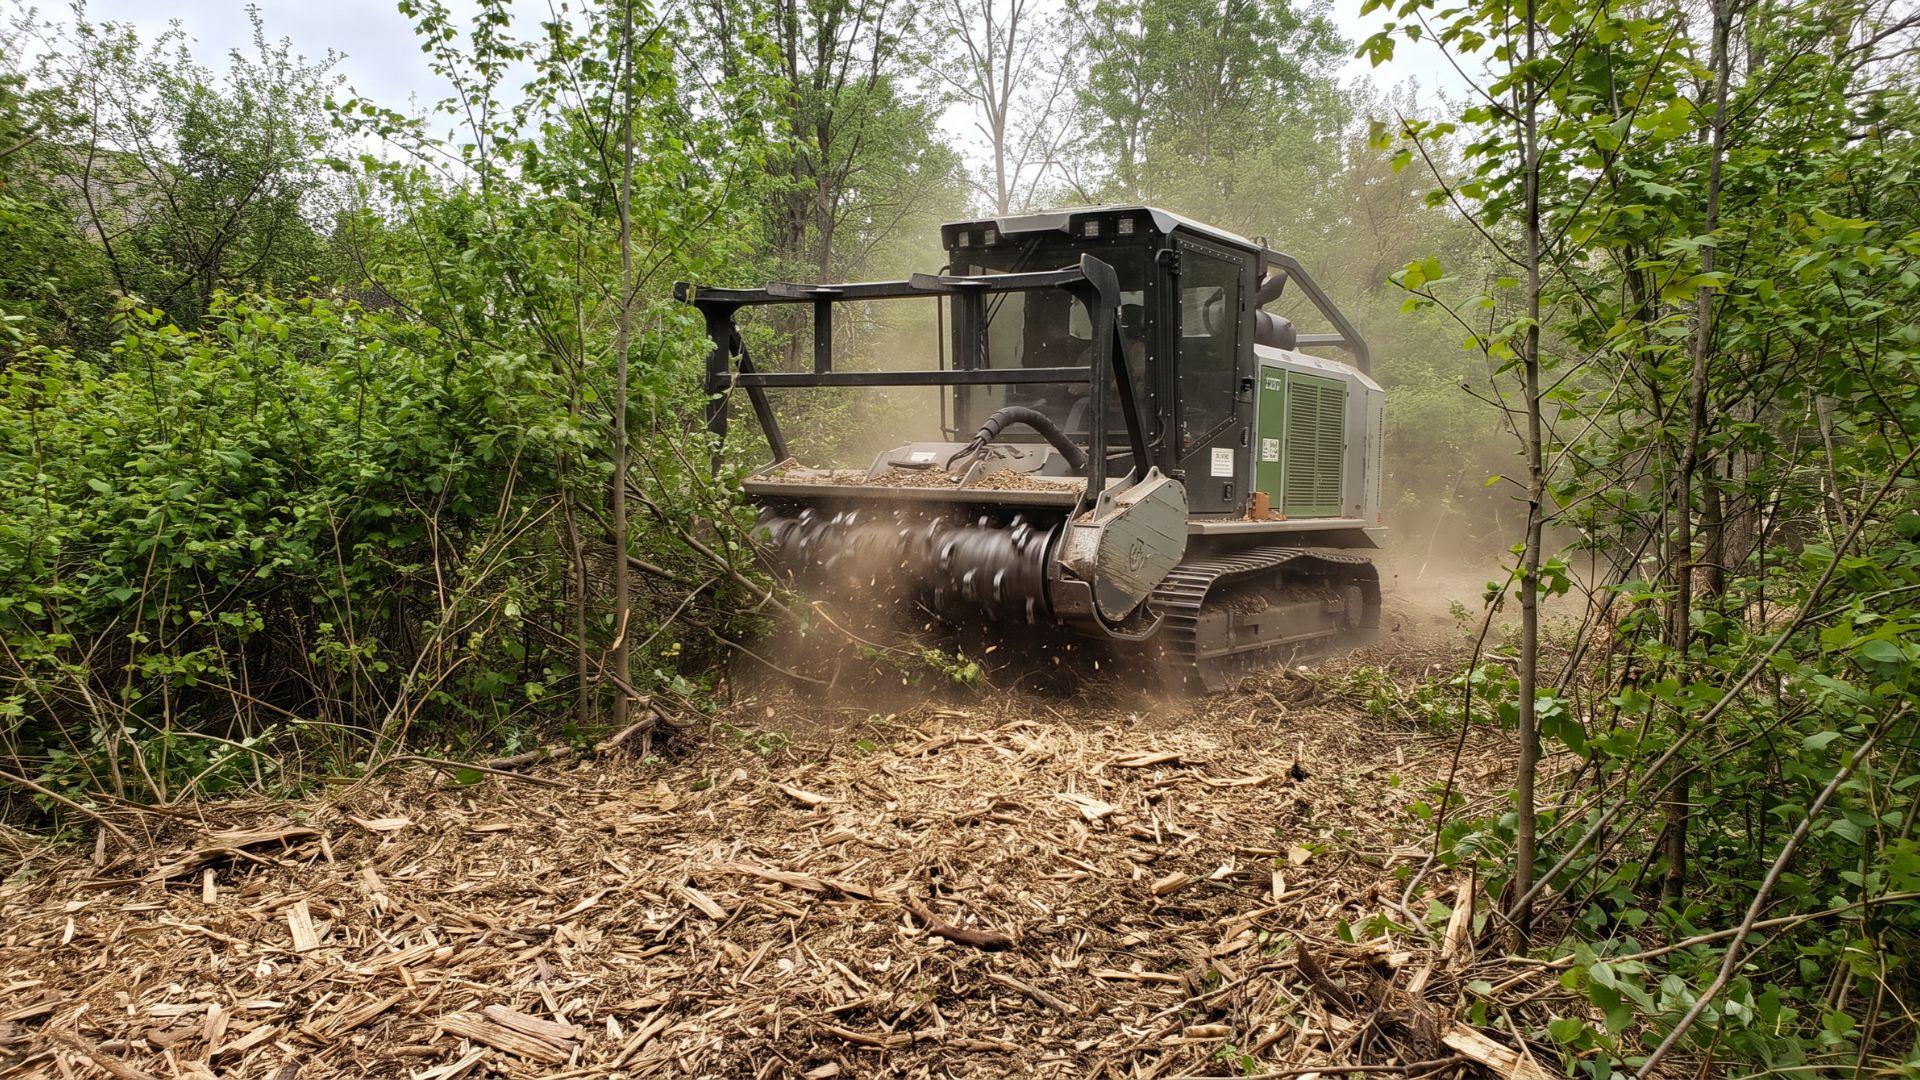
This is where most clearing projects go wrong. People choose based on price. They should choose based on what’s in the ground and what they’re building.
Three methods cover most situations:
- Forestry mulching: works well on lots with brush, saplings, and trees under roughly eight inches in diameter. The mulcher grinds everything into chips left on-site. It’s fast, and it protects topsoil. But it leaves root systems in place, which is fine for pasture or lawn, and a problem for any foundation work.
- Bulldozing and grubbing: removes everything: trees, stumps, and root masses. It disturbs topsoil significantly, but it’s the only method that prepares ground properly for construction. Use this when the end use is a structure.
- Hand and DIY clearing: chainsaws, brush hogs, and loppers work on lots under a quarter acre with light vegetation. Beyond that, the labor cost and time rarely beat hiring the right equipment.
The rule that ties it together: if you’re building anything with a foundation, you need full root removal. If you’re farming or landscaping, surface clearing is enough. Every other decision follows from that.
Step 4: Clear Vegetation and Remove Trees
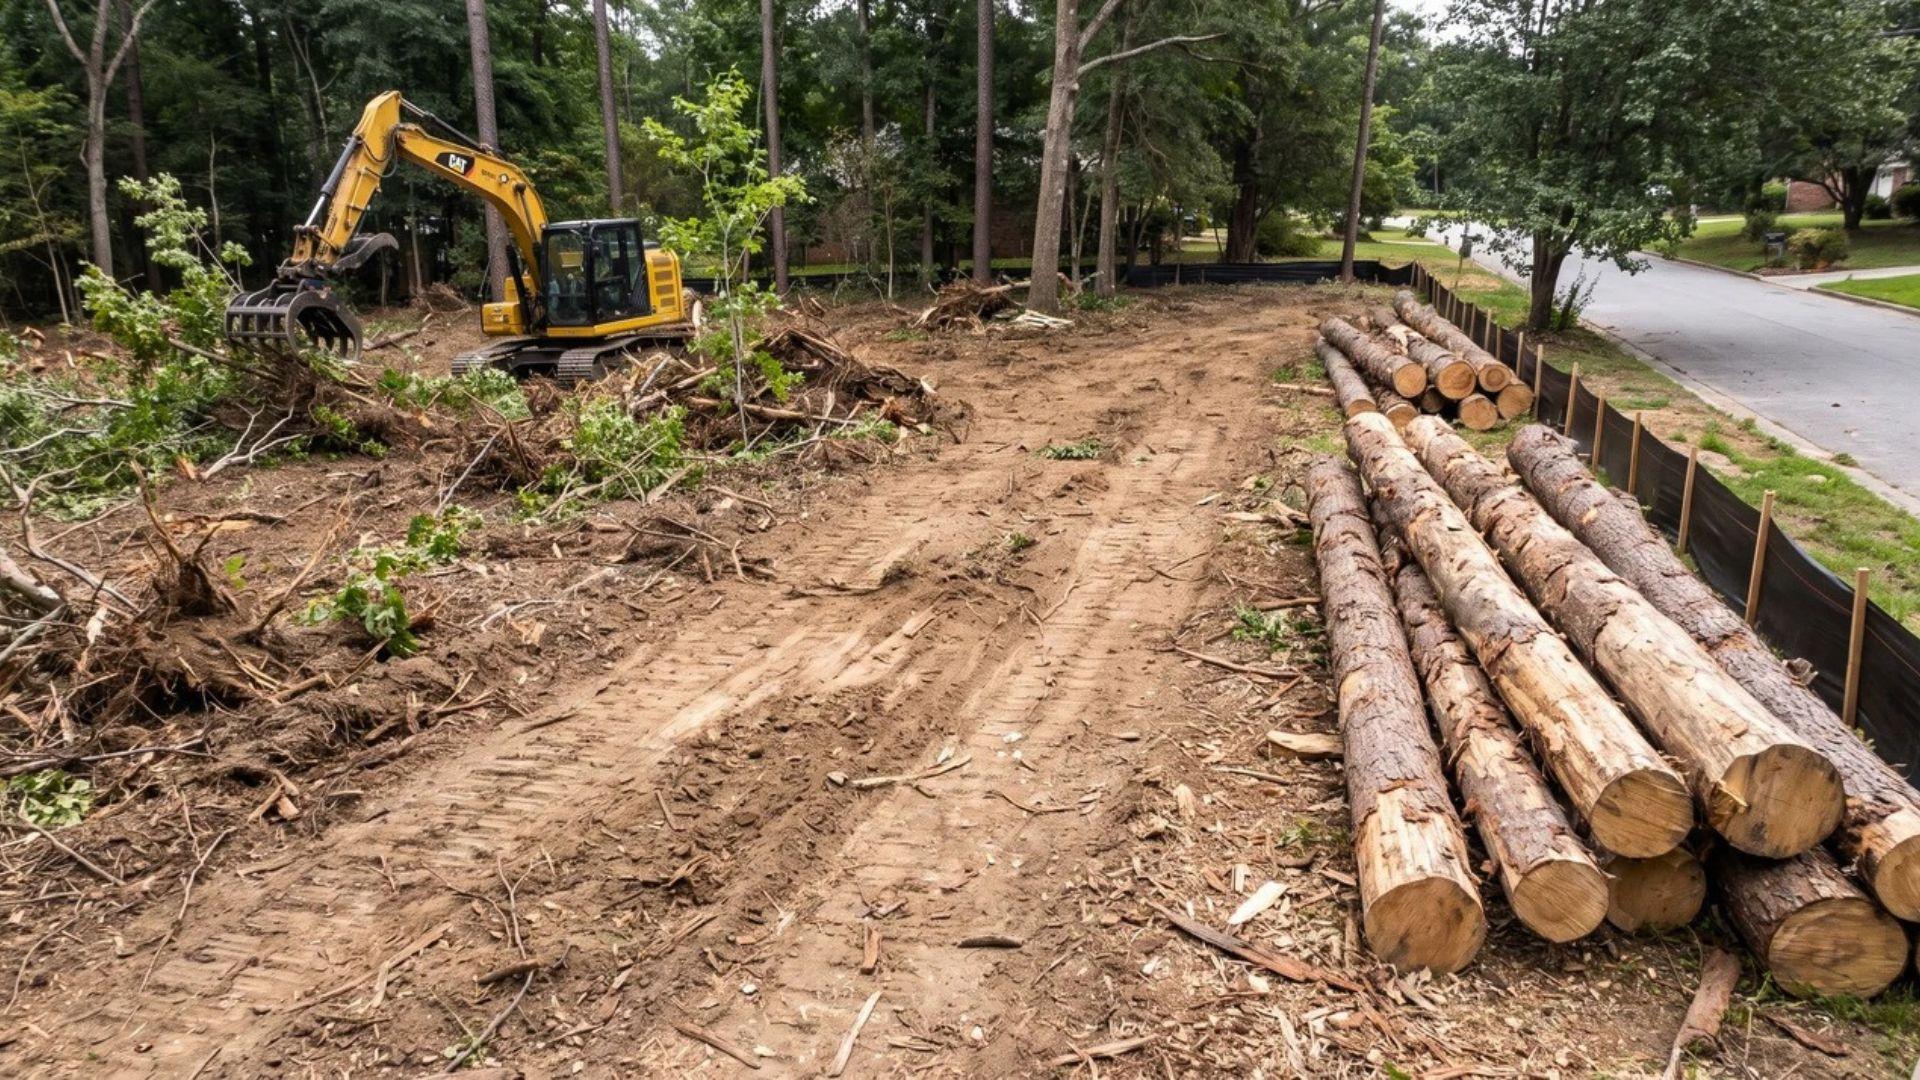
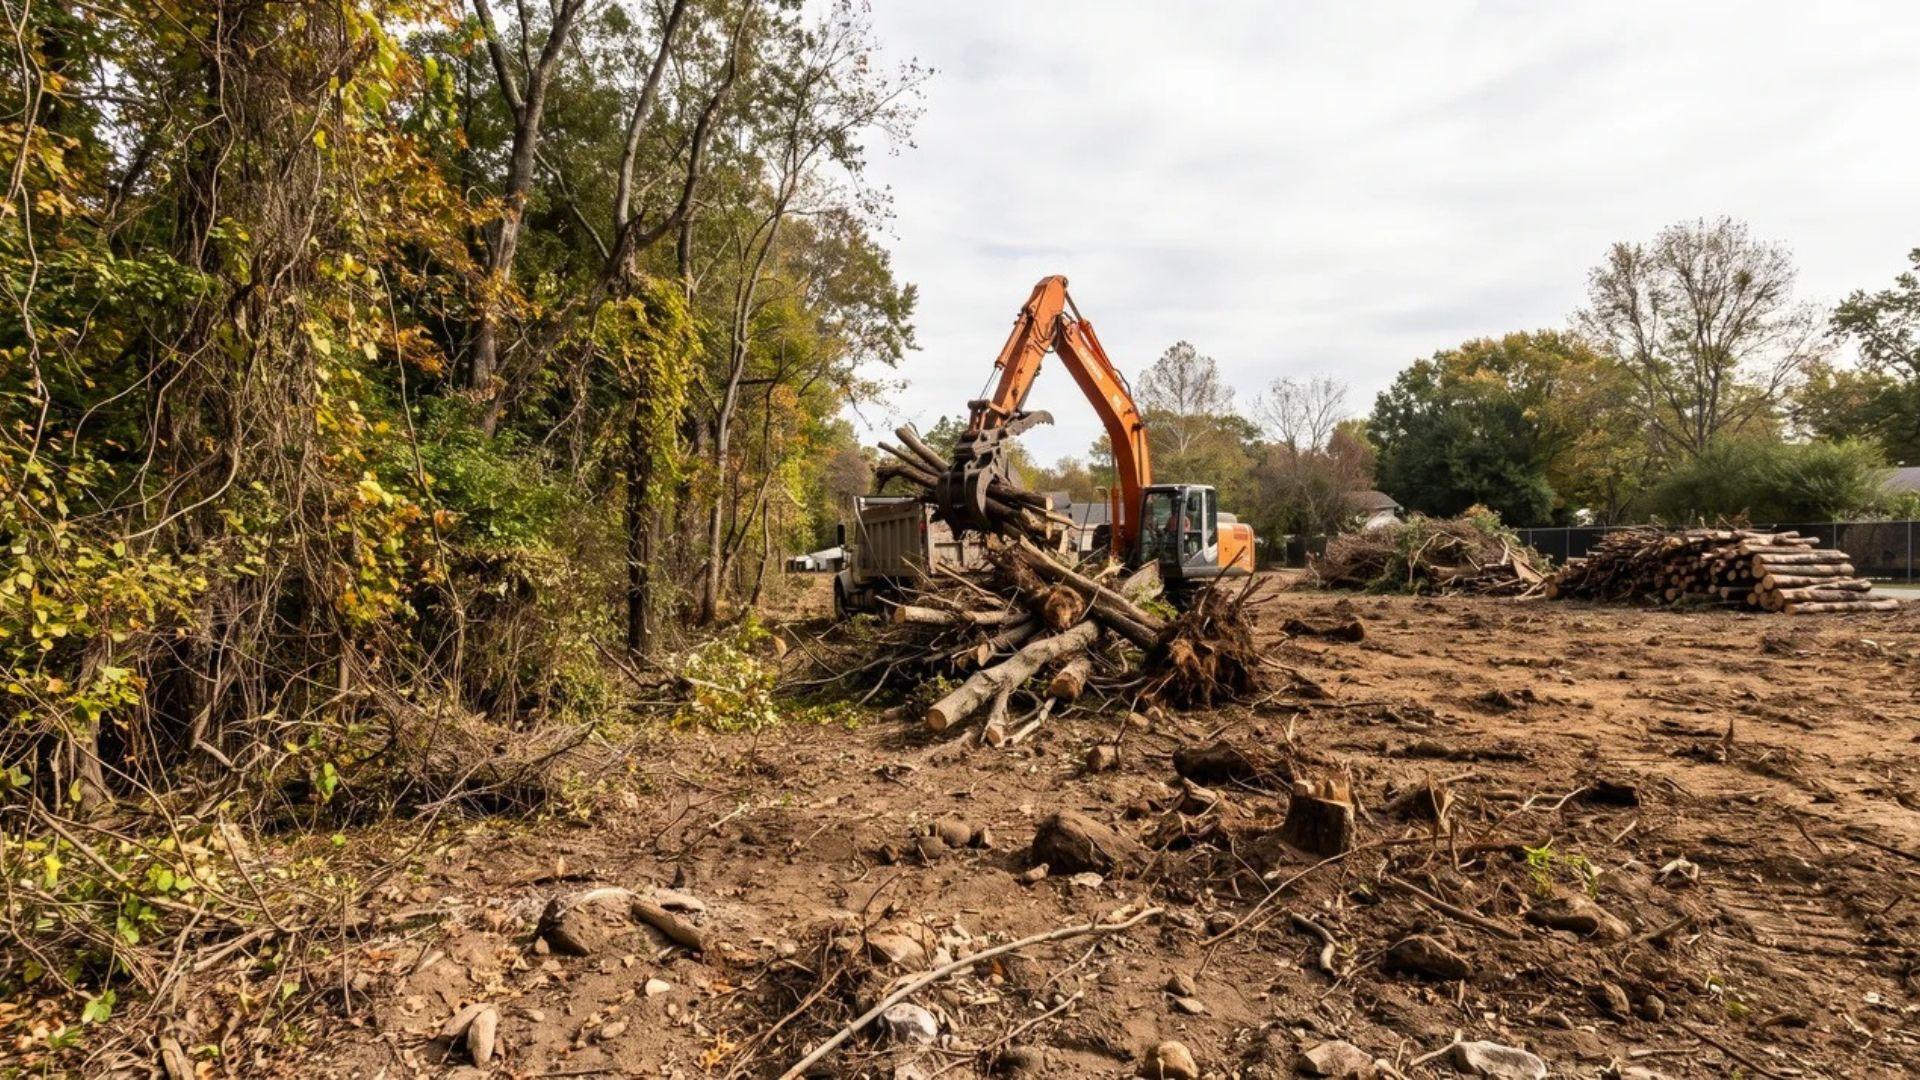
Start with the largest trees. Fell them first, stage the logs to one side, and create a clear working area before moving to brush.
Work in passes. Large trees first, then mid-size brush, then ground cover. Trying to clear everything at once creates a tangled mess that slows equipment and creates safety problems.
Before the first tree comes down, have a debris plan. Where are logs going to be repurposed, chipped, or hauled away? What happens to brush?
The most common breakdown at this stage: felling trees with no answer to that question. Logs pile up, equipment can’t move through the lot, and the project stalls. Decide before you start.
Step 5: Handle Stumps and Debris
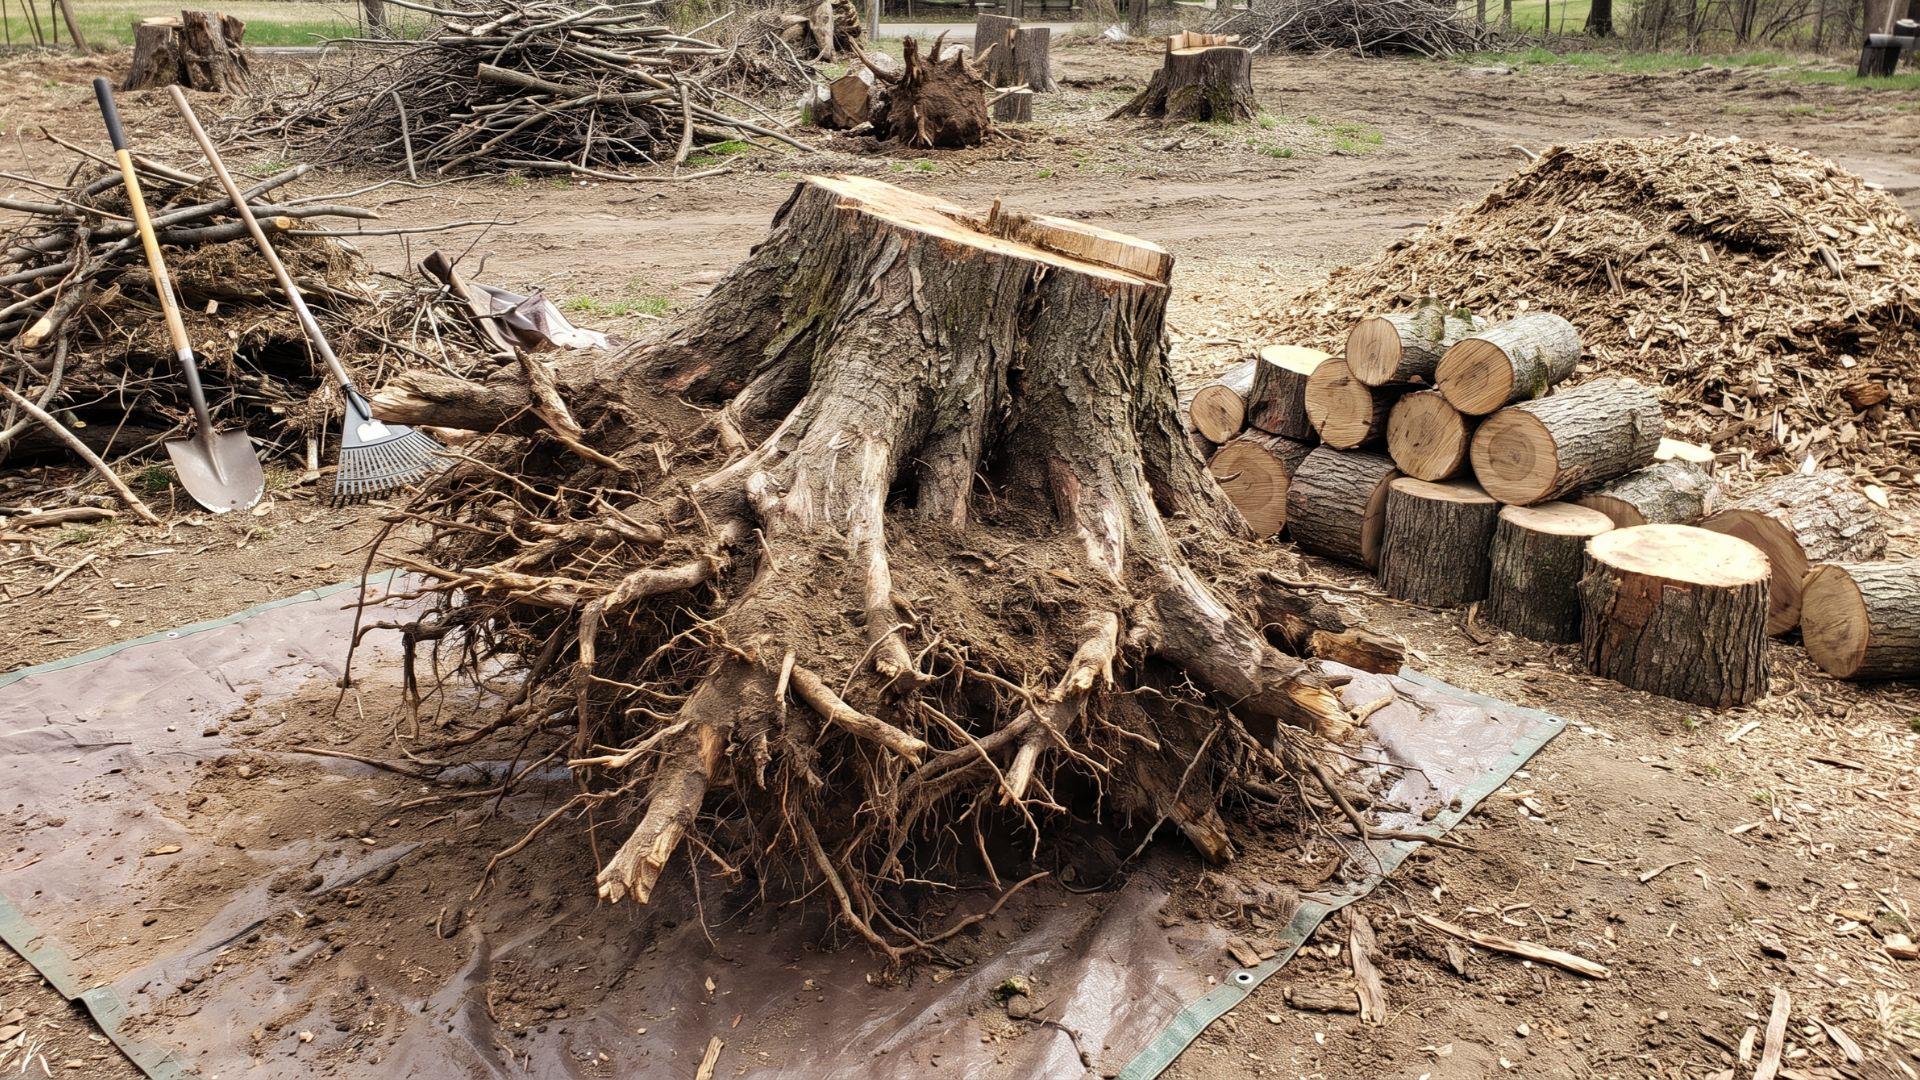
Stumps are not a cosmetic problem. They’re a structural one depending on what comes next.
Stump grinding removes the visible stump but leaves the root mass in the ground. For landscaping or farming, that’s fine. Roots decay over time and don’t cause problems at the surface.
For foundation work, it’s a different story. Root masses left underground decompose unevenly.
That uneven decomposition causes differential settling under slabs, meaning your foundation moves in ways it shouldn’t. On a build site, grinding is not enough. Pull the roots out with an excavator.
For the rest of the debris: logs can often be repurposed as lumber or firewood. Brush can be chipped for mulch.
Burning is an option in some areas, but it requires its own permit and is restricted by season. Confirm before you plan around it.
Step 6: Grade the Soil and Install Erosion Control
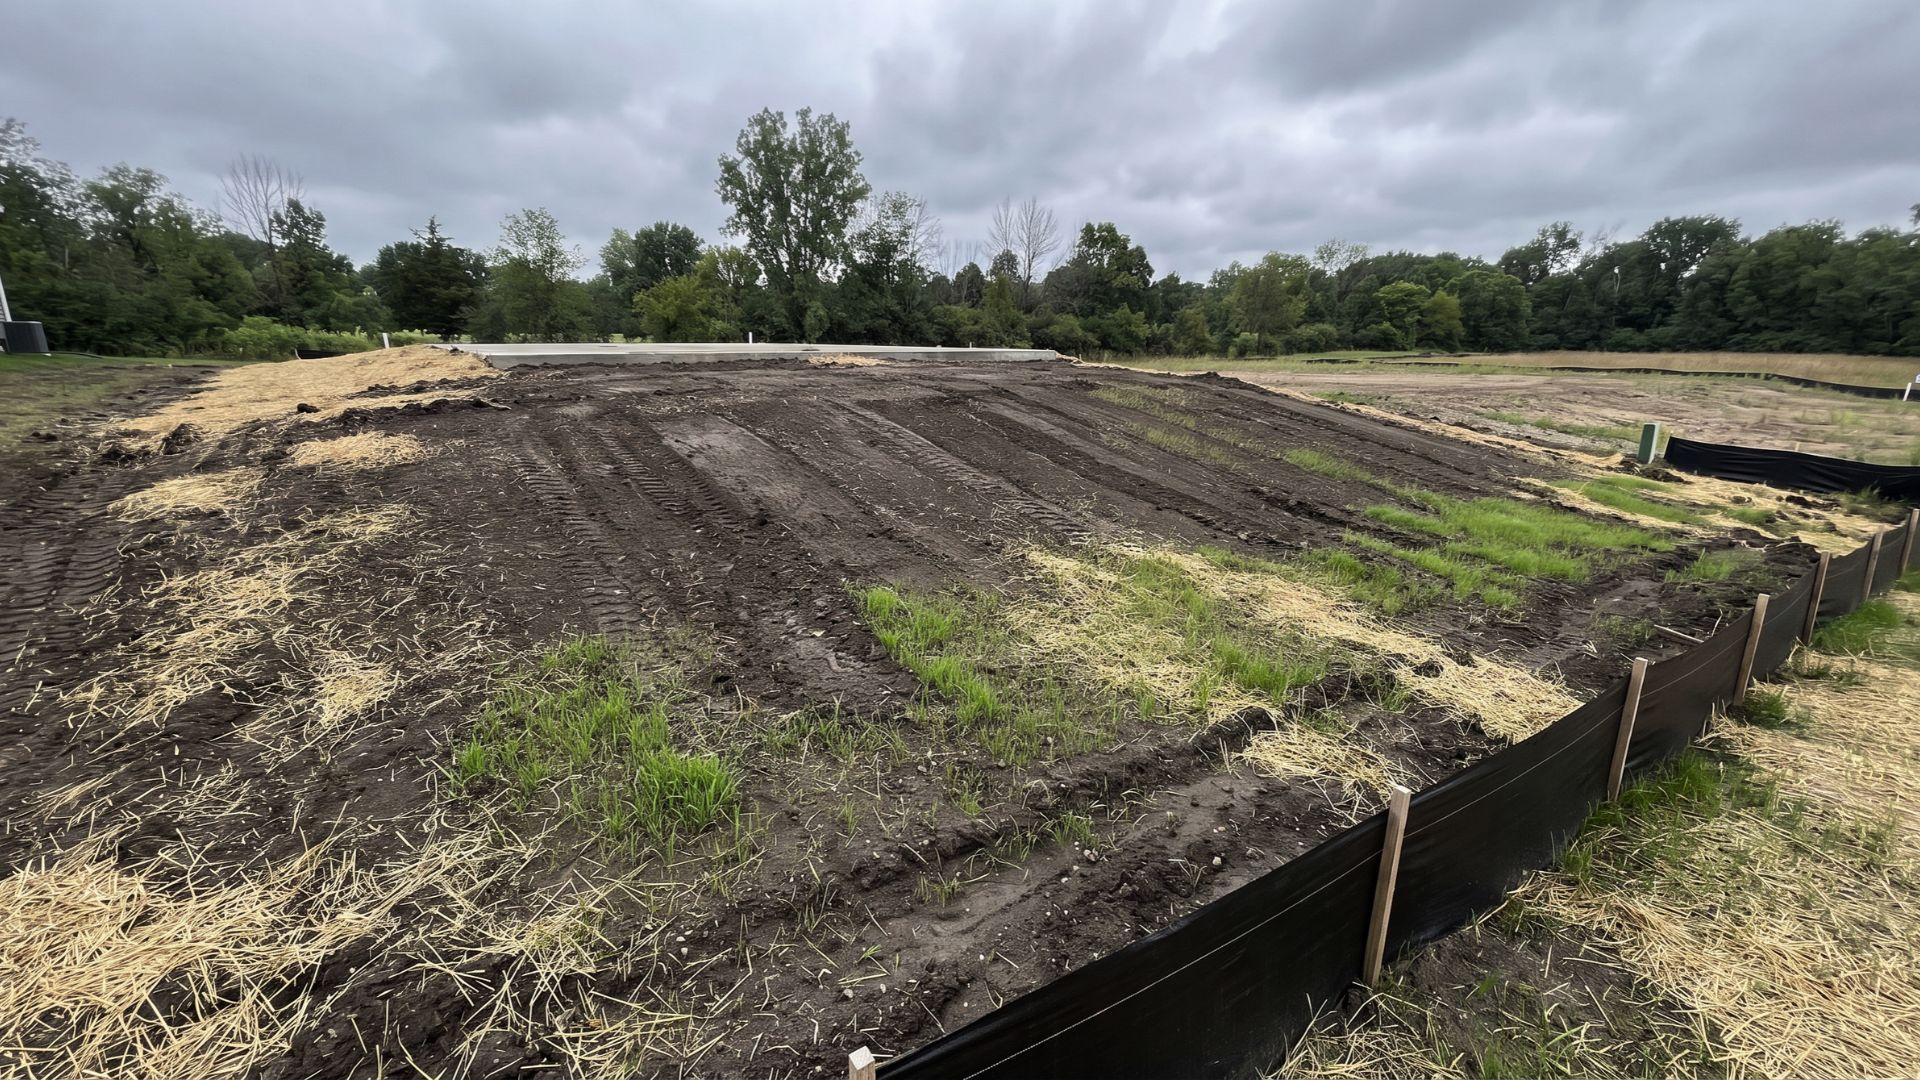
This is the step most people skip. The lot looks cleared. The job feels done. It isn’t.
Grade the soil so it slopes away from any planned structure at a minimum 2% grade. That’s roughly two feet of drop for every hundred feet of run.
Get this wrong, and you’re directing water toward your foundation, one of the most expensive corrections to make after construction begins.
Install silt fencing along the downhill edges of the lot before you leave. On disturbed lots above a certain size, it’s often legally required. More practically, it holds topsoil in place while the ground is bare.
Then seed with native grasses or a cover crop as soon as the grading is done. Bare soil left open for even a few weeks becomes a weed problem.
The invasive species that move in are harder to clear than what you started with.
How Much Does It Cost to Clear Land?
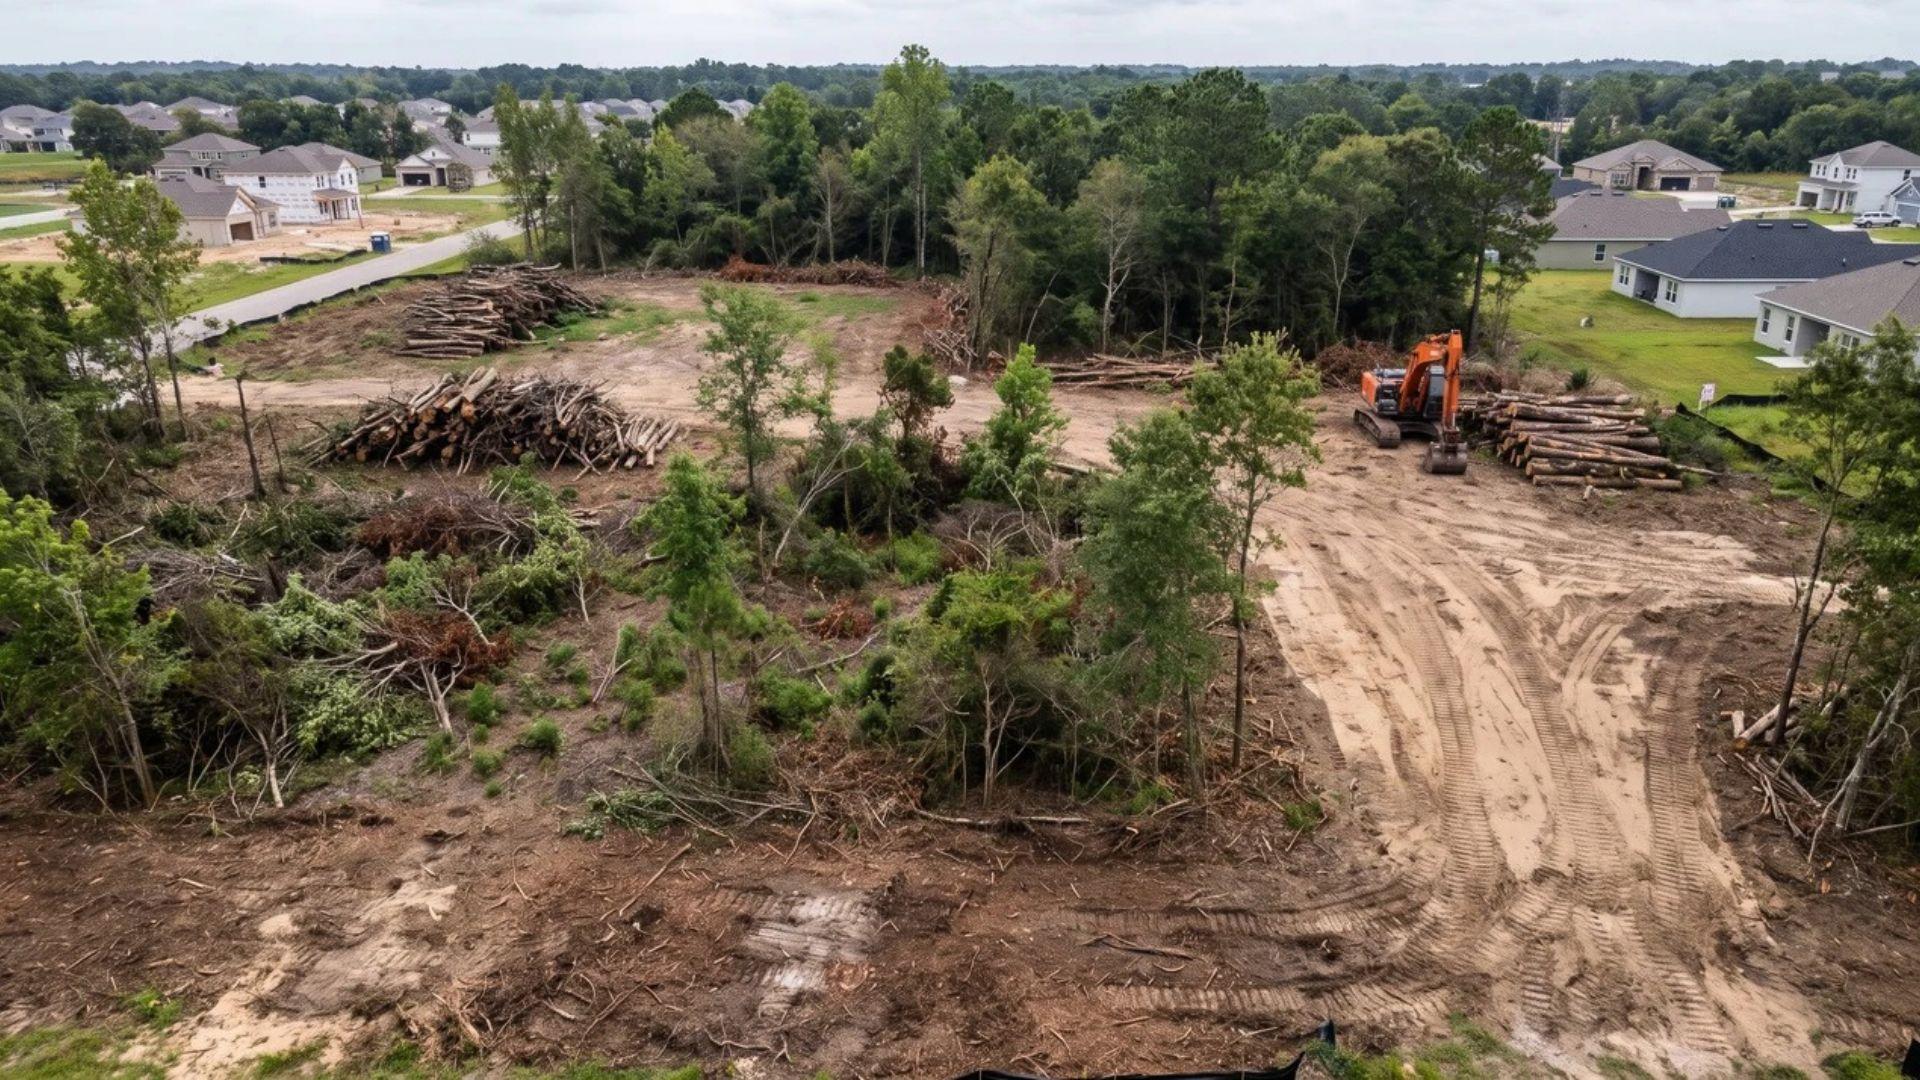
There’s no single figure that answers this accurately. Anyone who gives you one without knowing your lot hasn’t given you useful information.
Four variables drive the cost. Understanding them helps you estimate your own project before you call a contractor.
| Cost Factor | What It Means | Impact on Cost |
| Vegetation Density | Light brush vs. large trees with deep roots | Highest impact: more vegetation means more passes, more time, more equipment |
| Lot Size | Quarter acre vs. two acres or more | Larger lots often require different equipment entirely, not just more time |
| Clearing Method | Mulching vs. bulldozing vs. hand clearing | Mulching costs less than grubbing; hand clearing stops being cost-effective on larger lots |
| Debris Disposal | Hauling off-site vs. repurposing on-site | Often missing from basic quotes; chipping brush or keeping logs brings this number down |
On the DIY vs. professional question, the math isn’t as simple as it looks.
Equipment rental, permit fees, and labor on a larger lot can exceed a professional quote. If the wrong method gets chosen and a second pass is needed, DIY almost always costs more.
Get at least two local quotes. Prices vary enough by region that a national average tells you almost nothing useful about your specific project.
Common Land Clearing Mistakes That Cost You Later
Most clearing mistakes don’t happen during the clearing. They happen before it starts or after it looks done.
Here are the ones that cost people the most:
- Choosing a method based on price alone. The wrong method for your soil or end use means a second pass, which costs more than doing it right the first time.
- Skipping the property assessment. Not checking root depth or drainage before clearing leads to method choices that don’t match what’s actually in the ground.
- Starting without permits. Grading, tree removal, and burning require permits on residential lots too. Getting caught can mean fines and mandatory site restoration.
- Felling trees with no debris plan. Logs pile up, equipment can’t move, and the project stalls. Decide where debris goes before the first tree comes down.
- Grinding stumps on a build site. Stump grinding leaves root masses underground. On a foundation site, that causes uneven settling. Pull the roots; don’t just grind them
- Skipping grading and erosion control. The lot looks done. It isn’t. Bare soil without silt fencing and cover crops leads to topsoil loss, drainage problems, and invasive weeds.
Fix these six, and you avoid the mistakes that send most projects back to square one.
Final Verdict
Knowing how to clear land is only half of it. The other half is knowing where the job actually ends, and it’s not when the last tree comes down.
It’s when the soil is graded, the erosion control is in, and the ground is ready for whatever comes next. Most problems on a cleared lot trace back to a skipped step, not a bad method.
Start with the right sequence, match your method to your end use, and the rest of the project takes care of itself.
Frequently Asked Questions
What is the cheapest way to clear land?
Hand clearing with chainsaws and brush hogs is the lowest-cost option on small lots under a quarter acre with light brush. On larger lots, DIY often costs more than hiring a forestry mulcher once rental fees and labor time add up.
How long does it take to clear land?
A half-acre with light brush can be cleared in a day or two. A heavily wooded acre needing bulldozing, stump grubbing, and grading can take one to two weeks, not counting permit processing time.
What should I do with the soil after clearing land?
Grade it so it slopes away from any planned structure, then seed with native grasses or a cover crop immediately. Leaving bare soil exposed for even a few weeks invites erosion and invasive weeds that are harder to clear than what you started with.
Can I burn debris when clearing land?
Burning is allowed in some areas but requires its own permit and is restricted by season in most jurisdictions. Confirm with your local authority before planning around it, because if the permit window closes, you will need a backup disposal plan.