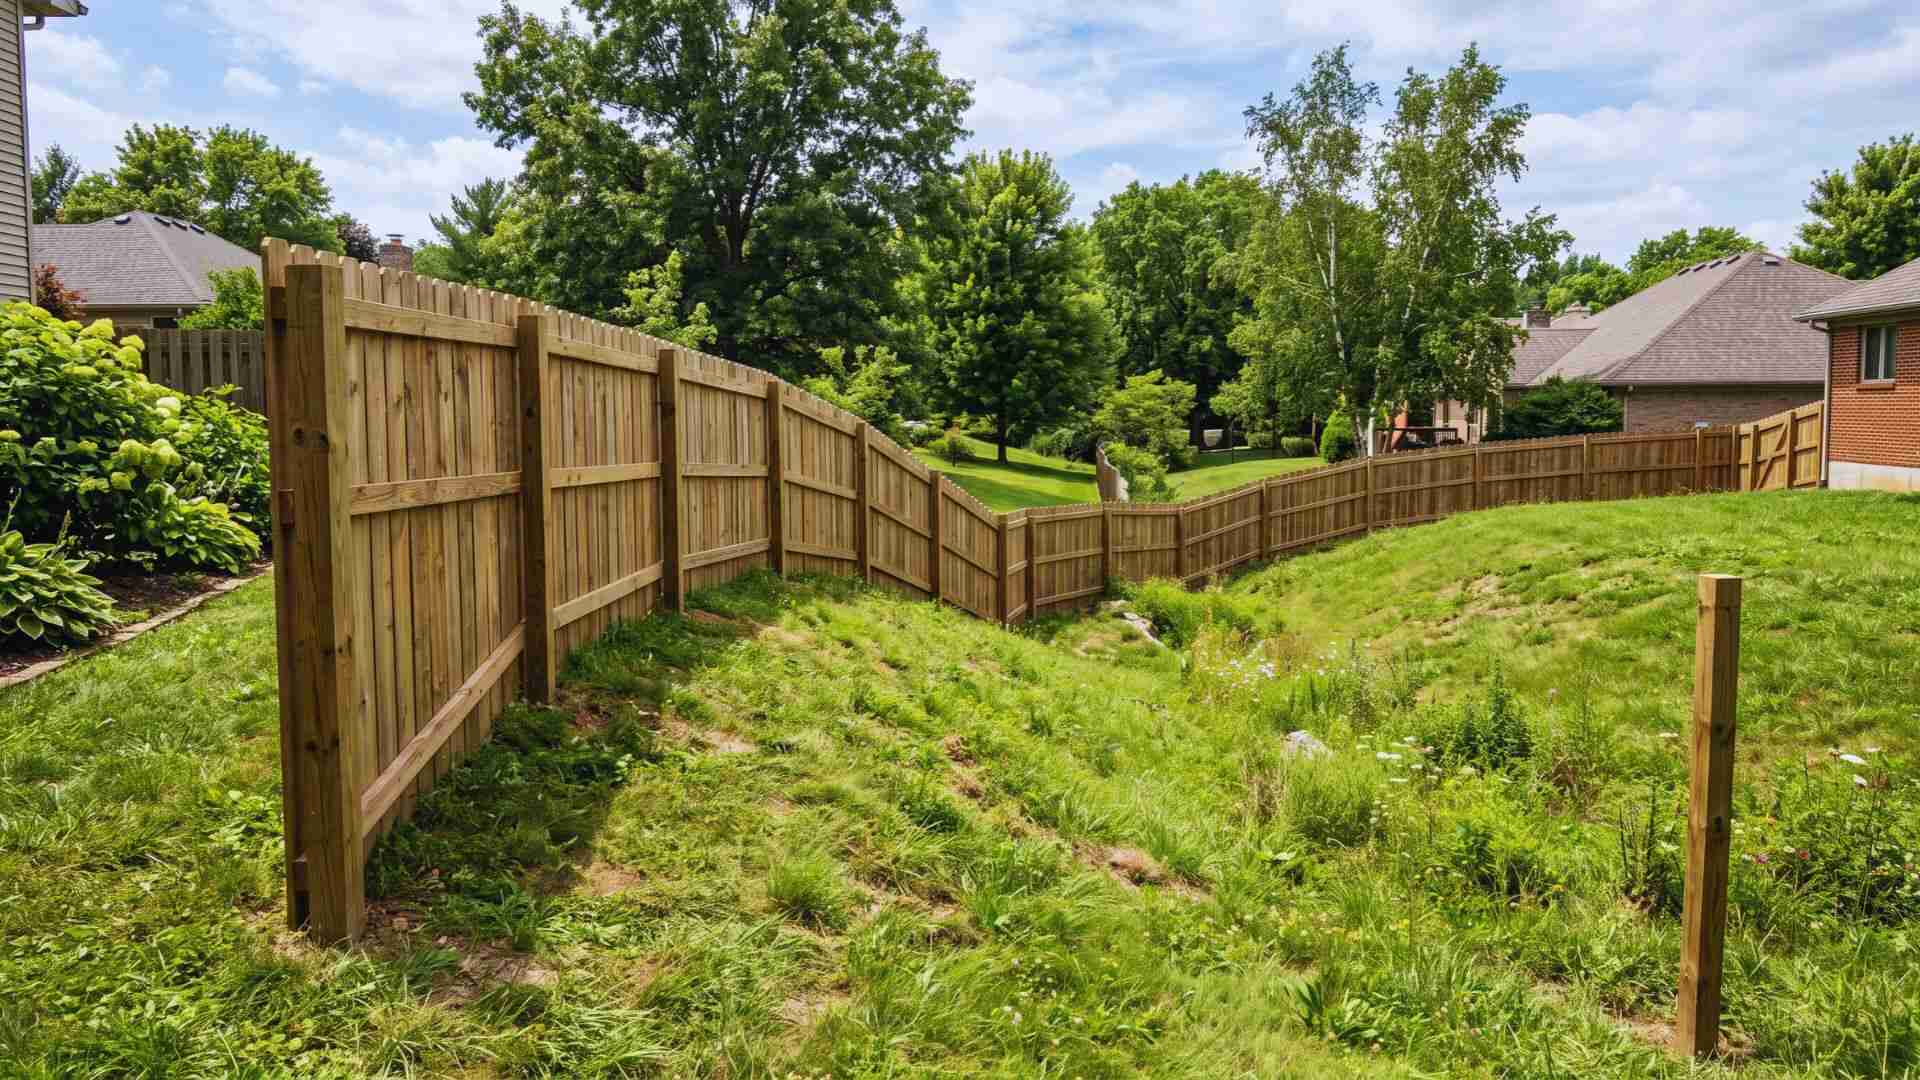
Building a fence on a slope costs rarely what homeowners expect. The hill itself matters less than how much the ground rises across each section.
In this post, you will learn what a slope adds to the price and which build method fits your yard.
You will also see how to install it without costly mistakes.
Once you understand that, every quote you collect starts to make sense.
Let’s start with the number everyone asks about first, which is what a slope actually adds to the cost.
Building a Fence on a Slope Cost
A fence on a slope typically costs more than the same fence on level ground. How much more depends on the build method and how steep the yard is.
The extra goes mostly to labor, with some spent on additional posts and panels.
What Does a Slope Add to the Cost of a Fence?
Start with the base price per linear foot. Material sets that number, and the list below shows typical installed ranges for the four common options.
- Chain-link: $8 to $40
- Wood: $10 to $45
- Vinyl: $15 to $40
- Aluminum: $17 to $90
Style and height move the price as much as the material does, so treat these as starting points.
A slope adds to that base, mostly through labor, because measuring the slope and adjusting each post takes more time.
Slope is measured as grade, which is the rise divided by the run. Buzz Custom Fence calls under 10% gentle, 10% to 20% moderate, and 20% or more steep.
Cost guides don’t price each tier on its own. The extra grows as the grade steepens, and quotes vary by contractor and region.
Why Does a Sloped Yard Cost More to Fence?
On level ground, every section repeats. Posts match in height, panels match in length, and the crew follows one string line.
A slope breaks that pattern because the ground changes across each section. Each one must be fitted separately.
The two build methods spend that extra in different places, as the list below shows.
- Stepped fence: Panels stay level and drop at each post. That needs taller posts and leaves a triangular gap under each panel, which needs infill.
- Racked fence: Panels tilt to follow the ground. That needs panels built to angle, or boards cut to match.
So the premium is the price of the method. Stepping spends more on posts and infill, while racking spends more on panels and cutting. Both add crew time.
That is why one yard can land at either end of the range. The rise per section matters more than the overall grade.
A long gentle hill adds a few inches per panel, while a short sharp drop adds a foot or more.
What Other Costs Come With a Slope?
Some slope costs sit outside the fence itself and appear as separate quote lines. The list below covers the ones to look for.
- Regrading: Levels the fence line and usually needs its own contractor.
- Retaining wall: Holds back soil where the drop is too sharp.
- Survey: Confirms your property line on uneven ground.
- Rocky soil: Slows digging and can mean rented equipment.
Ask each contractor which of these their quotes include, so you compare the same scope.
The method you pick moves the price more than the slope itself. Racked and stepped fences handle the same hill in opposite ways, so the right one depends on your ground.
I used the corrected per-foot prices from the live check and removed the $3,233 line, since it doesn’t show that slopes cost more.
Racked vs Stepped Fence: Which Suits Your Slope?
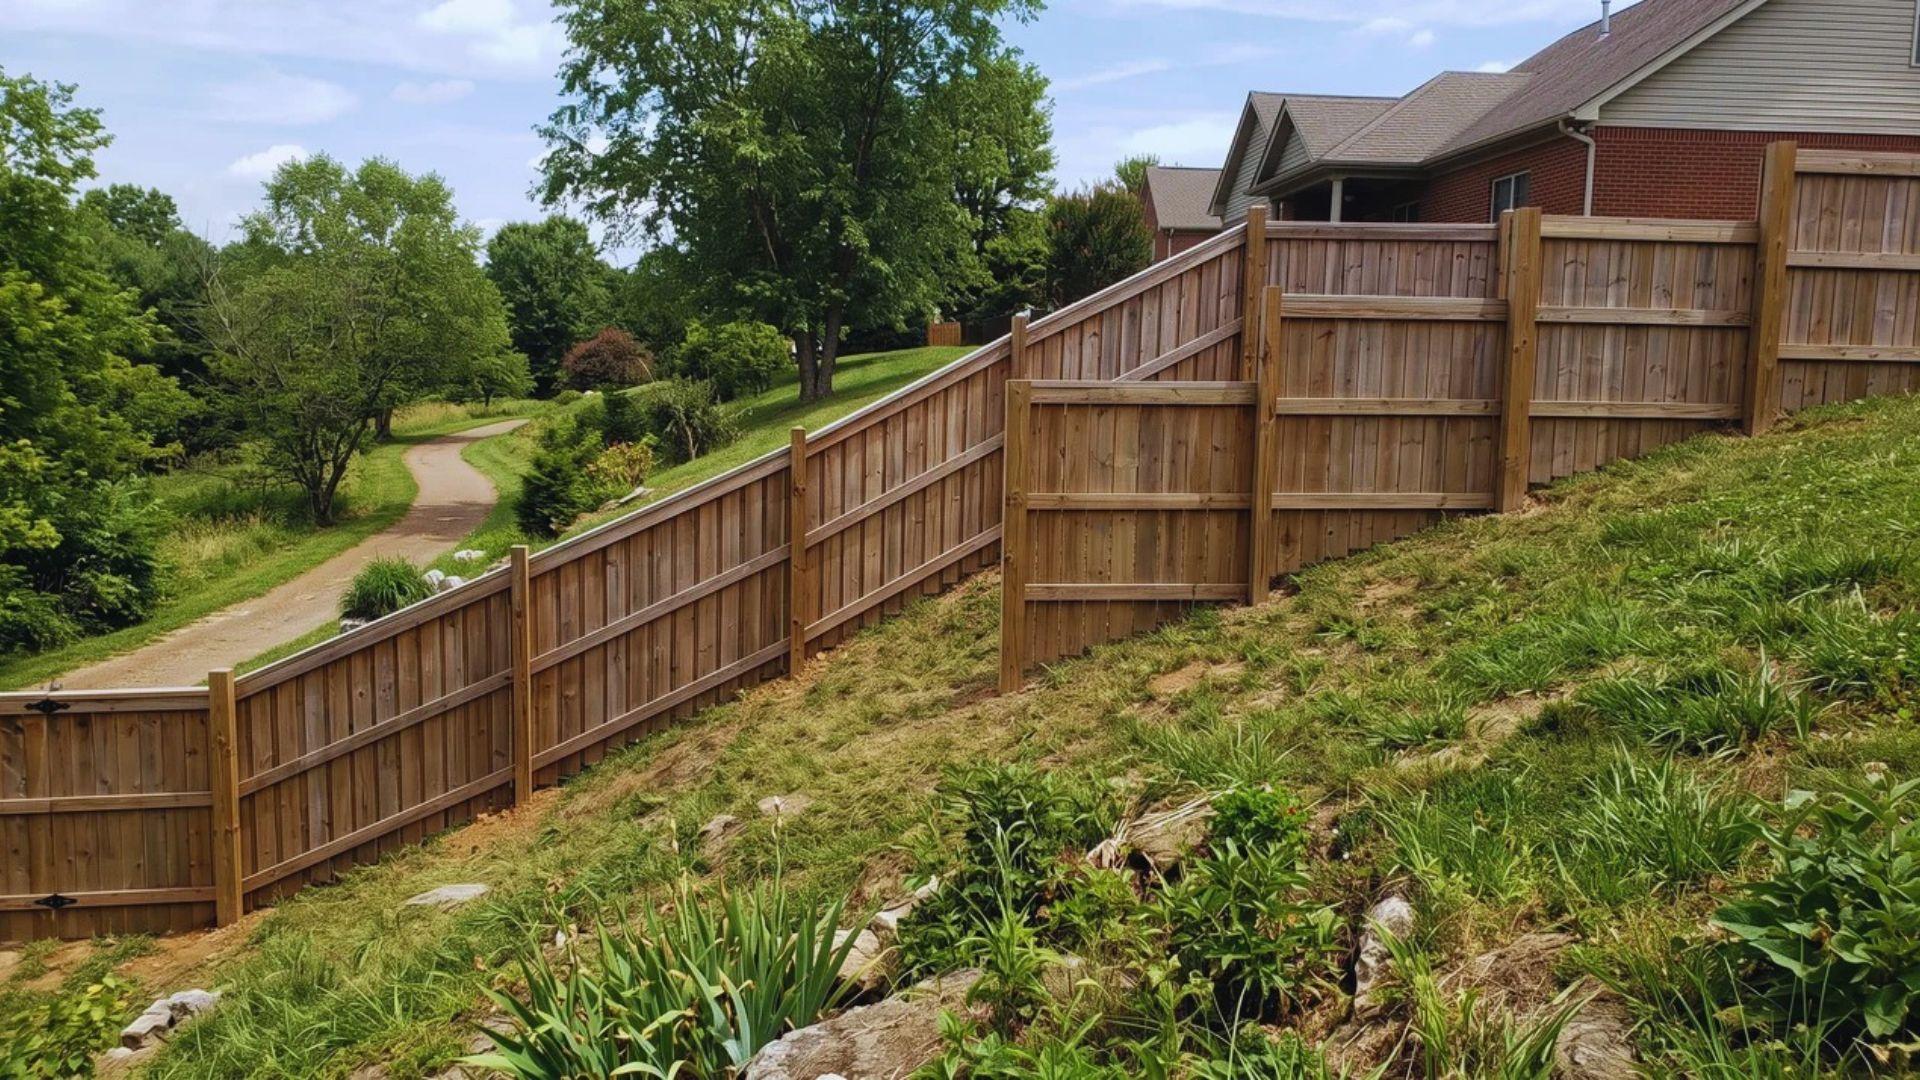
A racked fence tilts its panels or rails to follow the ground. A stepped fence keeps panels level and drops them in sections.
The choice depends mainly on slope steepness, your material, and whether bottom gaps matter to you.
The table below sets the two methods side by side, so you can see where they differ before the details.
| Factors | Racked | Stepped |
| How it follows the slope | Panels or rails angle with the grade | Panels stay level and drop at each post |
| Bottom gap | None | Triangular gap under each panel, larger on steeper ground |
| Panels | Racking panels or custom cuts | Standard panels |
| Best slope fit | Gentle to moderate grades | Steeper grades |
| Material limits | Rigid panels can’t be racked | Works with most |
| Cost | Depends on slope, material, and labor | Depends on slope, material, and labor |
The cost row reads the same for both because neither method is cheaper in every case. Racking adds cutting and labor, while stepping adds taller posts and infill.
Slope is the biggest factor. On a gentle to moderate grade, panels only need a small angle, so racked follows the ground and leaves no gap.
As the grade steepens, panels can’t tilt far enough. Stepped becomes the better fit because the panels stay level and only the posts change.
The trade-off is the gap. Each step gets taller on steeper ground, so the triangular gaps grow.
Material matters just as much. Some panels are rigid and can’t tilt, which rules out racking, so check the manufacturer’s specs before you commit.
If you have a dog or small children, the bottom gap may matter more than the slope. Racked leaves no gap, which counts in its favor.
So match the method to three things: How steep the ground is, what your material allows, and how much a gap bothers you.
With a method matched to your grade, you can start picturing the result. A racked run and a stepped run give the same yard very different top lines.
Fence Design Ideas for a Sloped Backyard
The best fence designs for a slope work with the grade rather than against it. The main approaches are racked runs, stepped runs, terracing with a retaining wall, and hybrids of the two.
The method you choose sets the look. A stepped fence gives a staircase rhythm, while a racked fence gives one continuous line.
Designs That Follow the Natural Slope
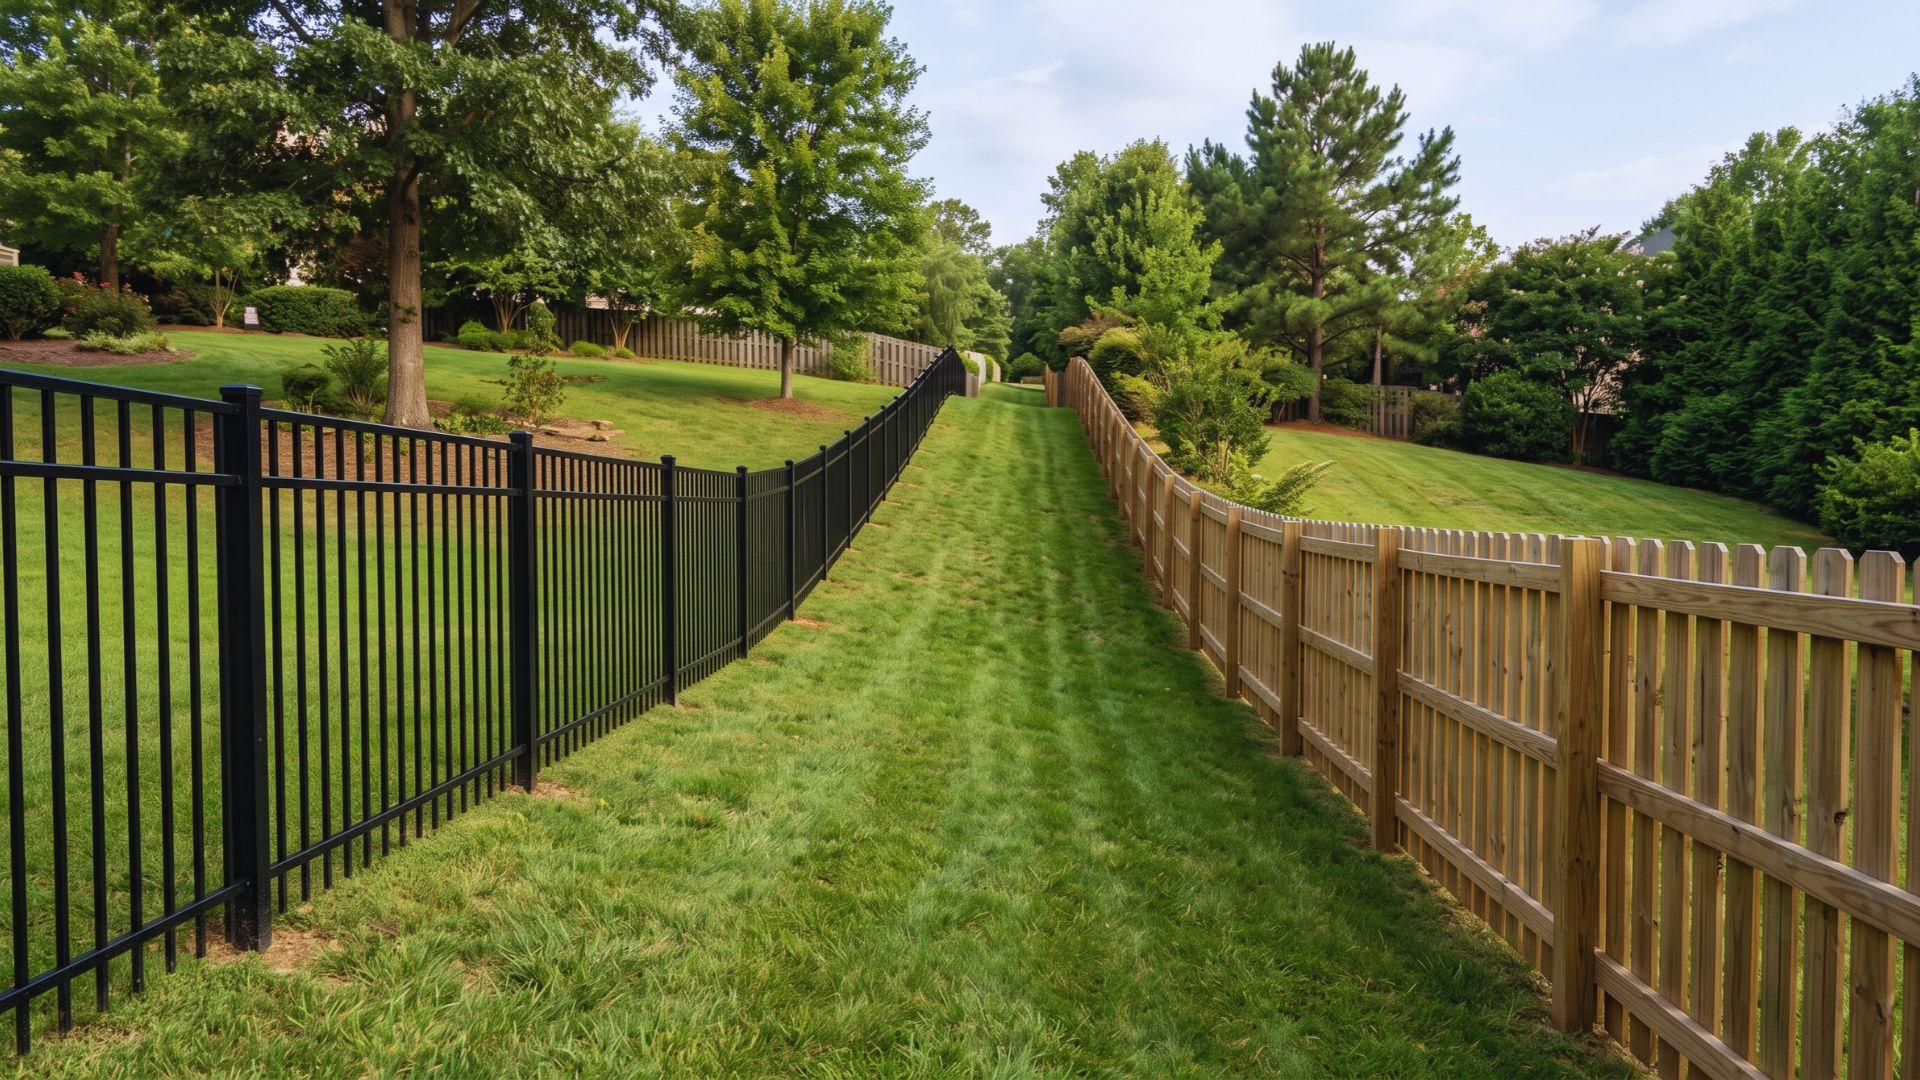
On gentle to moderate slopes, a racked aluminum picket fence runs as one smooth line that follows the terrain. It leaves no bottom gap, but it costs more because racking panels take extra labor.
A racked wood fence with cut boards looks just as smooth. It also costs more than stepping, and the custom cutting adds time on site.
A stepped wood privacy fence shows a staircase top line. Each panel stays level and drops at the next post.
It often costs less than racking, though the gaps under each panel let pets slip through.
Vinyl is less flexible, since many rigid panels can’t tilt. Those suit a stepped look, so check the manufacturer’s specs first.
Designs for Steep or Uneven Yards
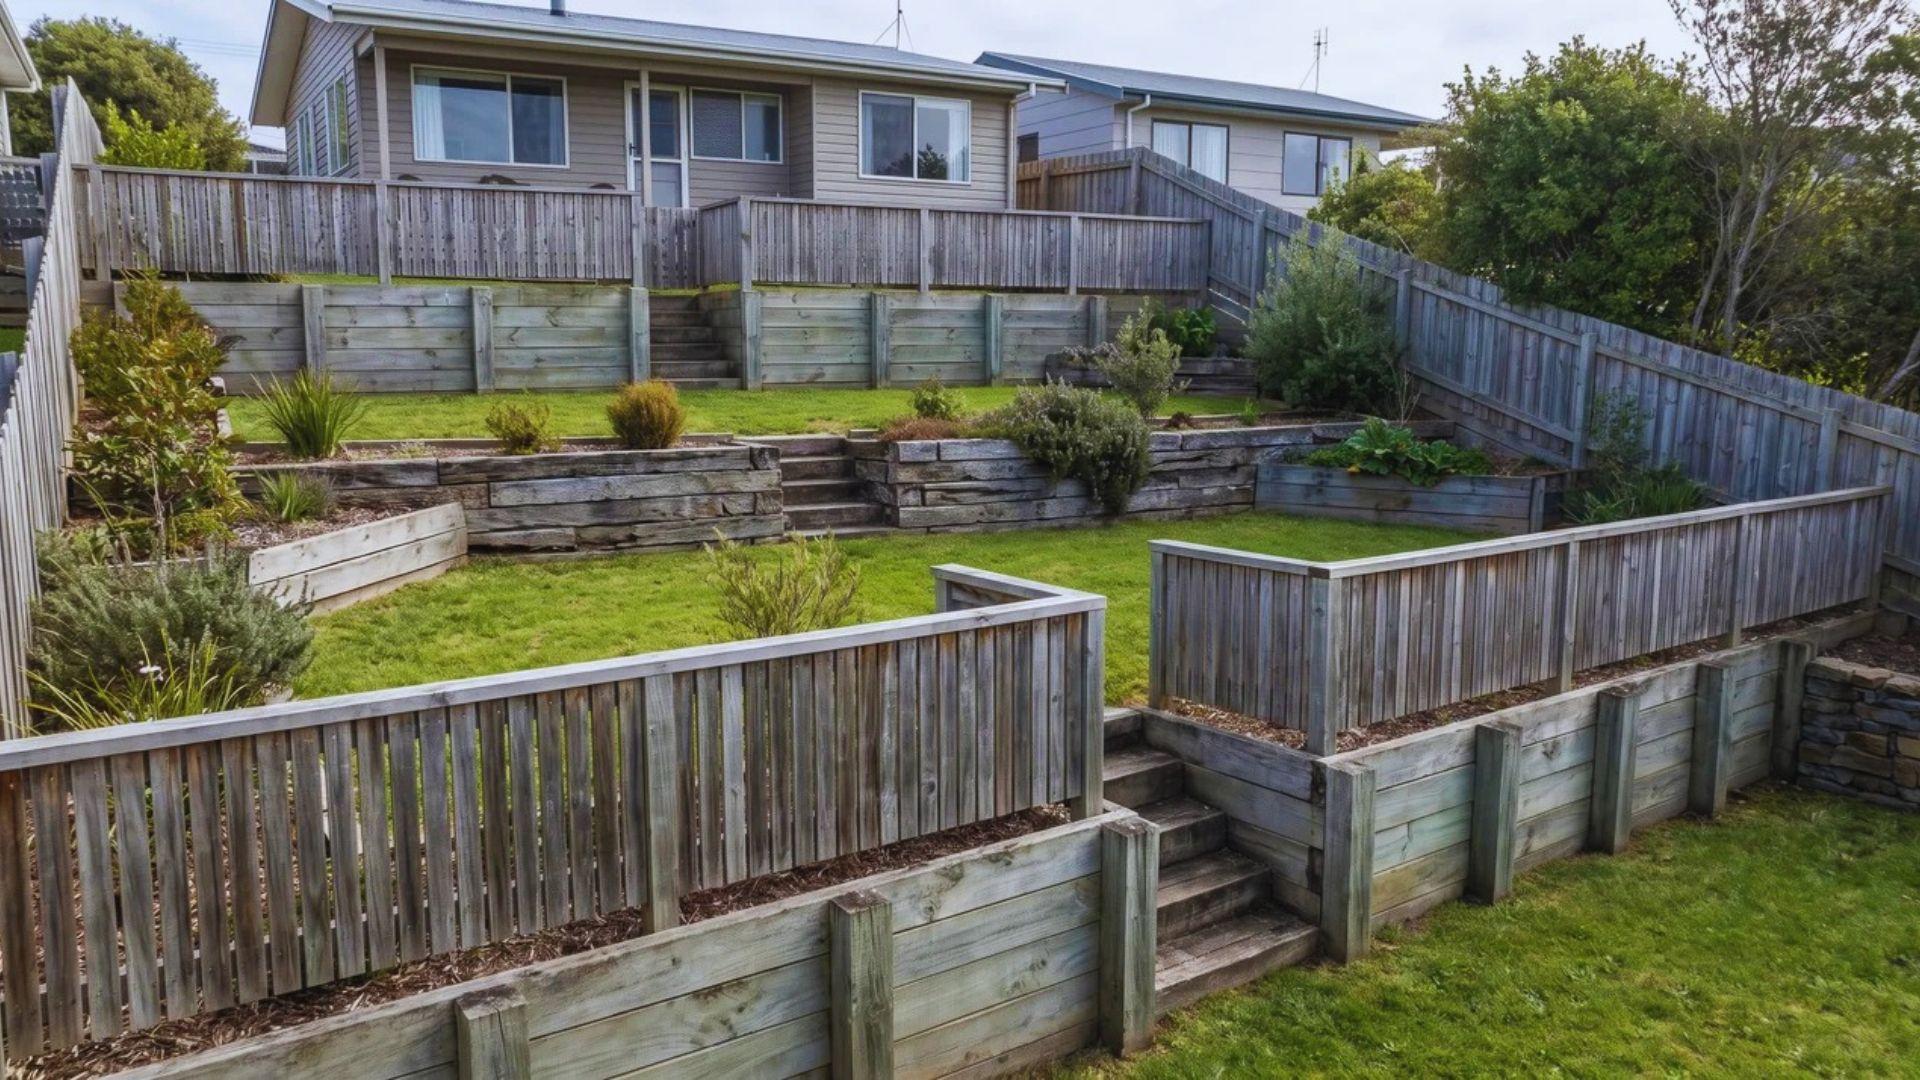
When the grade is steep or changes often, one method over the full length can look forced. Two options handle these yards better.
A terraced yard uses a retaining wall to turn the hill into level steps. The fence then runs straight along each level, which looks calm and tidy.
It costs more because the wall is its own project, and a tall wall may need an engineer’s plan.
A hybrid run mixes both methods. Racked panels follow the gentle stretches, and stepped sections handle the places where the ground drops sharply.
The cost sits close to either method alone. The limit is the joint where the two meet, which needs careful planning so the top line looks intentional.
Gaps, Gates and Finishing Details

Small choices decide whether a slope design works. On a stepped run, the triangular gaps need a plan.
Gravel along the base or a small board closes them for pets, and it also restores privacy.
Plan the gate swing before the posts go in. On a slope, the gate can scrape the ground on the uphill side. Leave enough clearance, or level a short patch of ground in its path.
Top caps and rails should repeat evenly down the run, so each step looks deliberate.
Once the method and the look are settled, the work moves to the yard itself. It begins with measuring the ground, well before any post goes in.
How to Build a Fence on a Slope: Step by Step
Building a fence on a slope starts with measuring the rise per section. Then you set posts and attach panels using the racked or stepped method.
The order matters more here than on flat ground. Most slope problems start before the first hole is dug.
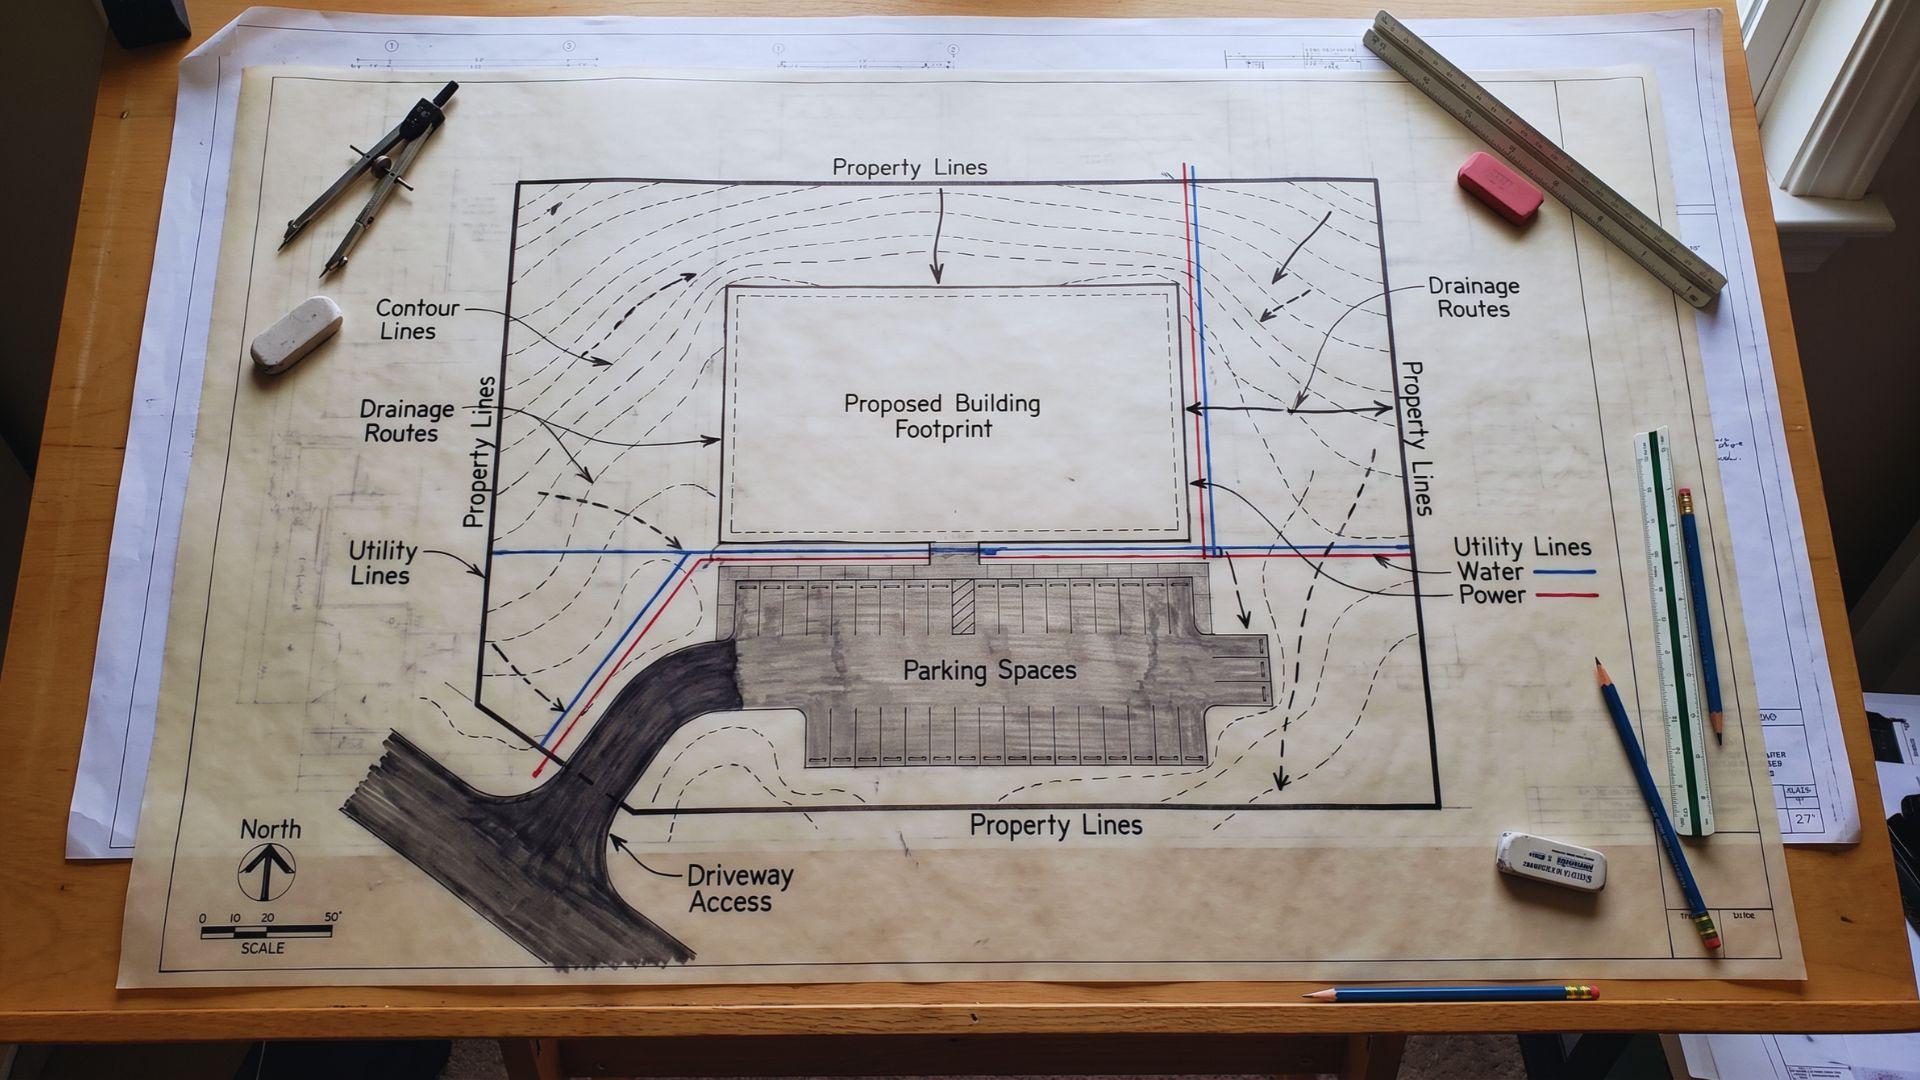
Step 1: Confirm the Boundary and Utilities

Start with the boundary, because a fence built over the line may have to be moved. Check your survey or property records, and hire a surveyor if the corners are unclear.
On a hill, property lines are harder to judge by eye. Mark the line with stakes before you do anything else.
Next, call your local utility locating service, which is 811 in the US. They mark buried lines so nobody hits a pipe or cable while digging.
Finish by checking local rules. Some areas set height limits and setbacks, permit rules vary by city, and an HOA may add its own.
Step 2: Measure the Slope
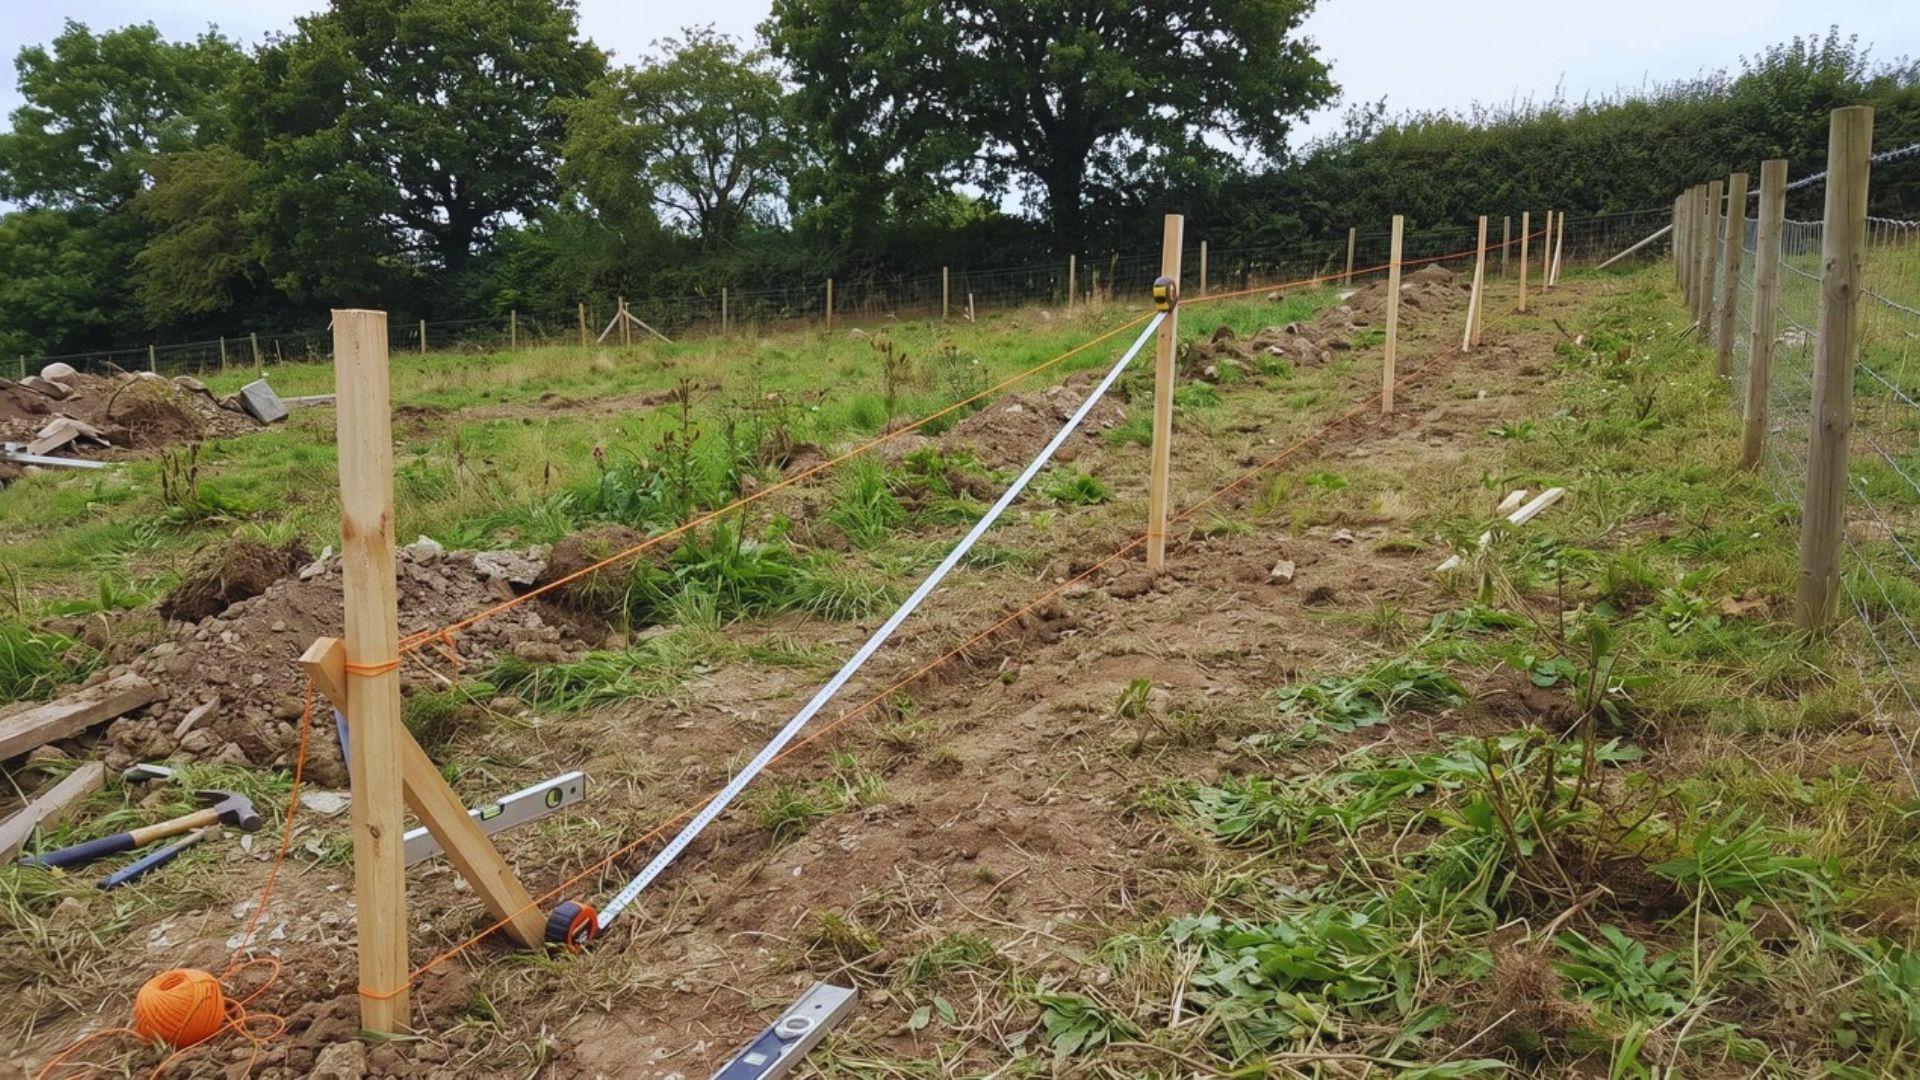
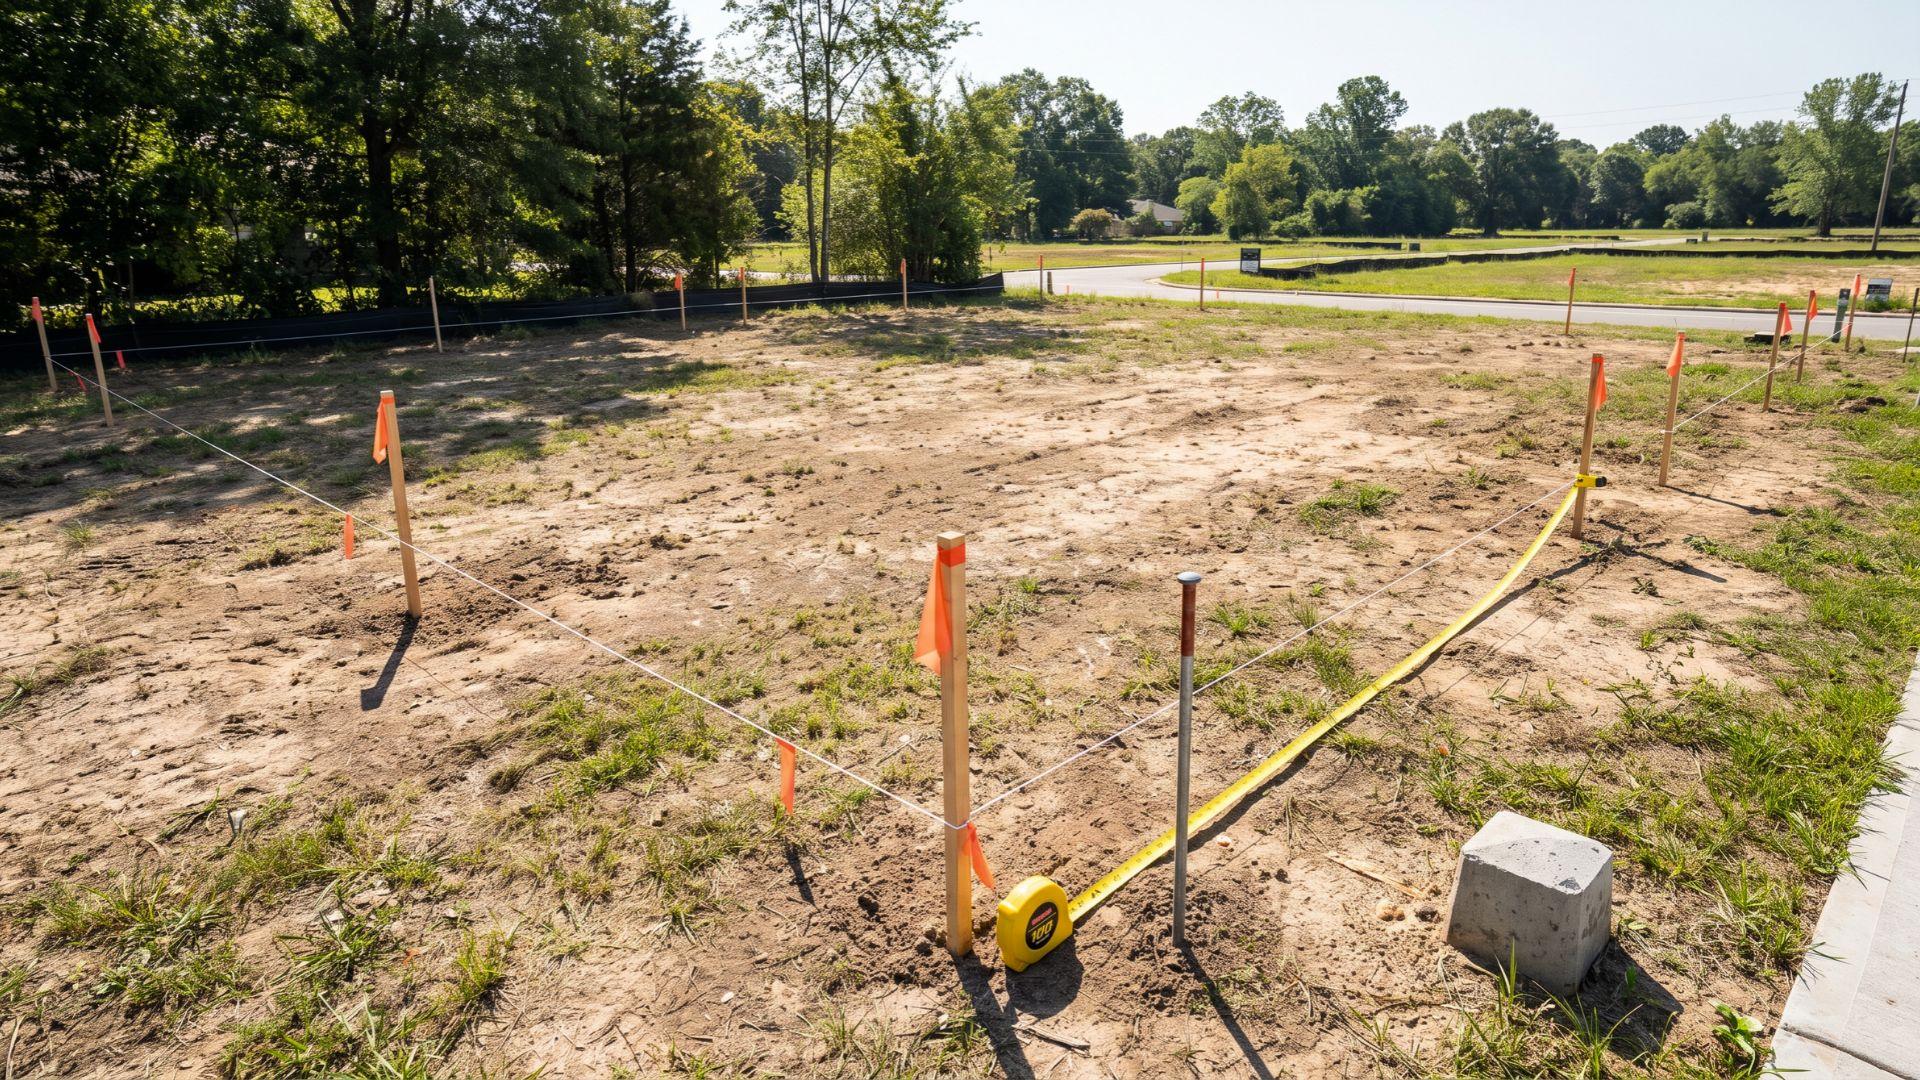
Run a string along the fence line and place a stake at each post position. Measure the slope as rise divided by run.
Next, find the rise per section by multiplying the slope, as a decimal, by the section width. A 10% slope across an 8-foot section rises about 9.6 inches.
That one number sets your post length, your step size, and your gap size. It also tells you how much extra post and infill material to buy.
Step 3: Dig and Set the Posts
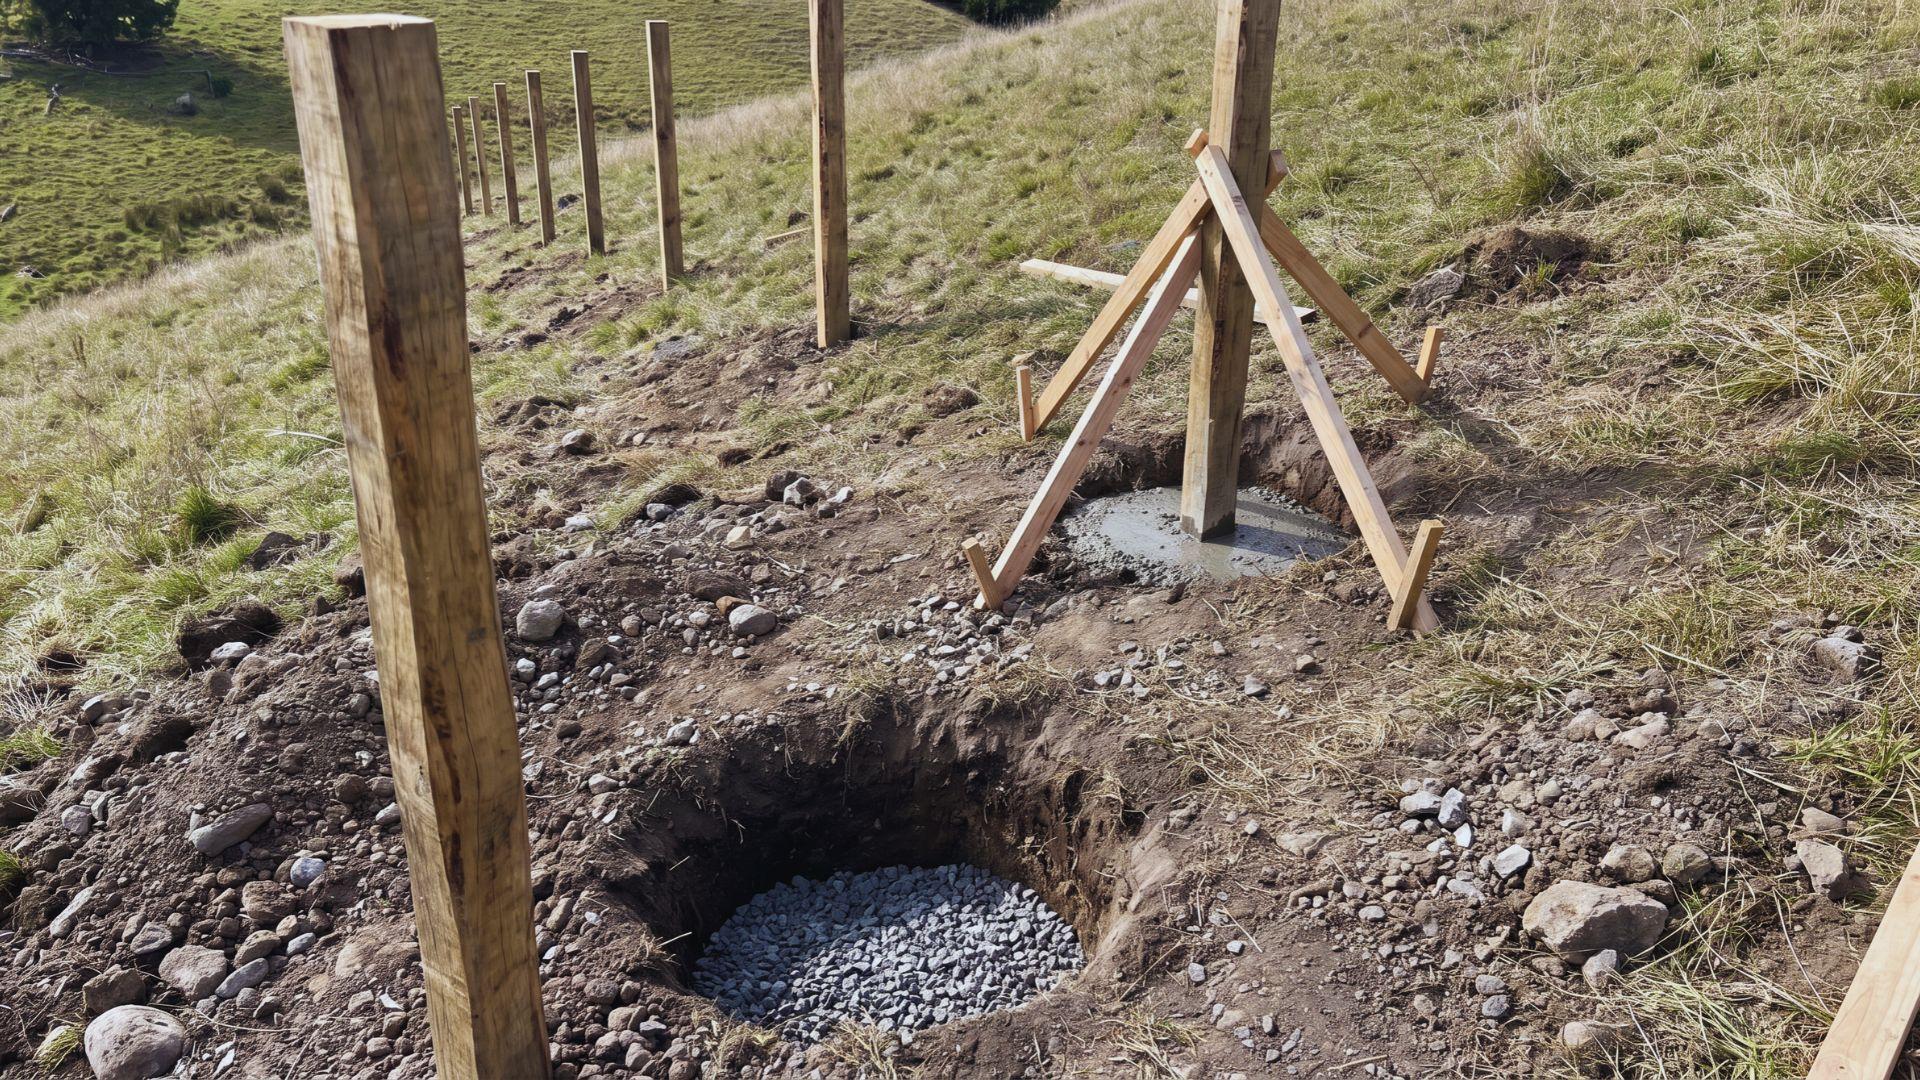
Dig each hole to the depth your fence needs below the ground at that spot. A common rule is to bury at least a third of the post’s height, so tall stepped posts need deeper holes.
Make each hole about three times the width of the post. Add a few inches of gravel at the bottom so water can drain away from the post.
Set each post plumb, check it with a level on two sides, and brace it. Then pour the concrete and let it cure before any panels go on.
The posts stay vertical on any slope. The method only changes how the panels attach.
Step 4: Attach the Panels
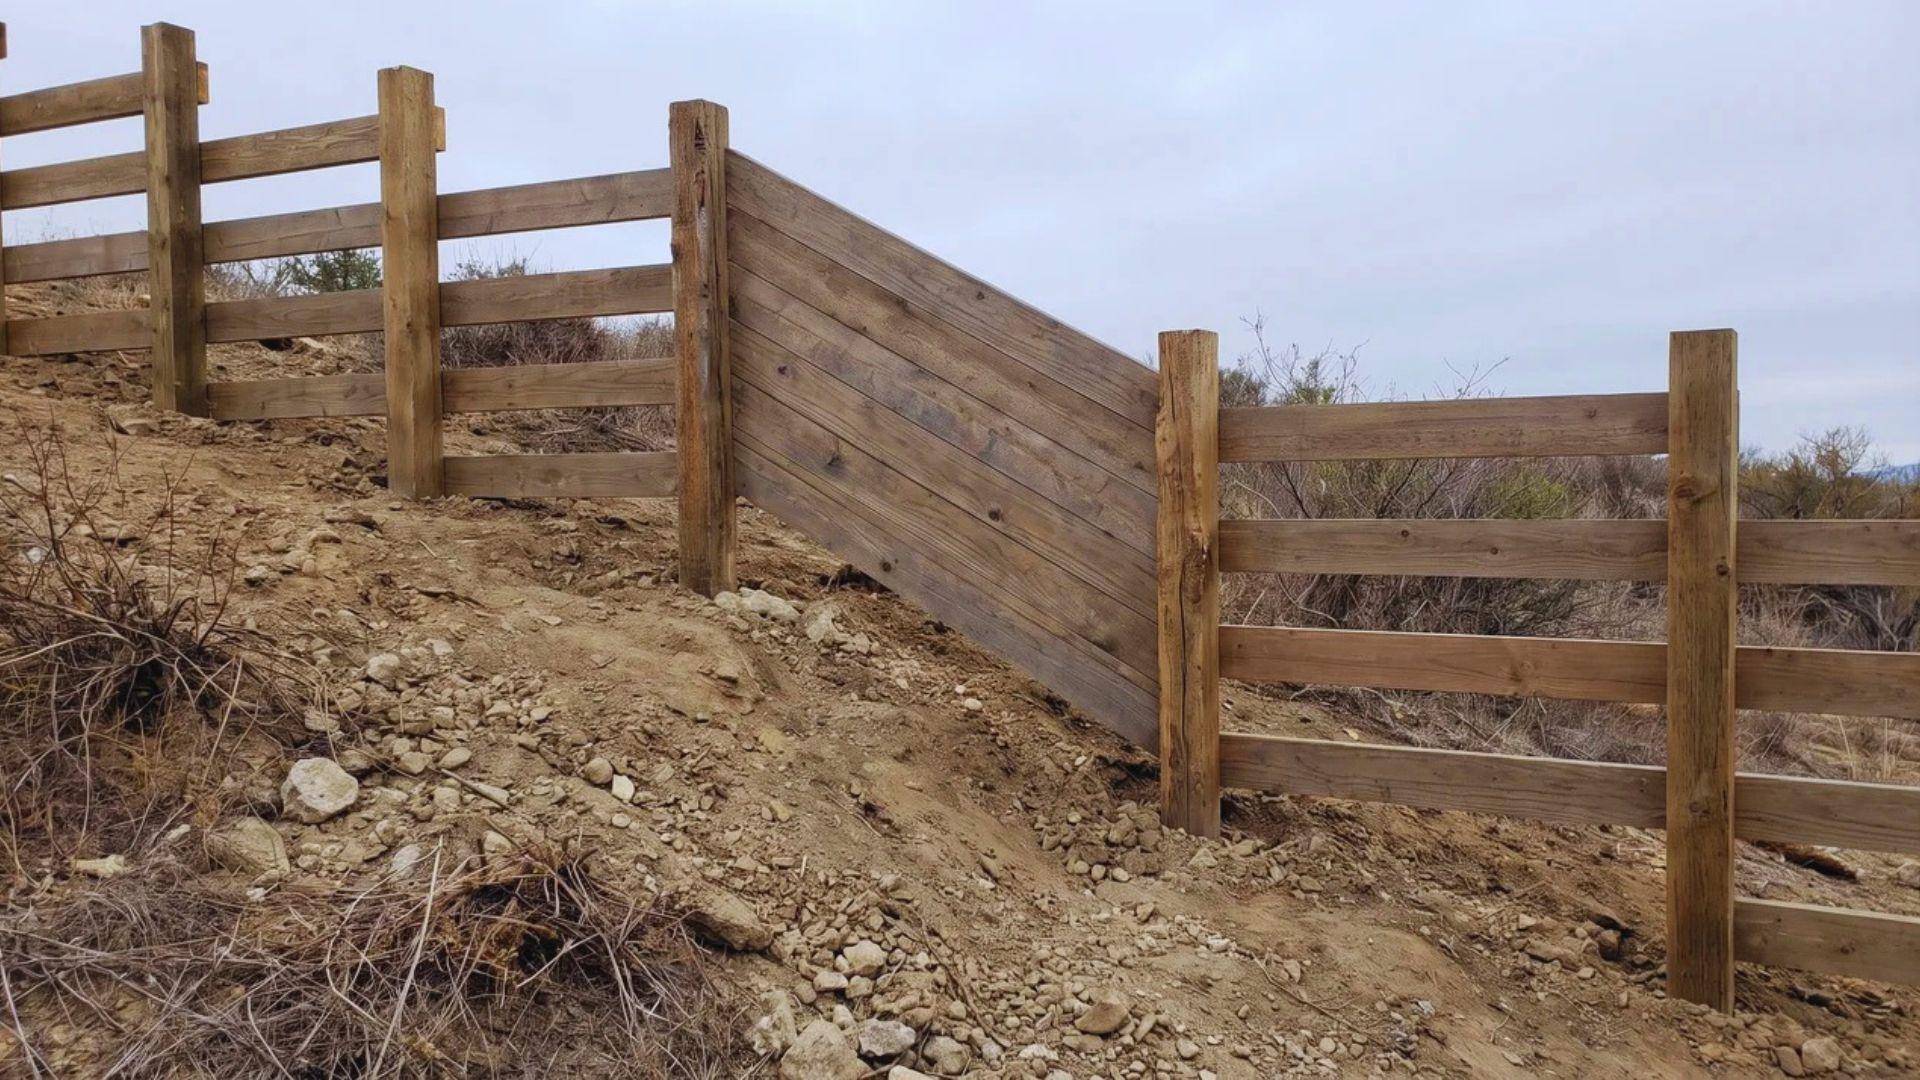
This is where racked and stepped split.
For a racked fence, attach the rails or panels at an angle that matches the ground. Use racking panels, or cut the boards to follow the angle.
Keep the bottom edge a steady distance above the ground along the whole run.
For a stepped fence, hold each panel level and fasten it at the height that step allows. Each post top sits one step lower than the last, by the rise per section.
Keep every step equal, or the top line will look uneven.
Finish with the gaps and gates. Fill stepped gaps with gravel or small boards, then hang the gate last.
Common Mistakes and Final Checks
Most slope problems come from a few repeat errors. Knowing them ahead of time saves you from fixing posts after the concrete has cured.
- Posts set before measuring: Posts in the wrong spot are hard to move once the concrete cures.
- Uneven steps: They show up in the top line right away.
- A slope too steep for either method: Terracing or regrading needs to happen first.
Catching these early costs far less than correcting them later. Once the fence is up, run a quick check before you call it done.
- Gap sizes: They should be even along the whole run.
- Post alignment: Every post should be plumb.
- Gate swing: The gate should swing clear of the ground on the uphill side.
If all three pass, the fence is ready for finishing touches.
Final Verdict
Building a fence on a slope costs more than any other. The rise per section decides your post length, your method, and a large share of your bill.
That is why two yards with the same overall grade can get different quotes. Measure first, and the rest becomes a series of simple choices.
This weekend, stake out your fence line and work out the rise per section. Then ask two contractors to quote the same method, so you can compare real prices.
Frequently Asked Questions
Can You Install a Fence on a Slope?
Yes, a fence can follow the ground’s angle or drop in level sections. Very steep ground may need terracing or a retaining wall first.
How Deep Should Fence Posts Be on a Slope?
A common rule is to bury about a third of the post’s length, and deeper below the frost line in cold areas. On a slope, measure from the lower ground at each post.
Do You Need to Level the Yard Before Building a Fence on a Slope?
Not always. A fence can follow the slope without leveling, which is usually cheaper, and regrading makes sense only when the slope is too steep for either method.
Do You Need a Survey Before Building a Fence on a Slope?
A survey isn’t legally required everywhere, but it helps on uneven ground where boundaries are hard to judge. Check local rules and any HOA or permit requirements first.