
Building a stone house is a goal many homeowners have, but most don't know where to start.
The process can feel overwhelming choosing the right stone, understanding costs, getting permits, and actually laying the walls.
This guide breaks it all down in simple steps. You'll learn what it takes to build a stone house yourself, how much it costs, and how to avoid the most common mistakes.
From choosing your stone type to finishing the walls, everything is covered here. With the right planning and some patience, this project is more manageable than it looks.
DIY stonework is possible for some parts of a home build, but a full stone house requires structural design, code compliance, and professional oversight for critical stages.
Can You Build a Stone House Yourself?
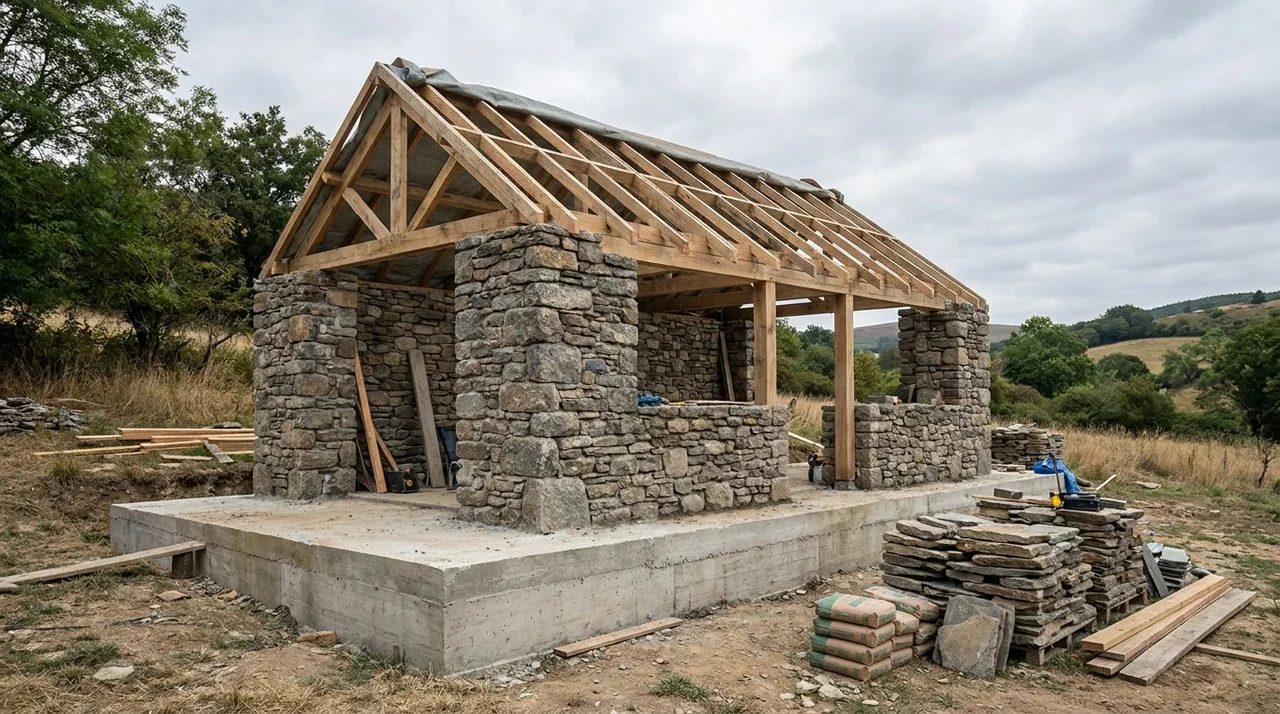
Stone construction is different from wood or brick building. It takes more planning, more physical effort, and a clear understanding of structural principles.
Yes, you can build a stone house yourself, but it depends on your skill level and the size of the project.
Small structures like garden walls or one-room cabins are manageable for a determined DIYer, while a full home requires basic construction knowledge, stamina, and time.
Many self-builders work in stages over months or years. Stone house costs vary widely based on the stone, wall system, labor, site conditions, house size, and local construction requirements.
Doing some stonework yourself can reduce labor costs, but the savings depend on how much work you can safely complete.
Sourcing local stone, skipping contractors for basic work, and building in stages are the most effective ways to keep costs under control.
Choose Your Stone and Construction Method
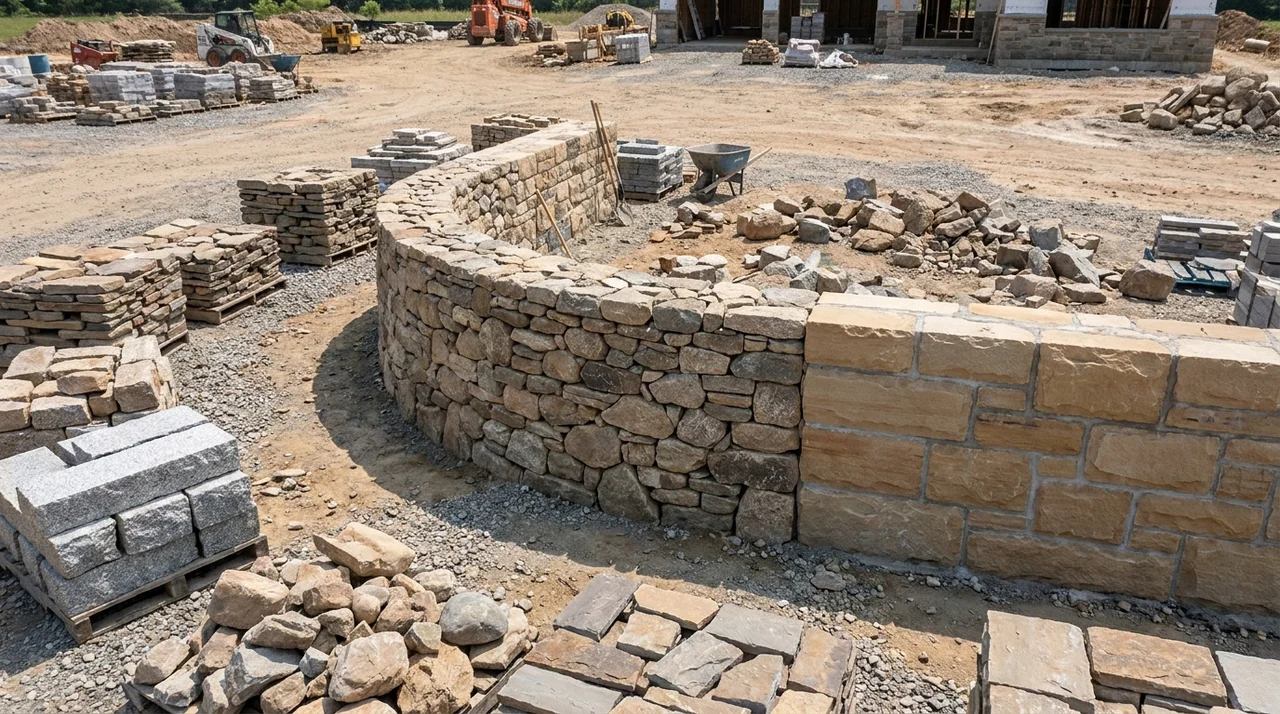
The type of stone and building method you choose affects everything cost, strength, look, and how long the build takes.
Natural Stone vs. Manufactured Stone
Natural stone comes from quarries or is found locally. It's strong, long-lasting, and looks great. However, it's heavy and can be irregular in shape, which makes building slower.
Fieldstone stones gathered from the surface of fields, shaped naturally over time, are a popular and often free or low-cost option for DIYers.
Manufactured stone (also called faux stone or stone veneer panels) is lighter and more consistent in size. It's easier to work with but doesn't offer the same structural strength as natural stone.
For full load-bearing walls, natural stone is the better choice. For decorative exterior finishes, manufactured stone works well and costs less.
Dry-Stack vs. Mortared Stone Walls
Dry-stack walls are built by fitting stones together without mortar. This method relies on gravity, weight, and careful stone placement.
It's great for garden walls and retaining walls, but not ideal for a full house. Mortared walls use cement or lime mortar to bond stones together.
They're stronger, more weatherproof, and better for housing. For a stone house, mortared construction is usually the right call. Dry-stack is best left for outdoor landscape features.
Load-Bearing Stone vs. Stone Veneer
Load-bearing stone walls carry the weight of the roof and floors. Load-bearing stone walls must be carefully designed for their height, loads, materials, and local building requirements.
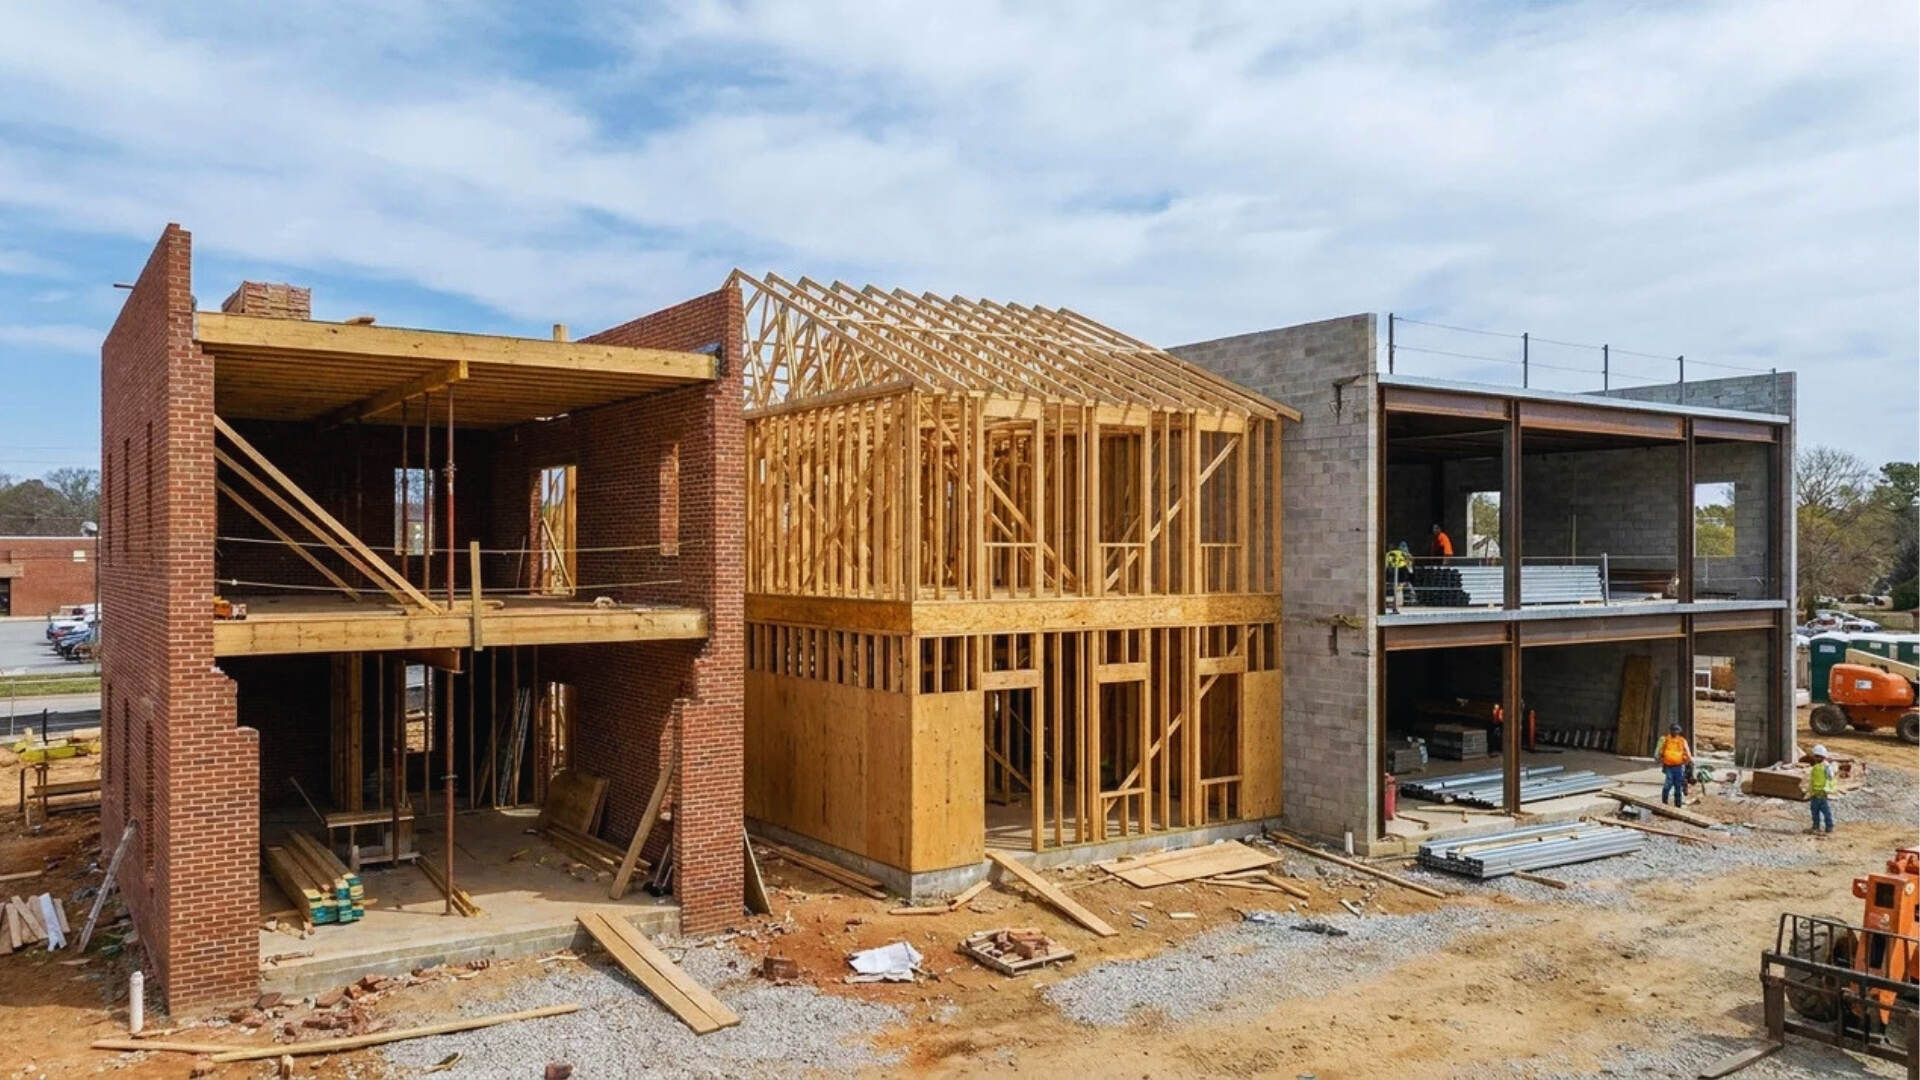
Stone veneer is a thin layer of stone applied to a structural frame (usually concrete block or wood). Veneer looks like a stone house but isn't one in the traditional sense.
Both are valid options. Load-bearing stone is more durable and historic. Stone veneer is faster, lighter, and less expensive.
Your choice depends on your budget, timeline, and desired outcome.
How to Choose Stone for Your Climate
Not all stones perform well in all climates. In wet or freezing regions, you need stone with low water absorption. Granite and slate handle moisture and freeze-thaw cycles well.
Sandstone and limestone can crack over time in cold, wet climates if not sealed properly. In hot, dry areas, almost any stone works well.
Always check the porosity rating of your chosen stone. Ask a local quarry or building supplier what's used in your region.
Local stone is usually the best fit because it's already proven to handle your weather.
Prepare for Your DIY Stone House Build
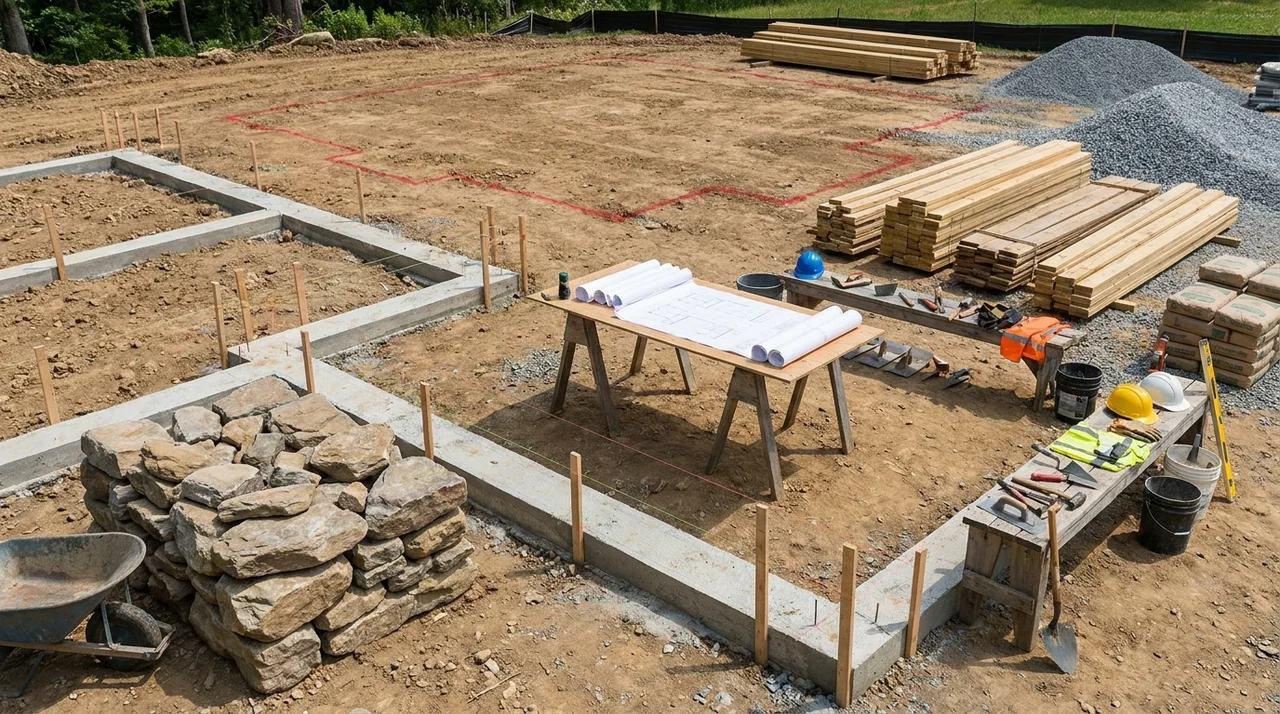
Good preparation prevents costly mistakes. Don't rush this phase.
Create a Practical House Design
Your design needs to account for the weight and thickness of stone walls.
Stone walls are heavier than timber or brick. Standard rooms and ceiling heights work fine, but your floor plan should reflect that stone construction is slower and more labor-intensive.
Keep the layout simple. Avoid too many corners or complex shapes. Work with a structural engineer or draftsperson to review your plans.
If your site has soft or clay-heavy soil, a geotechnical report is worth getting, it confirms the ground can support the weight of stone before you pour a single footing.
Many areas require stamped architectural drawings for permits, so plan for this early.
Choose the Right Foundation System
Stone houses need strong foundations. The most common choice is a poured concrete foundation or concrete block. The foundation must handle the load of thick, heavy walls.
A slab foundation works for smaller structures. A full basement or crawl space is better for larger homes, especially in frost-prone areas.
Your foundation must extend below the frost line to avoid shifting. Get a soil test done if you're unsure about ground conditions.
A bad foundation will cause cracks in your stone walls, so this step matters a lot.
Gather Materials, Tools, and Safety Gear
Here's a basic list of what you'll need:
- Materials: Stone (natural or manufactured), Portland cement or lime mortar, sand, gravel, rebar, concrete blocks (for foundation), wooden forms, and ties.
- Tools: Mason's trowel, level, rubber mallet, stone chisel, angle grinder with a diamond blade, mixing paddle, wheelbarrow, scaffolding, and a mortar mixer.
- Safety Gear: Work gloves, steel-toed boots, safety goggles, dust mask or respirator, hard hat, and knee pads.
Don't skip the safety gear. Stone cutting creates fine dust and flying chips. Eye and lung protection are non-negotiable.
Check Building Codes and Permit Requirements
Most areas require permits for new construction, including stone homes. Contact your local building department before you do anything.
You'll likely need a site plan, foundation plan, floor plan, and structural drawings. Some regions have specific rules about stone wall thickness, insulation values, and fire separation.
Skipping permits can result in fines, forced demolition, or trouble when selling the property.
It's also worth checking if your land is zoned for residential construction and if there are any easements or setback requirements.
Stone House Cost Breakdown
Building a stone house can cost anywhere from tens of thousands to several hundred thousand dollars, depending on the size, materials, labor, and construction method you choose.
| Expense Category | Typical Cost Range |
| Site Preparation and Excavation | 15,000+ |
| Foundation Construction | 40,000+ |
| Stone Materials (Natural or Veneer) | 50+ per sq. ft. |
| Mortar, Rebar, and Masonry Supplies | 15,000+ |
| Roofing System | 35,000+ |
| Windows and Exterior Doors | 30,000+ |
| Plumbing and Electrical Work | 50,000+ |
| Insulation and Interior Finishes | 60,000+ |
| Permits, Engineering, and Inspections | 15,000+ |
| Tools and Equipment Rental | 10,000+ |
| Total DIY Stone House (1,000–2,000 sq. ft.) | 350,000+ |
| Contractor-Built Stone House | 800,000+ |
How to Build a Stone House Step by Step
Now for the actual build. Follow these steps in order and don't rush any phase.
Step 1: Prepare the Building Site and Foundation
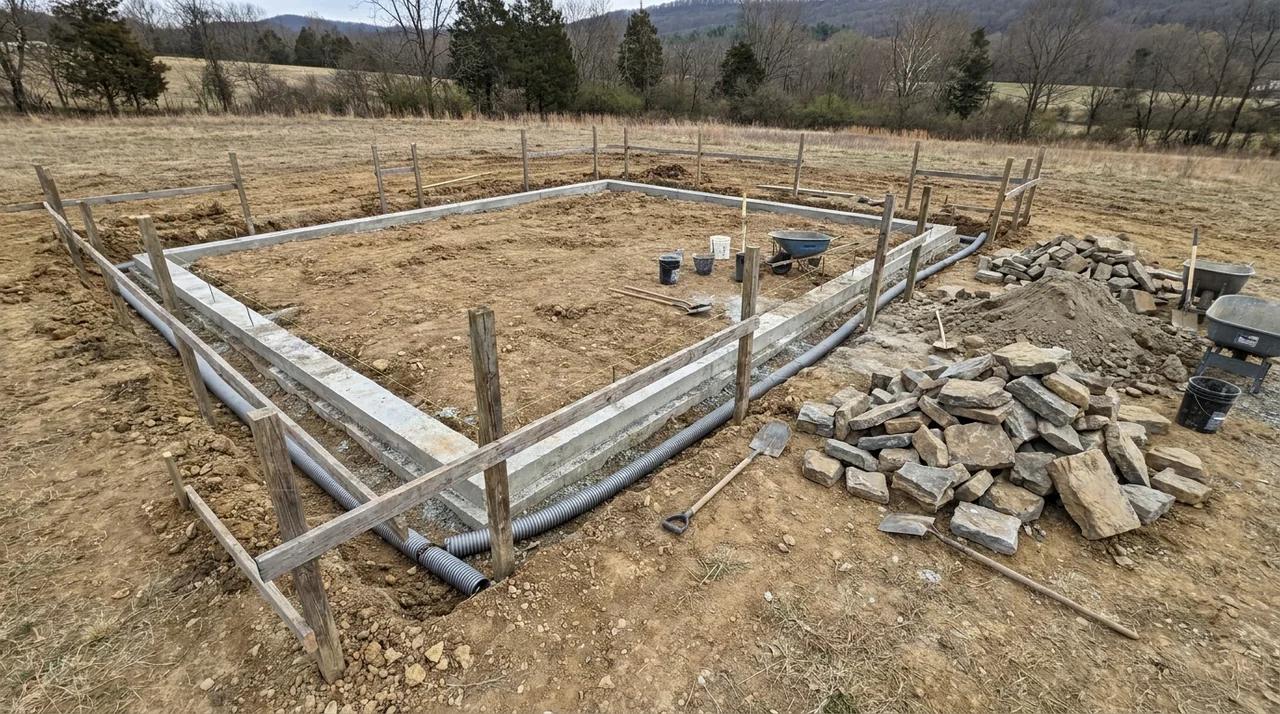
Start by clearing the site. Remove trees, roots, and topsoil. Mark out the building footprint with stakes and string lines.
Excavate down to the frost line for the foundation. Allow the concrete to cure according to the specified design and concrete requirements before continuing construction.
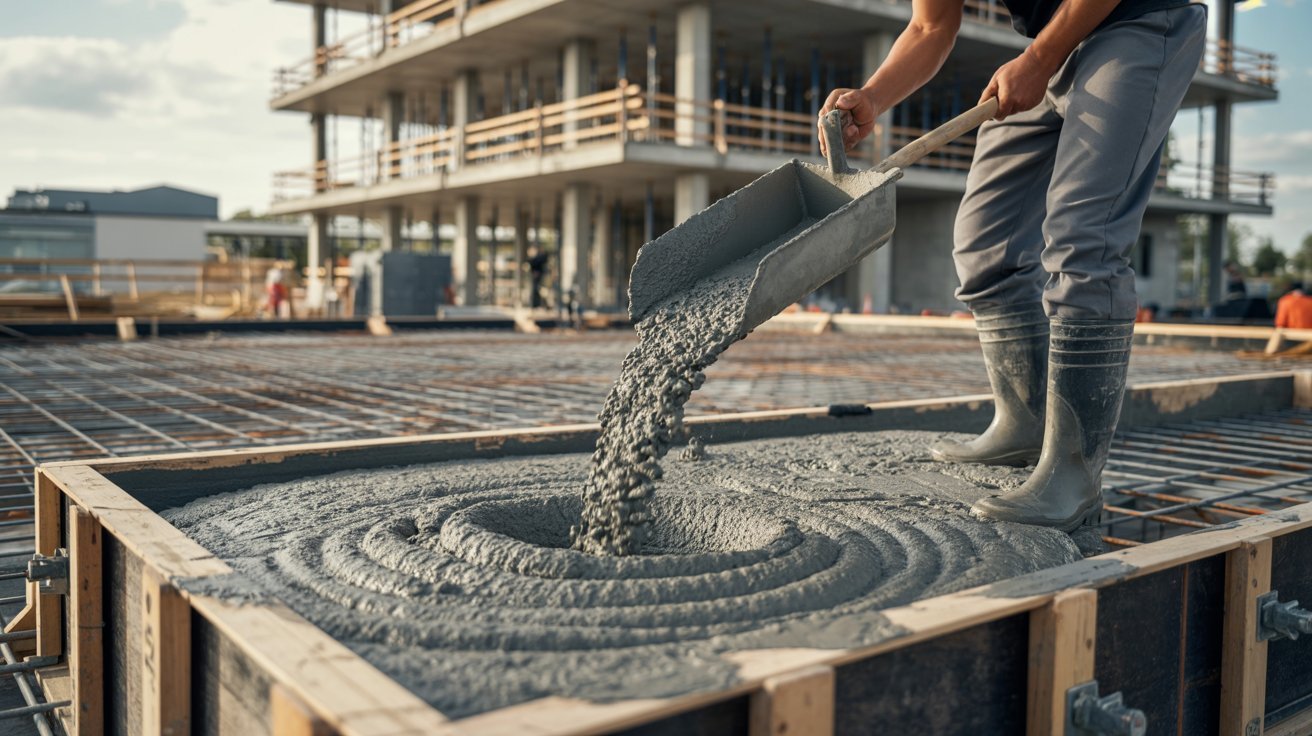
Build up the foundation walls using concrete blocks or poured concrete.
Install drainage around the foundation perimeter. Once the foundation is complete and inspected, you're ready to start laying stone.
Step 2: Sort, Shape, and Prepare the Stones
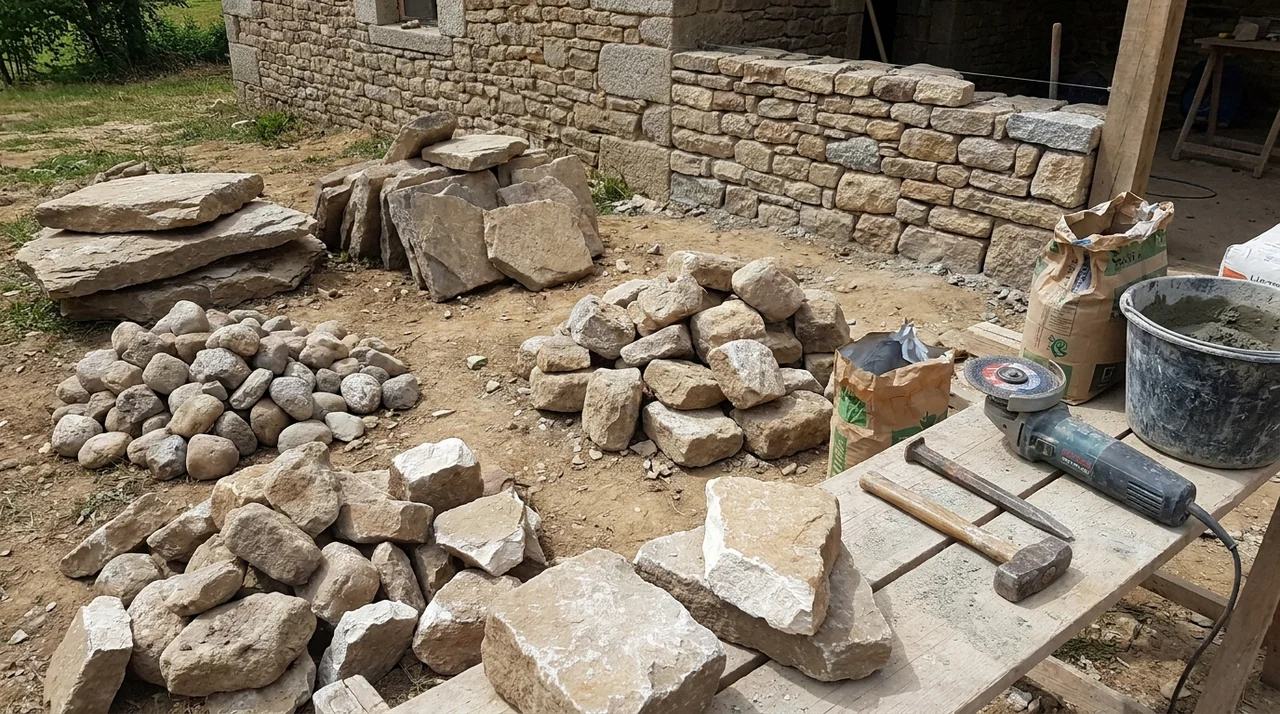
Before laying any stone, sort your pile. Group stones by size large ones for lower courses, medium for the middle, and smaller stones for filling gaps.
Inspect each stone for cracks or weak spots. Some stones will need shaping. Use a chisel and hammer for rough shaping.
Use an angle grinder for more precise cuts. Always wear eye protection when cutting or chipping stone.
Wetting the stones before laying them helps mortar bond better and prevents the stone from pulling moisture out of the mix.
Step 3: Build the First Course of Stone
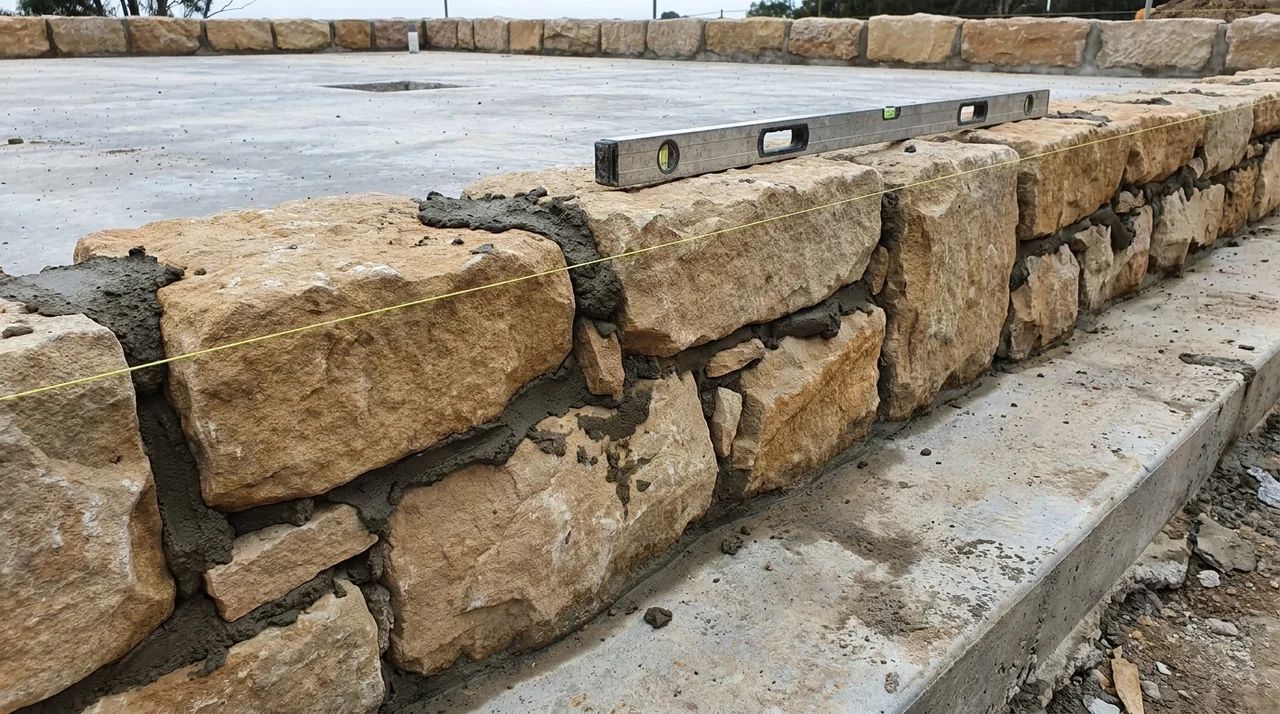
The first course is the most important. It sets the level and alignment for every course above it. Use your largest, flattest stones for this layer.
Apply a bed of mortar to the foundation surface. Press each stone firmly into the mortar. Check for level constantly both side to side and front to back.
Use a string line along the outside edge to keep the wall straight. Fill gaps between stones with smaller stones and mortar.
Allow the first course to set according to the mortar specifications before continuing with additional courses.
Step 4: Build and Reinforce the Stone Walls
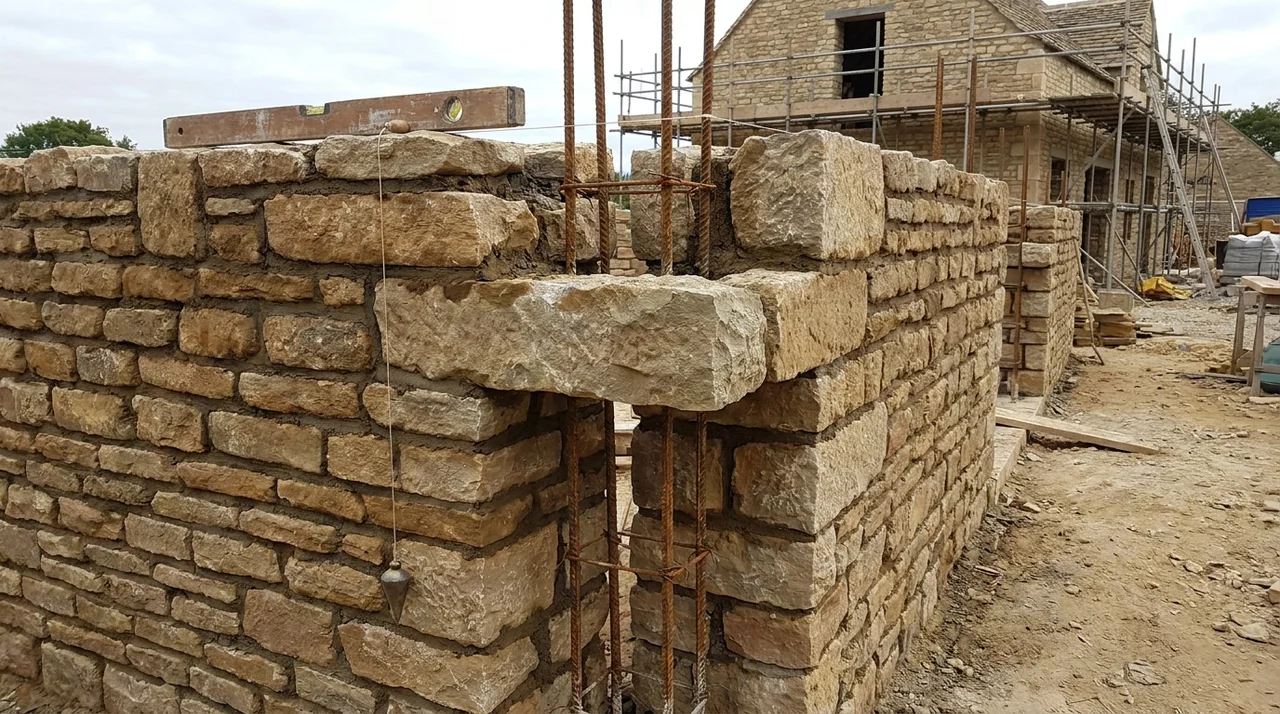
Work your way up in courses, alternating the joints between layers this is called "breaking the joint" and it adds strength.
Two common stonemasonry techniques are ashlar masonry, which uses cut, uniform stones for a tight formal wall, and rubble masonry, which uses irregular stones fitted together for a more rustic look.
For a DIY build, rubble masonry is usually easier to work with. Keep the wall thickness consistent.
For load-bearing walls, wall thickness should be determined by the structural design, stone type, wall height, loads, and local building requirements.
Tie the inner and outer faces of the wall together using "through stones" large stones that span the full wall width. These are placed every few courses.
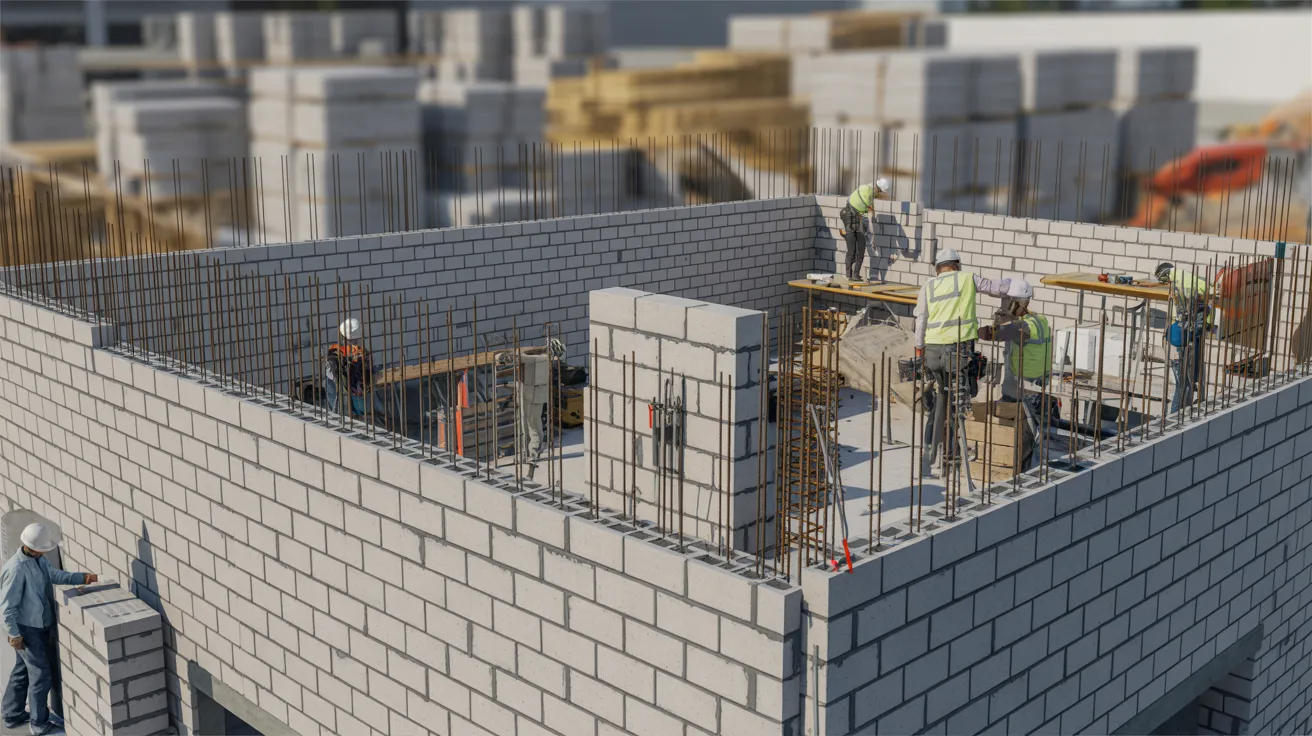
Add rebar vertically inside the wall cavity and fill with grout if your design requires it.
Check plumb (vertical alignment) and level constantly as you build up. Build at a pace that allows the mortar to set properly and prevents excessive loading on unfinished walls.
Step 5: Add Doors, Windows, Floors, and the Roof
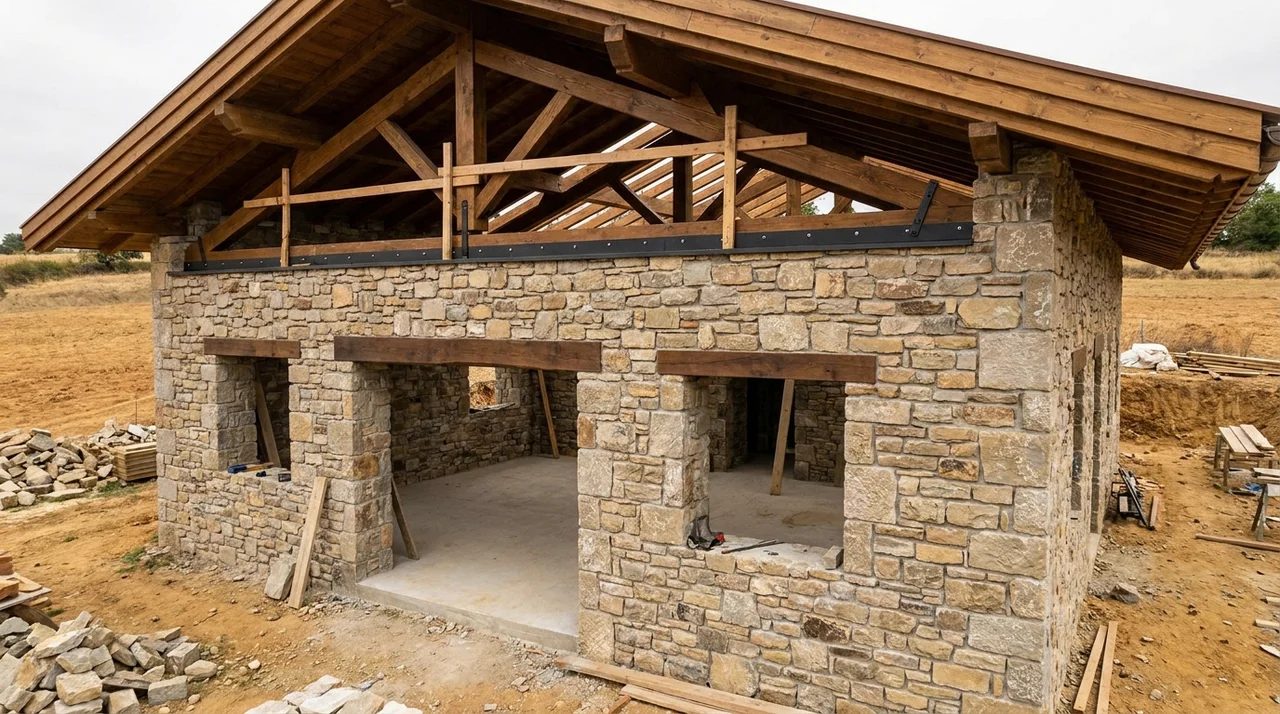
Window and door openings need lintels horizontal supports that carry the stone load above the opening. Steel lintels or reinforced concrete lintels work best.
Frame your windows and doors in rough lumber before setting them in place, then build the stone around the frame.
For floors, poured concrete slabs or stone tile over a concrete base are the most compatible with stone walls.
For the roof, a timber frame or truss system is typically used. Anchor the roof plate firmly into the top of the stone wall using anchor bolts set in mortar.
Provide a roof overhang appropriate for the wall design, local climate, and project specifications to help protect the walls from rain.
Step 6: Finish, Seal, and Inspect the House
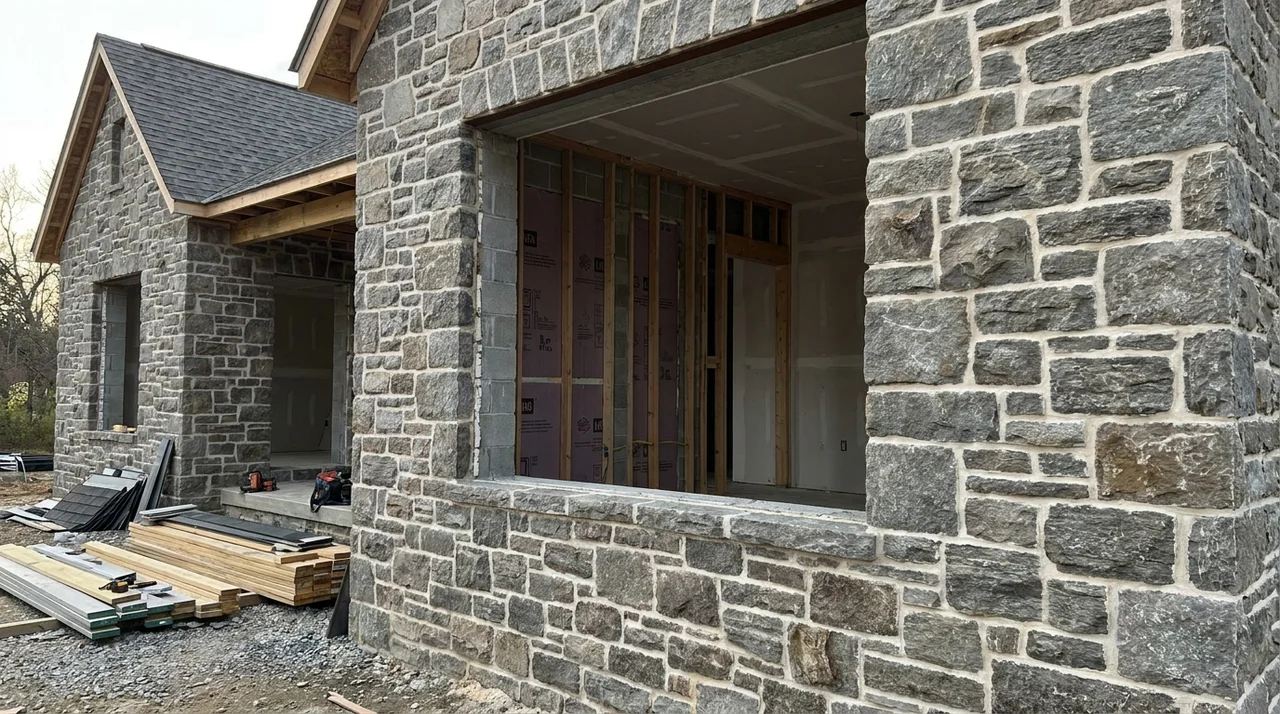
Once the walls are up and the roof is on, the finishing work begins. Point the mortar joints this means filling and smoothing any gaps between stones.
This improves both the look and weather resistance of the wall. Apply a penetrating stone sealer to protect against moisture.
Install insulation as required by the applicable energy code and the building's overall wall design.
One strong option is cavity wall construction, where a second interior wall is built parallel to the stone wall with insulation packed in the gap between them.
A properly designed cavity wall can improve the thermal performance of the overall wall assembly. Add interior finishes like plaster, drywall, or wood paneling.
Schedule all required inspections structural, electrical, plumbing, and final occupancy. Don't move in before the certificate of occupancy is issued.
Avoid Common Stone House Building Mistakes
Knowing what to avoid can save you thousands of dollars and months of frustration.
Using Poor-Quality or Unsuitable Stone
Not all stone is building-grade. Flaky, cracked, or overly porous stone can weaken your walls over time. Always inspect stone before buying or collecting it.
A simple hammer test can provide a rough indication of stone quality, but questionable material should be evaluated by a qualified quarry or masonry professional. Avoid stones with visible layering that could split under pressure.
Sandstone and soft limestone need extra sealing in wet climates. If you're unsure about stone quality, have a sample tested by a local quarry or masonry supply company.
Building Walls Without Proper Drainage
Water is the biggest enemy of stone walls. Without proper drainage, moisture gets trapped behind the wall and causes mortar deterioration, frost damage, and mold.
Install a drainage layer or weep holes at the base of the wall. Grade the land around the house so water flows away from the foundation.
Use flashing above windows and doors to direct water outward. A damp-proof course (waterproof membrane) between the foundation and the first course of stone is also a good idea in wet climates.
Making Walls Uneven or Structurally Weak
A wall that leans, bulges, or has inconsistent thickness is a serious safety issue.
Common causes include not checking plumb regularly, laying too many courses too fast, using mortar that's too wet, or skipping through stones.
Bulging can also happen if the wall cores aren't filled and tied properly. Use a long level and a plumb bob throughout the build.
If you notice a section starting to lean, stop and correct it before continuing. Fixing structural problems is much harder after the mortar cures.
Ignoring Moisture, Insulation, and Ventilation
Stone walls have very low insulation value on their own. A 20-inch-thick stone wall has an R-value of about R-4, which is far below modern building code minimums.
Stone does have high thermal mass, meaning it absorbs heat during the day and releases it slowly at night, which helps moderate indoor temperatures.
But thermal mass is not the same as insulation. You'll still need interior insulation rigid foam board, spray foam, or batt insulation to meet energy requirements.
Ventilation is also important. Without proper airflow, moisture builds up inside the wall and leads to mold. Install vapor barriers correctly and plan your HVAC system for the thermal mass of a stone structure.
Stone holds heat and cold differently than a typical wood-frame home.
Pairing passive solar design principles with your stone walls such as south-facing windows and proper roof overhangs can also reduce your heating and cooling load significantly.
Skipping Professional Structural Inspections
Some parts of construction are not DIY-friendly. Having a structural engineer review your wall design before you build is worth every penny.
An inspector can catch issues like inadequate footing size, poorly placed lintels, or wall sections that need reinforcement.
Many self-builders skip inspections to save money, then face expensive repairs or safety issues later.
Budget for at least one or two engineering consultations. It's one of the smartest investments you can make in this type of project.
Tips for Building a Stone House Successfully
Here are some practical tips to help the project go more smoothly.
- Buy stone in bulk, mix your own mortar, and rent tools you'll only use once to keep costs down throughout the project.
- Look for quarries within 50 miles, check salvage yards, and collect fieldstone locally since transportation is one of the biggest cost drivers.
- Build in stages, complete the foundation one season, raise the walls the next, and finish the roof the year after.
- Structural design, electrical, plumbing, and roofing require licensed contractors, so be honest about your skill limits before taking on these tasks.
- Doing the stonework yourself while hiring out specialty trades keeps costs reasonable and ensures critical systems meet code requirements.
Conclusion
Building a stone house takes real effort, but it's a project that pays off in durability, character, and long-term value.
The key takeaway is to plan thoroughly, choose the right stone and method, and never skip structural checks.
Whether you're laying your first course or finishing the roof, every step matters. Start with a solid design, stick to your budget, and build in stages if needed.
If this guide helped you, feel free to share it with someone planning a similar project or leave a comment with your questions.
The right preparation makes building a stone house a rewarding and very achievable goal.
Frequently Asked Questions
How long does it take to build a stone house by yourself?
A solo DIY stone house typically takes two to five years, depending on size, experience, available time, and how many stages you break the project into.
Do stone houses require more maintenance than wood-frame houses?
Stone houses need less structural maintenance than wood homes, but mortar joints may need repointing every twenty to thirty years depending on weather exposure.
Can stone houses be built in earthquake-prone areas?
Yes, but they require additional reinforcement such as rebar, grout-filled cores, and engineered connections. Always consult a structural engineer in seismic zones.
What type of mortar is best for building a stone house?
The appropriate mortar depends on the stone, wall system, exposure, and project requirements. Lime-based mortar may be suitable for some natural-stone walls, while other projects may require a different specified mortar.
Are stone houses energy efficient compared to modern homes?
Stone walls have high thermal mass, which moderates indoor temperatures, but they need added insulation to meet modern energy codes and keep heating costs reasonable.