
You'd be surprised how many construction projects run into trouble before a single wall goes up.
Clearing the site sounds like the straightforward part. Cut some trees, move some dirt, get buildings.
But skip the right steps in the wrong order, and you're dealing with foundation issues, permit violations, or soil problems that show up years later.
This guide will walk you through exactly how to do it right from the pre-work most people rush past to the final checks before construction begins.
How to Clear a Construction Site in 5 Steps
The full process comes down to five stages, in this order:
- Sort the pre-work first. Stake boundaries, get utilities marked, and secure permits before any equipment arrives.
- Clear vegetation by size. Remove underbrush first, then fell trees, then extract stumps and root systems completely.
- Strip the build footprint. Remove all debris, old structures, and the top 4 to 6 inches of topsoil. Fill and compact any voids.
- Grade for drainage. Shape the land so water moves away from the foundation. Compact fill in layers as you go.
- Verify before you hand it over. Test compaction, confirm drainage slope, and close out all permits and disposal records.
Each step depends on the one before it. Rushing or reordering them is where most site clearing problems start.
1.Clear a Construction Site Starting With Site Prep
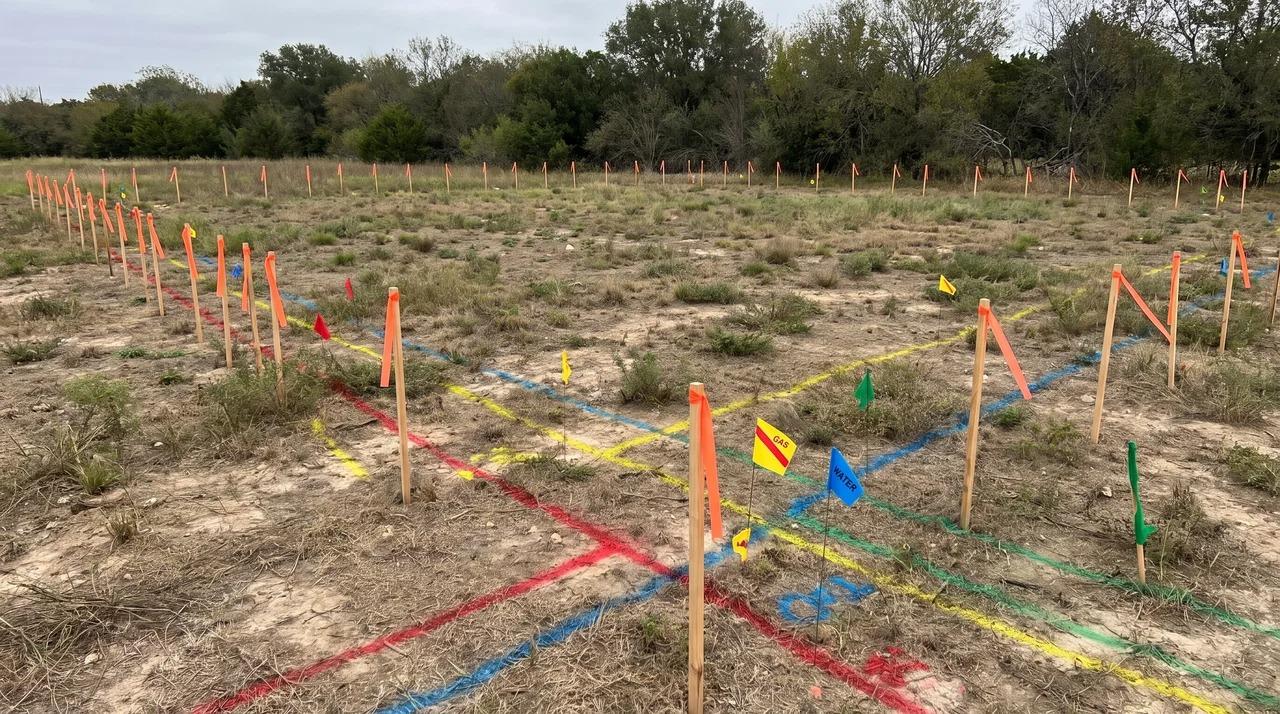
Clearing a construction site safely and legally starts before any equipment is on the ground.
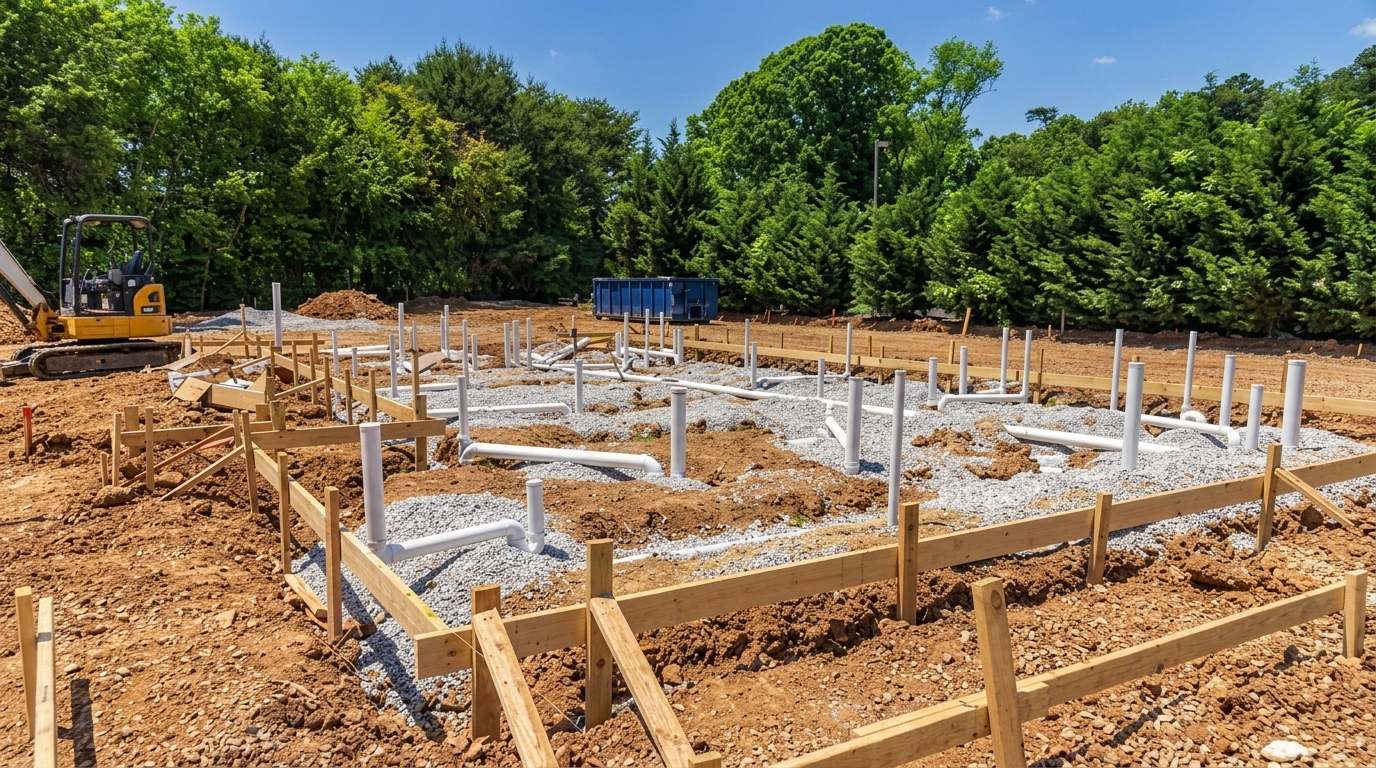
If you want to understand the full scope of what that involves, site preparation in construction goes deeper on exactly what that pre-work phase covers.
Boundary stakes must be set, underground utilities marked, and local permits secured first.
Most crews want to get machines moving. That instinct costs projects weeks when the pre-work gets skipped.
Boundary staking tells you exactly what you can touch. Without it, equipment operators are guessing. One mistake and you're clearing land you don't have permission to clear.
Utility locates are non-negotiable. Gas, water, electric, and telecom lines run underground on almost every developed site.
You won't see them. You need them physically marked before a single blade goes into the ground.
Hitting a utility line doesn't just stop your project. It puts people at serious risk.
Permits are the third gate. Requirements vary by location, but tree size, total acreage, proximity to wetlands, and protected species can all trigger separate approvals. Some permits take weeks to process.
Apply before you start, not while you're waiting for equipment.
These three steps don't slow a project down. Skipping them does. Get boundaries confirmed, utilities marked, and permits in hand before anything else moves forward.
2.Vegetation and Tree Removal: Getting the Sequence Right
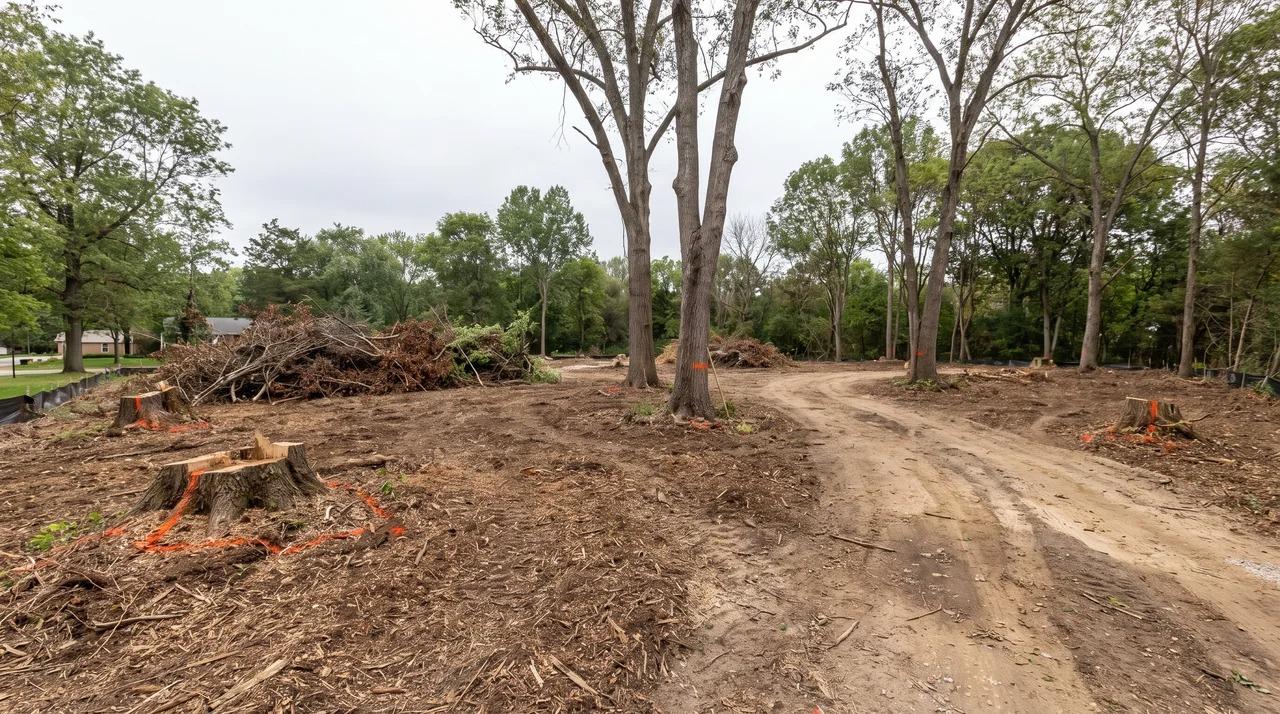
When clearing a construction site of vegetation, the work runs in strict size order underbrush first, trees second, stump and root extraction last.
Each stage creates the safe working conditions the next one requires.
Skip the sequence and you create problems that slow everything down.
Underbrush and Shrubs
Start with the small stuff. Clearing underbrush and shrubs first opens up sight lines across the site. Equipment operators can see what they're working around. Hazards become visible before heavy machinery moves in.
It also creates space. A cluttered site is a dangerous site.
Trees and Stump Extraction
Once the underbrush is gone, trees come down. But feeling is only half the job.
Stumps and root systems must be fully ground out or extracted not cut flush with the ground and left. Here's why that matters.
Roots decompose underground over time. As they break down, they leave voids in the soil beneath your build footprint.
Those voids don't stay empty. Soil shifts into them unevenly under structural load.
That uneven movement is called differential settlement. It causes foundation cracking, sloping floors, and structural damage that shows up years after construction ends and traces back directly to roots left in the ground.
The cut at grade looks clean. It isn't.
Timber and Brush Disposal
Decide what to do with felled material before it hits the ground. Salvageable timber can be sold or set aside. Brush can be chipped into mulch on-site.
What you can't do is leave it scattered across the work zone. Material left in the path of operating equipment creates collision risks and slows every phase that follows.
3.Clearing Debris, Structures, and Topsoil From the Build Footprint
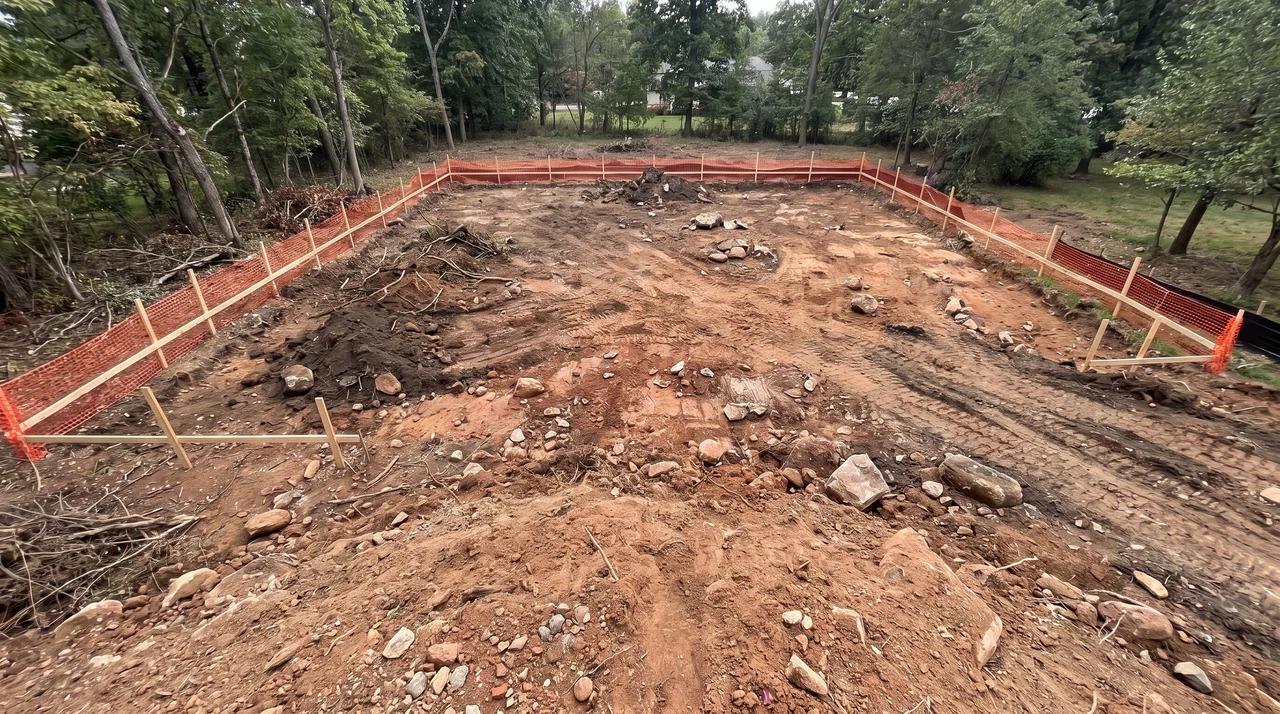
Once vegetation is removed, clearing a construction site requires stripping the build footprint of all surface and subsurface obstacles, old structures, boulders, and the topsoil layer itself before any grading begins.
This phase is where a lot of teams underestimate the work involved.
- Rocks, boulders, and old structures have to come out completely: An existing slab or buried foundation left in place creates an uneven bearing surface. The ground above it behaves differently under load than the ground beside it.
- Topsoil stripping is not a cosmetic step: The top 4 to 6 inches of soil across your build footprint is organic-rich. Organic soil compresses unevenly under structural load. It doesn't matter how well you grade over it; if it stays under the building, it will move.
- Voids and depressions need attention before grading starts: Animal burrows, sunken areas, and any hollow left by stump extraction must be filled with approved compactable material and properly compacted.
An unfilled void behaves exactly like a decomposing root system. It creates the same uneven settlement you were trying to avoid. Fill it now. The grading phase will not fix it.
4.Grading the Site So Water Moves Away From the Foundation
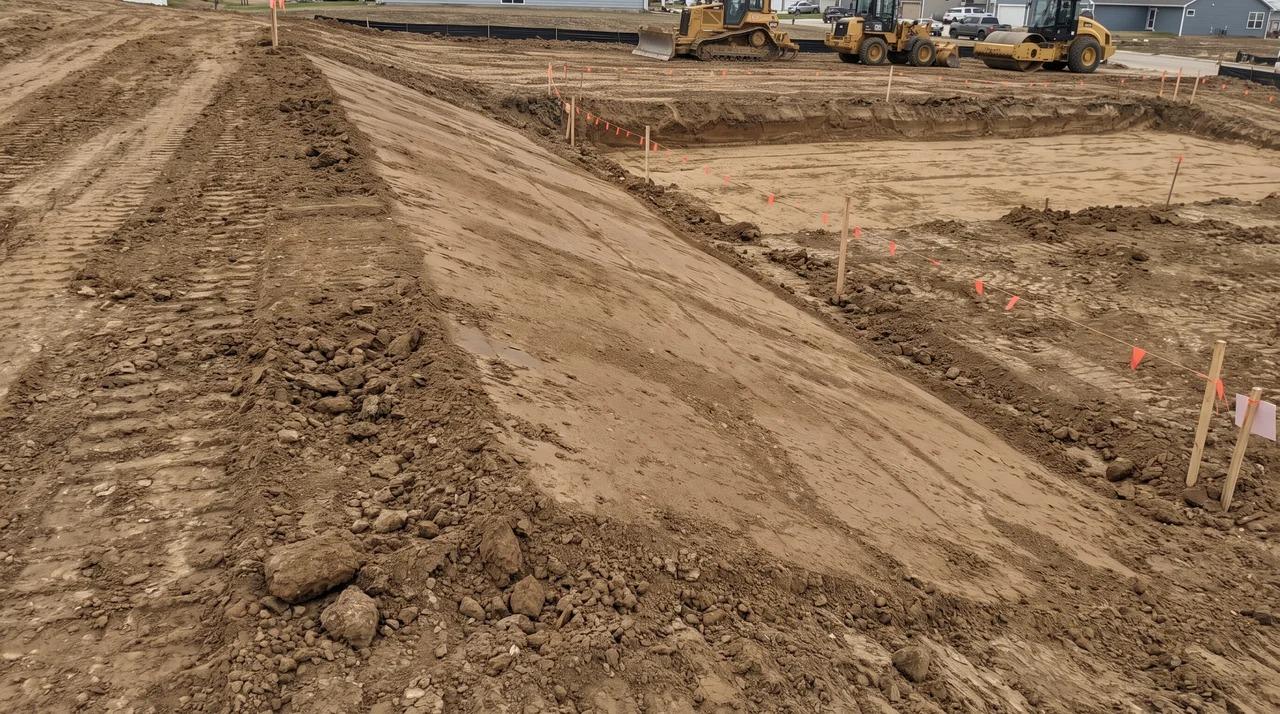
Grading is the shaping stage of clearing a construction site, and if you're building on a flat footprint
It's worth understanding how slab on grade construction relies on this grading work being done right before any concrete is poured.
It establishes the slope that moves water away from the foundation and compacts fill as the grade is built.
It's also the stage where decisions become permanent.
Rough grading shapes the cleared land into a controlled slope. Water needs somewhere to go when it hits the surface. That somewhere must be away from your foundation, not toward it.
Slope direction and the amount of fall over distance are calculated decisions, not approximations.
As the grade is shaped, fill is compacted in layers. This active compaction soil density is being built into the grade as it's formed. It is not a finishing step that happens afterwards.
Getting slope direction wrong is not a fixable mistake once construction begins.
A negative slope one that directs water toward the building will cause water intrusion at the foundation. Correcting it means tearing out finished work above it.
The drainage pattern you set here stays for the life of the structure. Take it seriously.
5.Final Checks Before the Site Is Ready for Construction
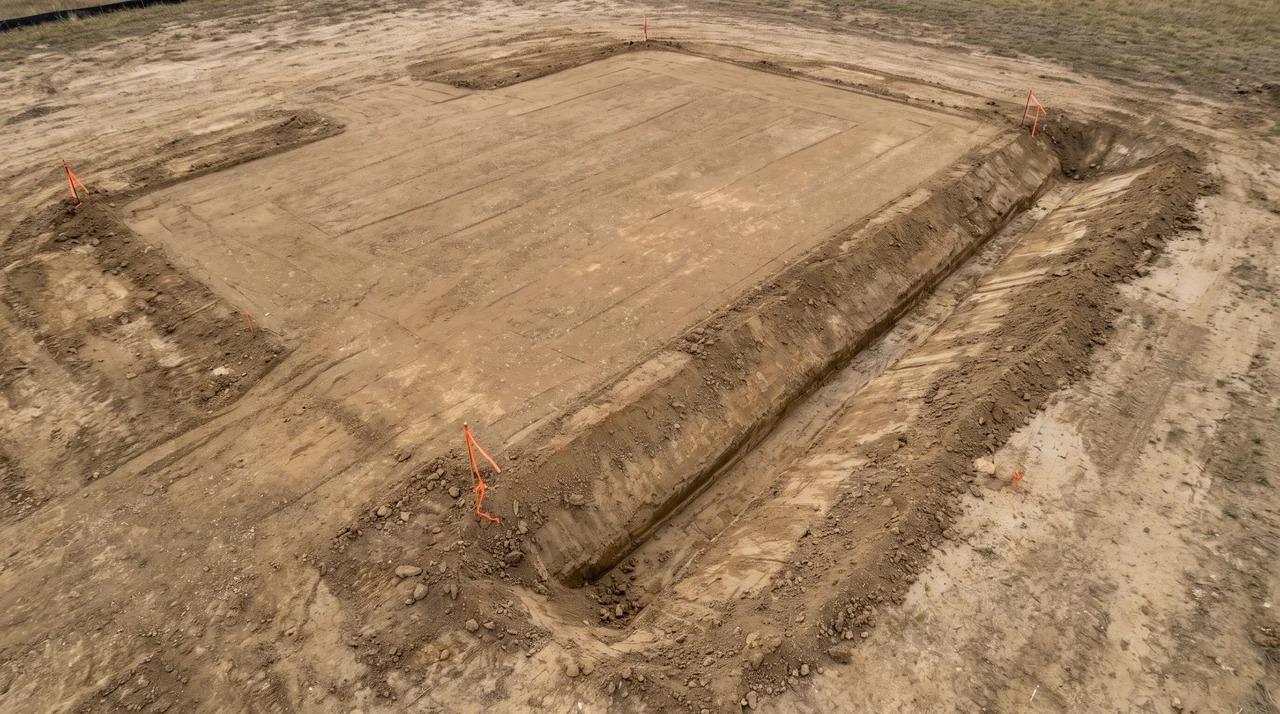
A construction site is ready to build on only when compaction is tested, drainage slope is confirmed, and all clearing permits and disposal records are closed out.
Grading being done is not the same as the site being ready.
Run through these checks before you hand the site over:
- Compaction testing must cover the entire build footprint. A visual check tells you nothing useful. Loose areas don't reveal themselves until load is applied which means they show up as problems after foundation work has already started. Test it with the right equipment before anything gets built on top.
- Drainage slope confirmation means walking the graded surface after rain or running water across it deliberately. A grading plan on paper and a graded surface in the field are not always the same thing. Verify the water moves where it's supposed to move.
- Documentation and site walkthrough close the loop. Waste disposal records, permit sign-offs, and one final pass across the site to catch anything missed a stump left at grade, an unfilled void, debris pushed to the edge of the footprint. Hand the site to the construction crew clean and documented.
If something gets missed here, it becomes someone else's problem mid-build. That's a worse time to find it.
Final Thoughts
Knowing how to clear a construction site is one thing. Doing it in the right order is what actually protects the build.
Every step in this process exists for a reason. The pre-work prevents legal and safety disasters. The sequencing prevents structural ones.
And the final checks make sure nothing gets buried under someone else's problem later.
The sites that cause the most trouble mid-build are almost always the ones that were rushed at the start.
Get the groundwork right and everything built on top of it will thank you for it.
Frequently Asked Questions
What is the cheapest way to clear a construction site?
On flat or lightly wooded sites, renting a skid steer and doing it yourself saves the most. On heavily treed or rocky ground, a contractor often works out cheaper once equipment, stump grinding, and disposal costs are added up.
Can you clear a construction site without a permit?
In most jurisdictions, no. Tree removal, land clearing near wetlands, and demolishing existing structures each typically require separate permits. Starting without them risks fines and stop-work orders.
How long does it take to clear a construction site?
A small residential lot takes one to three days with the right equipment. A heavily wooded or debris-filled site can take one to two weeks or more, depending on tree density and what's buried underground.
What equipment is used to clear a construction site?
The core kit includes a skid steer for brush and debris, a chainsaw crew or forestry mulcher for trees, a stump grinder for root extraction, and a bulldozer or motor grader for topsoil stripping and final grading.